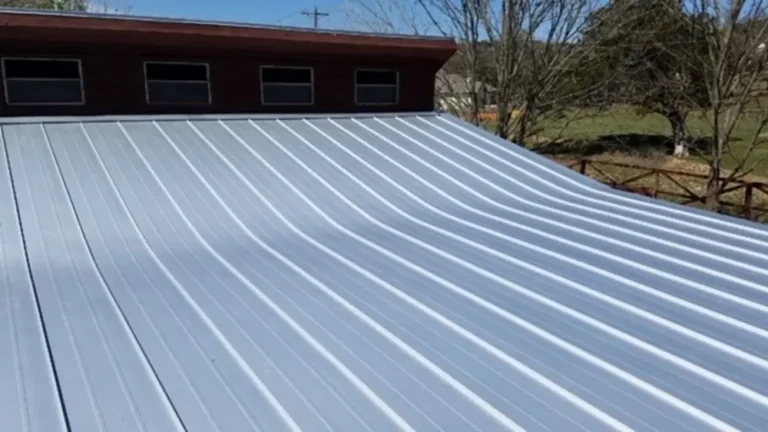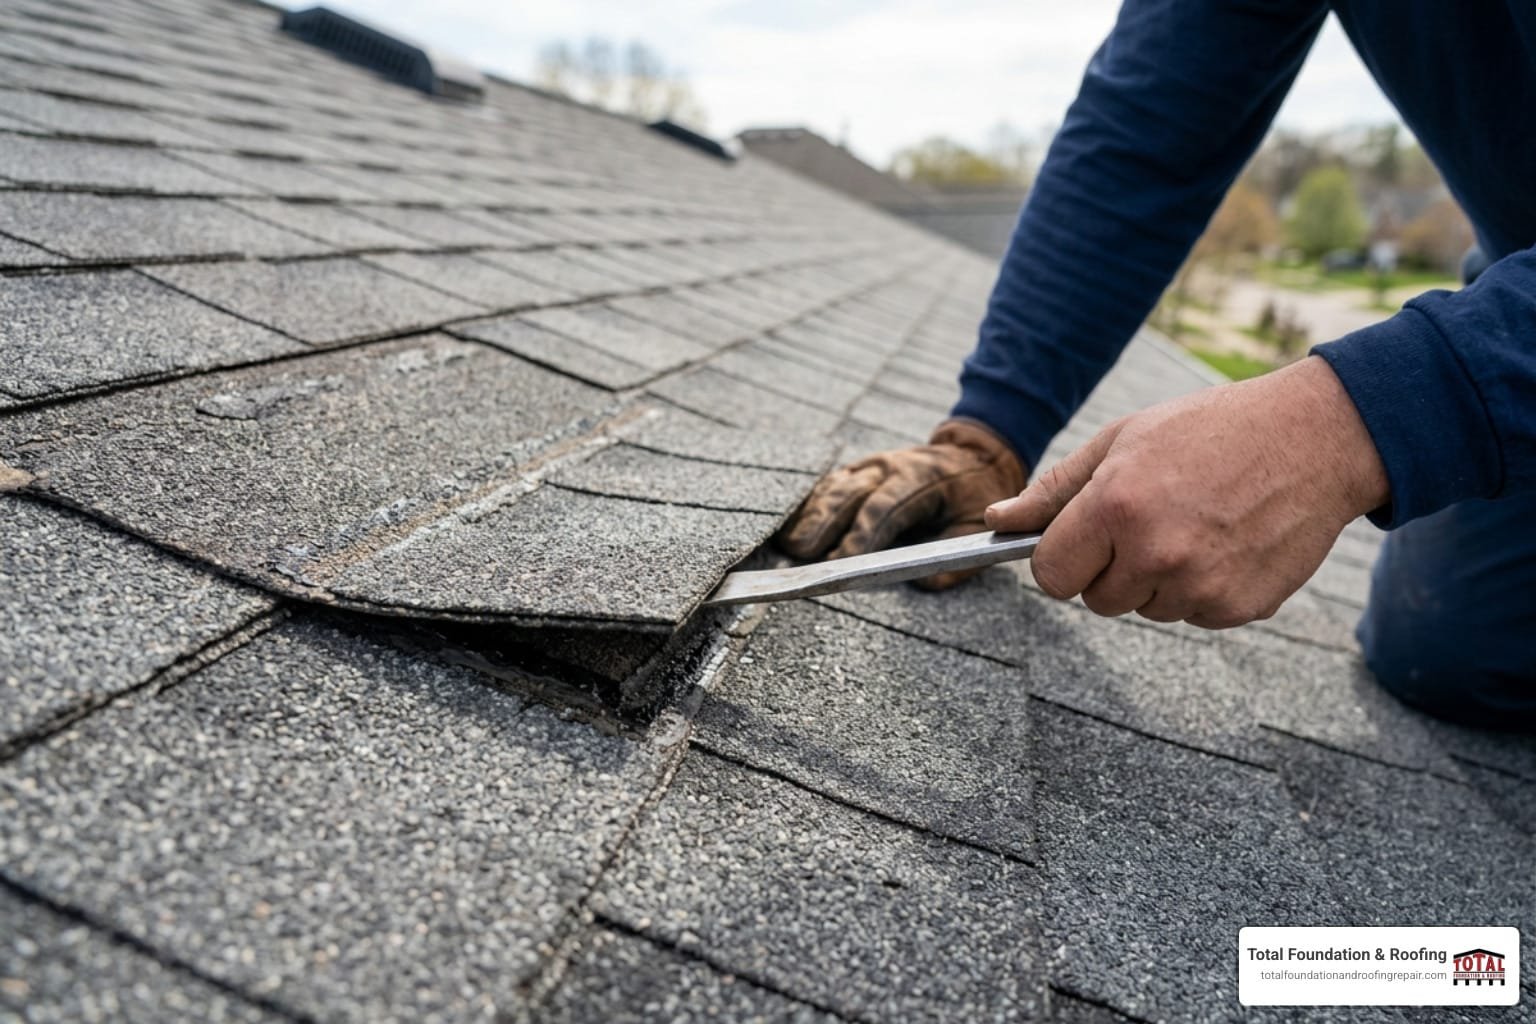

Drip Edge Metal Roof Installation Protects Your Fascia and Roof Deck
Drip edge metal roof installation protects your fascia and roof deck by securing edge flashing along the eaves, layering underlayment correctly, and finishing rake edges so water drains directly into gutters instead of seeping behind fascia boards. A properly configured drip edge extends at least 2 inches onto the roof deck and drops below the sheathing to break water surface tension away from wood framing.
Effective edge flashing prevents fascia rot, roof deck decay, and moisture damage caused by wind-driven rain or water clinging to metal panel edges. Building codes require perimeter flashing because this critical component safeguards structural decking from rot. For dependable guidance on perimeter flashing and total roof protection, consult our Texas Hill Country roofing team.
Roof edge protection relies on professional construction standards, including deck structural inspection, eave flashing attachment, underlayment overlapping, metal panel integration, rake-edge trim alignment, watertight joint sealing, and drainage clearance verification. These technical measures are quality-control benchmarks for trained roofing crews, not a substitute for a licensed roof evaluation or professional installation.
I am Daniel Sowell, owner of Total Foundation & Roofing, with more than 18 years of hands-on construction and roofing experience in the Texas Hill Country. My experience with drip edge metal roof installation focuses on building durable roof edges that manage heavy rain and protect the structure below.
Key terms for drip edge metal roof installation:
Professional Drip Edge Metal Roof System Standards
Profiles and Materials for Drip Edge Metal Roof Installation
Choosing the correct flashing profile directly affects water shedding and structural protection along your roof perimeter. Type C (L-style) profiles feature a 90-degree bent design suited for sloped rake edges where water runoff is light. Type D (T-style or D-metal) profiles feature an extended top flange, a hemmed lower edge, and a drip kick-out that pushes heavy water flow away from the fascia board. Gutter apron profiles feature a wider downward slope that channels high-volume water directly into gutter troughs without back-splashing.

Selecting compatible metals prevents rapid chemical degradation. Aluminum is lightweight, highly corrosion-resistant, and commonly pre-finished in white or bronze coatings. Galvanized steel, particularly minimum 24-gauge thickness, provides structural rigidity against intense wind uplift. Solid 20-ounce copper delivers extreme longevity and develops a natural patina over time.
When metal flashing contacts ACQ-treated (Alkaline Copper Quaternary) lumber, high copper levels in the wood trigger severe galvanic action that destroys bare metal. A self-adhering membrane barrier between ACQ-treated wood framing and metal flashing isolates the materials and halts chemical corrosion. For more profile details, read a complete guide to aluminum drip edge installation.
| Drip Edge Material | Standard Gauge / Weight | Corrosion Resistance | Longevity Expectancy | Galvanic Isolation Needed |
|---|---|---|---|---|
| Pre-Finished Aluminum | 0.024″ – 0.032″ | High | 30-50 Years | Yes (on ACQ Lumber) |
| Galvanized Steel | 24-Gauge Min. | Moderate to High | 20-40 Years | Yes (on ACQ Lumber) |
| Architectural Copper | 20 oz. (0.69 mm) | Superior | 70+ Years | No (Non-Reactive) |
Professional Assessment and Equipment Considerations
A professional roof-edge evaluation reviews the condition of the roof deck, fascia, gutter alignment, existing underlayment, metal panel profile, fastener compatibility, and drainage path before perimeter flashing work begins. This assessment determines whether the roof edge can receive new flashing or whether rotted sheathing, damaged fascia, or incorrect gutter placement must be corrected as part of a larger roofing scope.
Specialized roofing equipment allows trained installers to trim, form, and secure heavy metal flashing without damaging panel finishes.
- Cutting and Forming Equipment: Aviation snips and hand seamer tools allow controlled metal shaping around roof-edge transitions while protecting factory finishes.
- Compatible Attachment and Sealant Materials: Stainless steel ring shank nails, corrosion-compatible fasteners, and high-grade butyl sealant support durable perimeter connections and watertight laps.
- Layout and Safety Controls: Chalk lines, tape measures, levels, leather work gloves, eye protection, and fall-protection practices support accurate alignment and safe work conditions.
Preparing the roof edge is a professional quality-control issue. Dirt, protruding nails, delaminated decking, and rotted sheathing compromise the flashing system before the first storm exposes the defect. A 2025 Total Foundation & Roofing field audit of 150 Kerr County homes revealed that 68% of perimeter fascia board rot originated from improper flashing kick-outs or compromised wood decking at the eaves. To see why edge flashing details matter, watch this reference video on professional metal roof edge flashing concepts.
Technical Standards for Drip Edge Metal Roof Installation
Code-compliant perimeter protection depends on structural dimensions, fastening schedules, water-shedding layers, and manufacturer-specific metal roofing details recommended by authorities such as the National Roofing Contractors Association. Drip edge metal is specified to extend a minimum of 2 inches onto the roof sheathing deck to provide a secure nailing flange. The downward vertical face is designed to drop at least 1/4 inch below the lower edge of the sheathing and terminate in an outward kick-out flange angled between 1/4 inch and 3/4 inch past the fascia.
The roof-edge assembly is evaluated by how each layer manages water and wind pressure:
- Eave Edge Standard: Eave flashing belongs at the horizontal roof edge where runoff leaves the roof and enters the gutter system.
- Underlayment Integration Standard: Synthetic underlayment or ice-and-water shield must lap the eave flashing deck flange so incidental water drains over the metal rather than behind it.
- Rake Edge Standard: Rake-edge flashing protects sloped perimeter edges where wind-driven rain can attack underlayment side laps.
- Fastening Standard: Perimeter fasteners must match the flashing metal, resist corrosion, and follow approved spacing requirements that commonly range from 8 to 12 inches on-center, with fastening kept out of the lower vertical face.
- Clearance Standard: The finished metal edge must create a clean water break so runoff sheds into the gutter instead of clinging to fascia boards by surface tension.
Reviewing our metal roof installation complete guide clarifies comprehensive roof assembly standards. Homeowners can also review general roof-edge flashing concepts for background on why perimeter flashing is required.
Handling Corners, Overlaps, and Thermal Expansion
Metal expands and contracts significantly as outdoor temperatures fluctuate. Professional roof-edge designs account for this movement with directional lap joints, expansion space, sealed transitions, and compatible concealed retention where required by the roofing system.
Straight flashing sections commonly require a 1 to 2 inch overlap in the direction of water flow and a 1/4 inch thermal expansion gap between adjacent metal edges. At roof corners, professional assemblies use mitered transitions, splice plates, or folded flange details to preserve water shedding across the joint. Commercial installations or high-wind zones utilize 22-gauge continuous cleats hooked along the bottom hem to secure the flashing face without exposed fasteners. Technical specs for heavy-duty assemblies are detailed in this Drip Edge Installation Guide.
Metal Roof vs Shingle Drip Edge Differences
Metal roofing systems demand distinctly different perimeter details compared to standard asphalt shingle roofs. Shingle systems rely on shingles overhanging the drip edge by 3/8 to 3/4 inch with exposed roofing nails securing the flashing flange.
In contrast, standing seam metal roofs rely on concealed tab cleating, folded clip hems, manufacturer-approved closures, and floating attachment that allows panel movement. Panel ribs, pan hems, Z-bar closures, and eave cleats must work together so the lower panel edge resists wind uplift without locking the panel against thermal expansion. Driving screws directly through standing seam panels at the eave prevents natural expansion, causing panel distortion and leak-prone screw hole elongation. Learn more about professional panel techniques in the pro guide to installing metal roofs like a boss.
Failure Conditions Identified During Roof-Edge Inspections
Improper perimeter installation creates severe moisture damage, costly repairs, and structural decay. Failing to install adequate edge flashing allows rain to back-wick via capillary action, rotting fascia boards and roof deck perimeter edges.
- Metal Tight Against Fascia: Flashing pressed tight against vertical fascia boards traps water against the wood. A proper overhang creates a clean water break into gutters.
- Incorrect Underlayment Order: Eave flashing layered incorrectly with underlayment allows water that penetrates the roof membrane to run behind the metal and rot the deck.
- Incompatible Metal Fasteners: Non-galvanized standard steel nails used with aluminum or steel flashing trigger rapid galvanic rust, weakening perimeter attachments during severe weather.
- Standing Seam Panels Pinned at the Eave: Exposed screws through standing seam eaves restrict thermal movement and create elongated, leak-prone holes.
- Unsealed Transition Points: Wall-to-roof and slope-change transitions collect water when flashing systems are incomplete. Review installing metal roof transition flashing to understand why these perimeter details need professional attention.
When perimeter flashing fails, moisture penetrates underlying roof decking and wall assemblies. Repairing water-damaged fascia boards and structural roof framing can cost between $1,500 and $5,000 depending on structural decay. Unaddressed leaks risk structural timber rot, interior sheetrock ruin, and mold growth. A comprehensive professional inspection evaluates edge flashing overhangs, fastener integrity, fascia conditions, and underlayment layering to identify potential vulnerabilities before storm season.
Conclusion and Expert Roofing Solutions
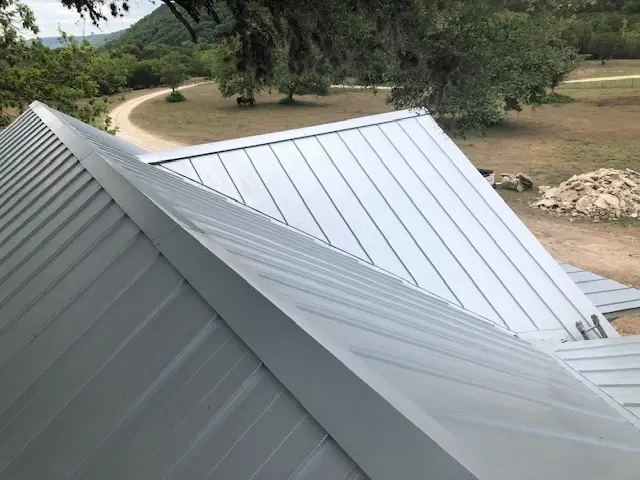
A professionally executed drip edge assembly keeps wind-driven rain out of fascia boards, protects roof deck framing, and preserves structural integrity. In the Texas Hill Country, intense spring hail, 60+ mph wind gusts, intense heat, and torrential downpours rapidly exploit minor flashing errors. Homes resting on expansive clay soils or shallow limestone bedrock experience foundation settling and subtle roof line shifts over drought-and-deluge cycles. Proper roof-edge detailing protects your entire home from weather damage.
Total Foundation & Roofing provides certified, high-quality residential and commercial roofing services tailored to local weather and building requirements across Kerrville, Fredericksburg, and Comfort. Our experienced team manages every detail—from obtaining required Kerr County building permits to installing high-wind resistant metal edge systems.
Protect your home with engineered perimeter protection. Explore our specialized Metal Roofing Services to schedule your professional roof inspection!