
What You Need to Know Before Making Ridge Cap Shingles from Architectural Shingles
Learning how to make ridge cap shingles from architectural shingles is one of the most searched DIY roofing questions — and for good reason. If you have leftover laminated shingles after a roof job, it’s tempting to cut them down and cap the ridge yourself instead of buying a separate product. For homeowners comparing DIY work with a local roofing contractor, hiring a professional team like Total Foundation & Roofing Repair is the safer choice when the ridge protects living space, attic ventilation, or a manufacturer-backed roof system. Our professional roofing service in Kerrville, Texas ensures your home remains completely watertight and structurally sound.
Here’s the quick answer:
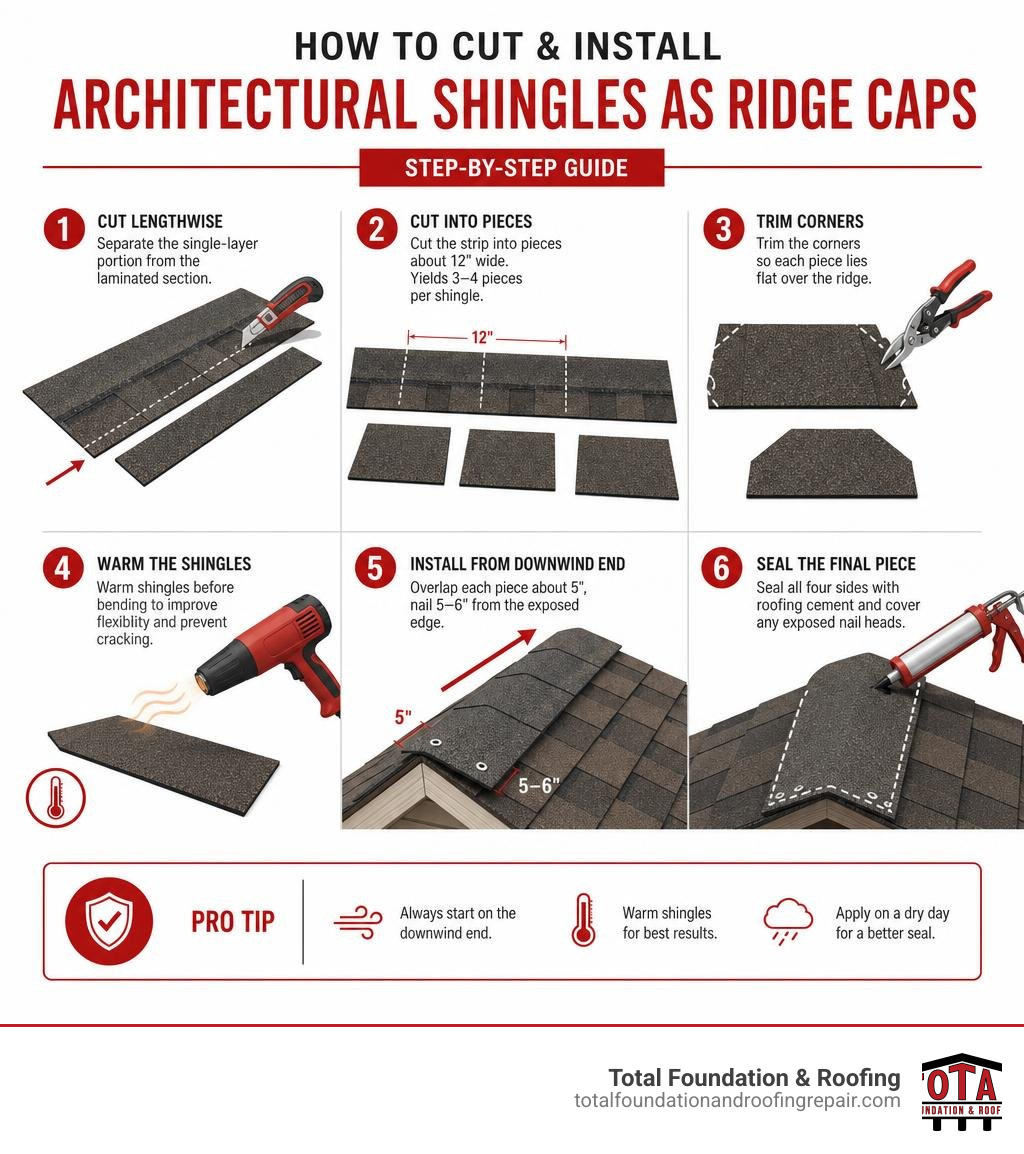
- Cut the shingle lengthwise — separate the non-laminated (single-layer) portion from the thicker laminated section.
- Cut that strip into individual pieces — roughly 12 inches wide, yielding 3–4 ridge cap pieces per shingle.
- Trim the corners of each piece so they lie flat over the ridge.
- Warm the shingles before bending — cold or thick shingles crack easily.
- Install starting from the downwind end — overlap each piece about 5 inches and nail 5–6 inches from the exposed edge.
- Seal the final piece with roofing cement on all four sides and cover any exposed nail heads.
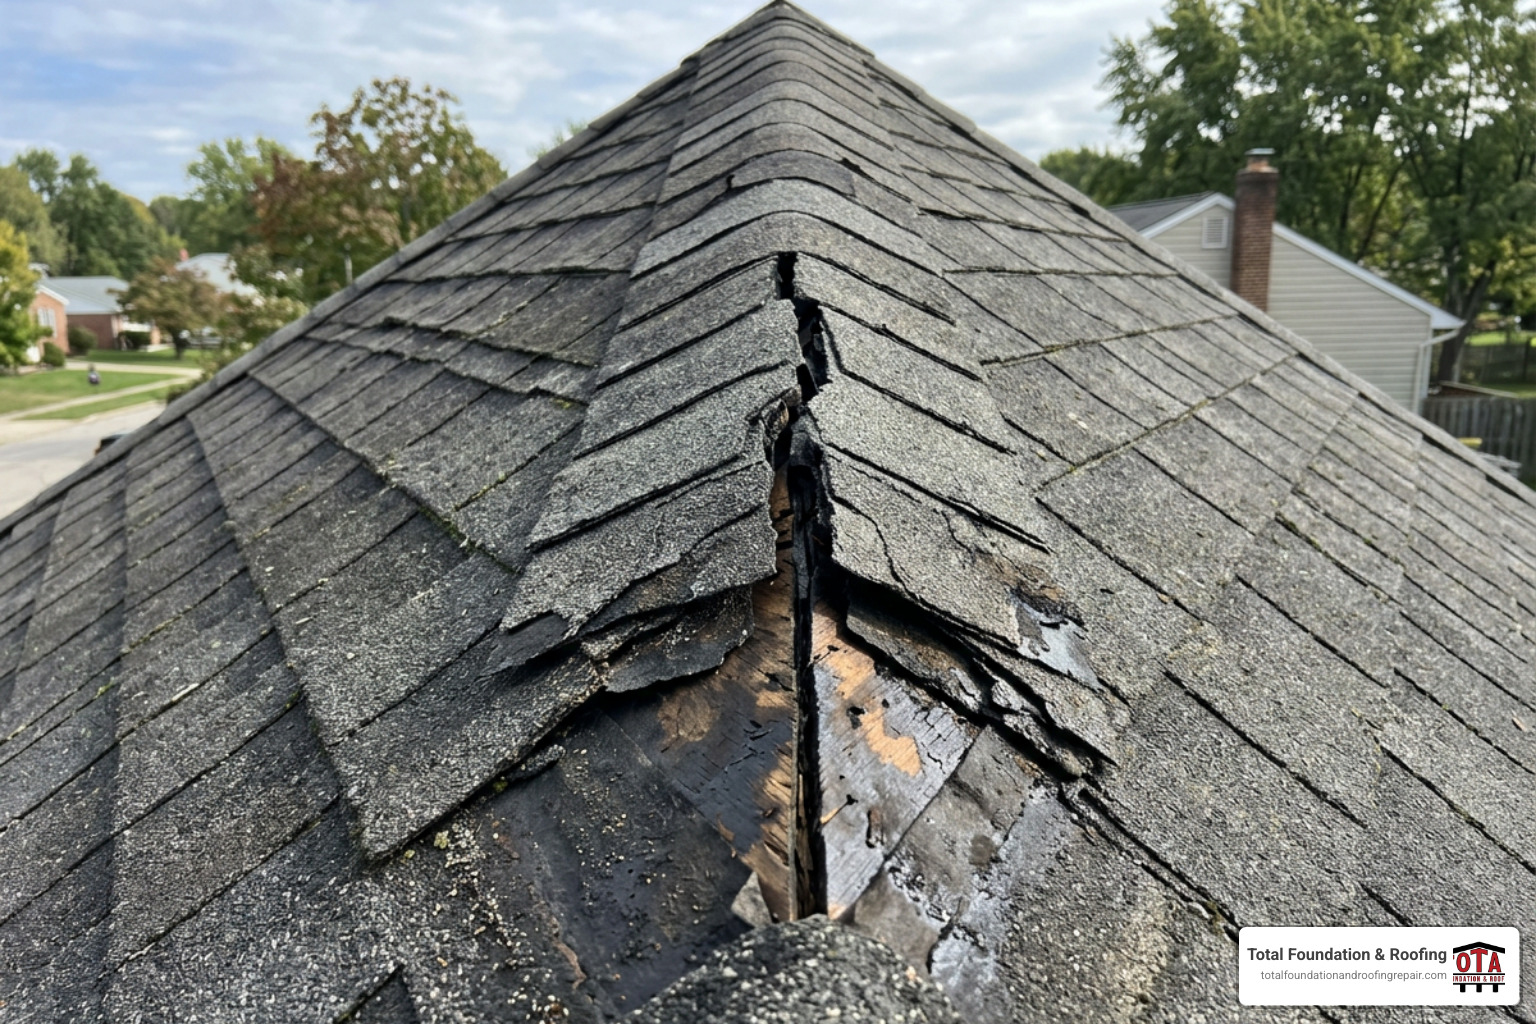
A ridge cap is the roof’s highest weather-exposure seam, so a cracked cap creates a direct pathway for wind-driven rain. There are real trade-offs to this approach. Architectural shingles are thicker and less flexible than 3-tab shingles, which makes them prone to cracking when bent over a steep ridge. On pitches of 6:12 or steeper, that cracking risk rises significantly — and cracks at the ridge mean water intrusion right at the most exposed point on your roof.
This guide walks you through the full process, the right tools, the installation steps, and — critically — when it makes more sense to use expert roof replacement services instead of going the DIY route.
I’m Daniel Sowell, owner of Total Foundation & Roofing Repair with over 18 years of hands-on roofing experience across the Texas Hill Country, and I’ve seen what happens when ridge caps are cut incorrectly from architectural shingles — from cracked bends to voided warranties. In this guide, I’ll show you exactly how to do it right, and where the limits of DIY really are.
How to make ridge cap shingles from architectural shingles word guide:
How to Make Ridge Cap Shingles from Architectural Shingles
Architectural shingles, also known as dimensional or laminated shingles, are built with multiple layers bonded together to create a rich, textured look. While they look fantastic on the slopes of your roof, their multi-layered thickness makes them naturally rigid.
Unlike traditional 3-tab shingles, which are thin, single-layered, and easy to bend, architectural shingles resist bending. If you try to bend a full-thickness laminated shingle over a roof ridge, the layers will not curve in tandem. This causes the shingle to warp, pull away from the roof deck, or split down the center.
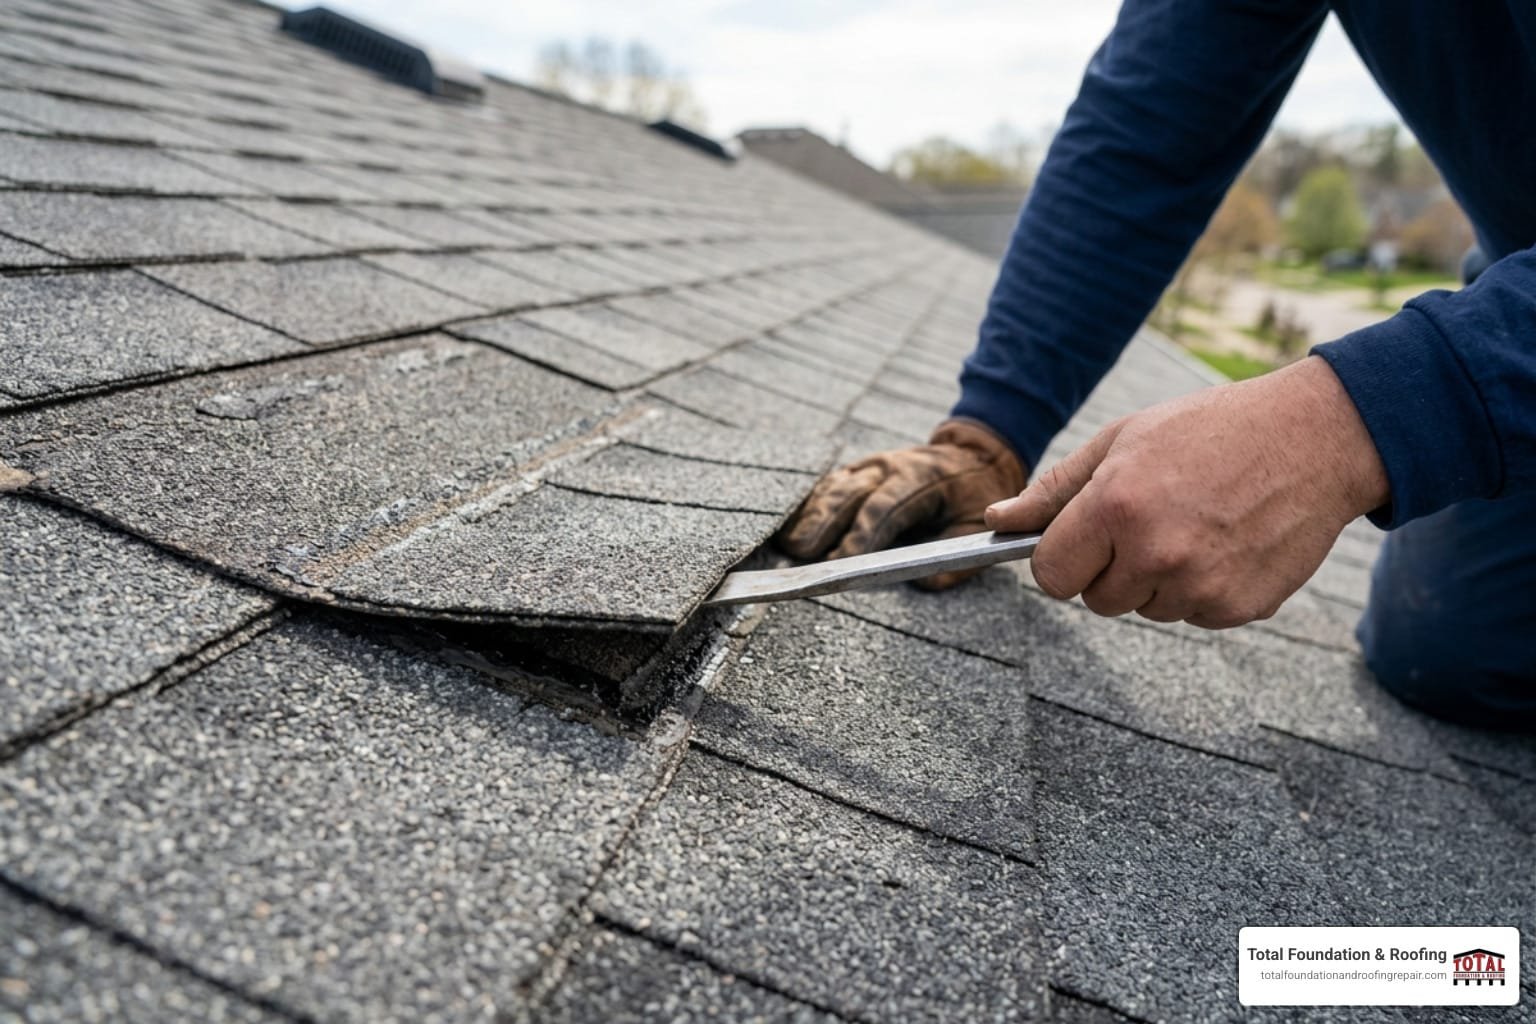
When a roof has a steep pitch—such as a 10/12 slope—the bending angle is incredibly sharp. Forcing a rigid field shingle over this peak creates a structural weak point prone to wind uplift and water intrusion. However, if you are working on a small project like a garden shed or a playhouse in Comfort, TX, and have leftover architectural shingles, you can utilize specific cutting techniques to make functional ridge caps. On a residential roof, failing ridge caps should be evaluated as part of the full roofing system, especially when expert roof replacement services may be needed to preserve ventilation, decking, flashing, and warranty coverage.
Understanding Ridge Caps vs. Architectural Shingles
To understand why this process requires care, we have to look at the anatomy of the shingle. If you read our guide Choosing Your Crown: The Ultimate Guide to Asphalt vs Metal Roofing, you know that different areas of the roof experience different physical stresses.
According to Everything You Need to Know About Ridge Cap Shingles, a standard field shingle has a laminated double-layer section at the bottom (the exposure zone) and a single-layer inset section at the top. Manufacturer guidance such as GAF’s Ridge Cap Shingles Understanding the Benefits for Your Roof also treats ridge caps as a dedicated roof-system component rather than a cosmetic accessory.
Because of this design:
- The double-layer section is too thick to bend over a ridge without cracking.
- The single-layer section is much more flexible and can be safely bent over a standard 6:12 pitch (which requires a bend of over 50 degrees).
If you do not separate these sections before bending, you will end up with gaps along the ridge line. These gaps allow wind-driven rain to blow underneath, leading to wood rot along your ridge board.
Tools and Materials Needed for DIY Ridge Caps
Before you begin cutting, gather the proper tools. Having the right equipment ensures clean cuts and prevents the shingles from tearing. This is similar to preparing the right materials for the base of your roof, which we discuss in A Beginner’s Guide to Asphalt Starter Shingles and Why They Matter.
You will need:
- Utility knife with a hook blade: Hook blades cut through asphalt and fiberglass much easier than straight blades and save your knuckles.
- Speed square or straightedge: Essential for marking straight 12-inch intervals.
- Chalk line: Used to keep your ridge cap perfectly straight along the roof peak.
- High-quality roofing cement: Crucial for sealing the edges where the factory tar strip has been cut away.
- 2-inch galvanized roofing nails: Standard 1-inch nails are not long enough to penetrate the ridge cap, the shingles underneath, and the roof deck.
- Hammer or roofing nailer.
Step-by-Step: How to Make Ridge Cap Shingles from Architectural Shingles
If you have decided to proceed with cutting your own caps, follow this precise method adapted from How To Cut Architectural Shingles For Ridge Cap:
- Separate the single-layer strip: Lay the architectural shingle flat on a clean work surface with the back facing up. Locate the lamination weld line where the double-layer section meets the single-layer section. Use your utility knife to cut lengthwise along this line. This separates the stiff, laminated portion from the pliable, non-laminated strip (usually about 6 to 7 inches wide).
- Cut into thirds: Take the single-layer strip and divide it into equal pieces. For standard metric shingles (which are roughly 39 3/8 inches long), cutting them into thirds will give you pieces that are approximately 13 inches wide.
- Taper the upper corners: To help the shingles lay flat and prevent the edges from showing under the next overlapping piece, trim the top corners of each piece at a slight angle. Cut about 1 inch inward from the top edge down to the middle of the shingle side.
- Warm the shingles: Asphalt is highly temperature-sensitive. If you are working in cooler weather in Fredericksburg, TX, the shingles will be brittle. Let them sit in the sun or gently warm them with a heat gun before attempting to bend them over the ridge.
How to Install Your Custom Ridge Cap Shingles
Once your caps are cut, it is time to secure them to the roof. Proper installation is critical to prevent wind uplift. Our article on Nailing the Top: How to Install Ridge Cap Shingles covers this in depth, but here is the essential process based on instructions from How to Install Ridge Cap Shingles:
- Determine wind direction: Always start installing your ridge caps at the end of the ridge opposite the prevailing wind. This ensures that wind blows over the overlaps rather than lifting them up.
- Snap a chalk line: Measure 5 to 6 inches down from the center of the ridge on both sides and snap a chalk line. This gives you a visual guide to keep your caps perfectly centered.
- Nail the first piece: Bend the first shingle over the ridge. Fasten it using two 2-inch galvanized roofing nails, placing one nail on each side, about 1 inch from the edge and 5.5 to 6 inches up from the bottom edge.
- Overlap successive pieces: Lay the next shingle over the first, leaving a 5-inch exposure. The overlapping shingle must completely cover the nails of the previous piece.
- Seal the final shingle: The last ridge cap shingle cannot be overlapped, leaving its nails exposed. To make it watertight, cut the final piece to size, apply a generous amount of roofing cement on all four sides of its underside, and nail it down. Cover the exposed nail heads with a dab of roofing cement and sprinkle some loose shingle granules over the wet cement to protect it from UV rays and blend it in visually.
Alternatives, Warranties, and Professional Roofing Solutions
While making your own ridge caps is a creative way to use leftover materials on a shed, using them on your home carries high risks.
Below is a comparison of how DIY cut shingles stack up against pre-manufactured ridge caps:
| Feature | DIY Cut Architectural Shingles | Pre-Manufactured Ridge Cap Shingles |
|---|---|---|
| Material Thickness | Varied and uneven | Uniform and consistent |
| Flexibility | Low (prone to cracking) | High (pre-folded/polymer-modified) |
| Wind Resistance | Poor (often lifts in high winds) | Rated up to 150 mph (ASTM D7158 Class H) |
| Impact Resistance | Standard | Class 3 or Class 4 (hail resistant) |
| Warranty Impact | Voids enhanced system warranties | Maintains full manufacturer warranty |
| Average Lifespan | 5 to 8 years | 25 to 50 years |
The Risks of Learning How to Make Ridge Cap Shingles from Architectural Shingles
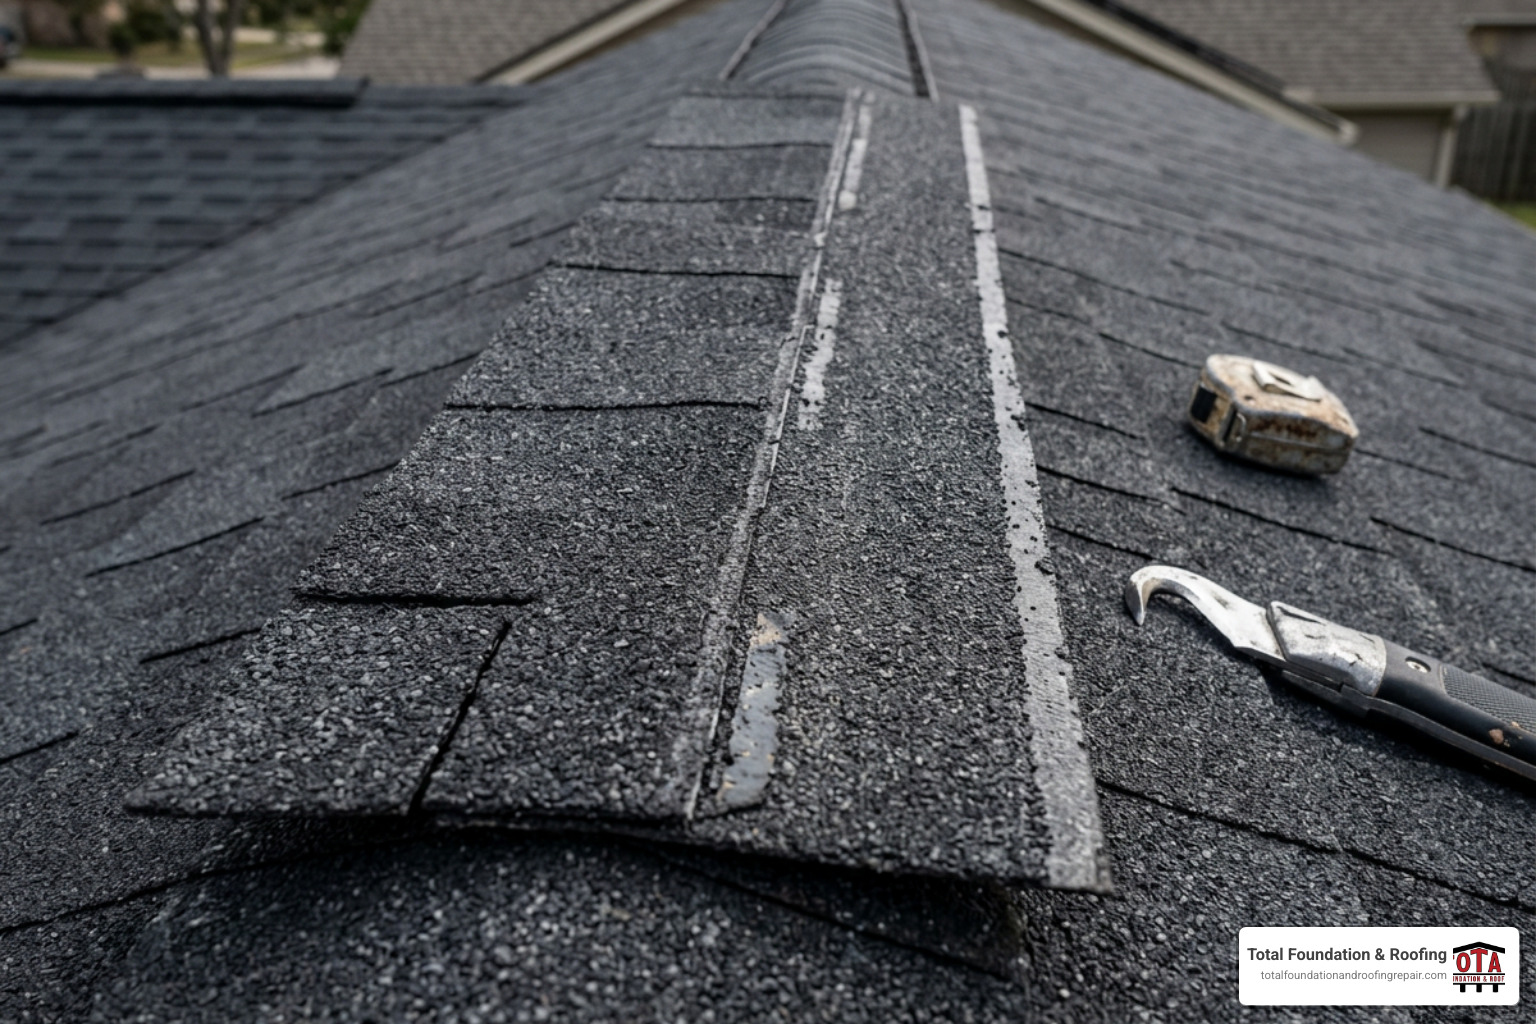
The primary issue with using cut architectural shingles on a residential home is durability. As discussed in the Architectural shingles used as ridge caps forum, home inspectors frequently flag DIY ridge caps as failure points. Because these shingles are not engineered to bend, they develop micro-fractures along the ridge line. Over a few seasons of hot Texas summers and cold winter nights, these micro-fractures turn into wide splits, leading to active leaks.
Furthermore, skipping pre-manufactured caps can cost you thousands in the long run. If you read about the Roof Ridge Cap Repair Cost, you will find that repairing a failing ridge line often costs more than doing it right the first time.
Most importantly, using hand-cut field shingles as ridge caps will void your manufacturer’s enhanced system warranty. Major manufacturers like GAF and Owens Corning require matching starter shingles and ridge caps to honor their 50-year non-prorated warranties. If you use cut field shingles, your coverage can instantly drop to a basic 10-year material-only warranty.
Pre-Manufactured Ridge Caps vs. DIY Cut Shingles
If you want your roof to stand up to the severe weather we experience in the Texas Hill Country, pre-manufactured ridge caps are the superior choice.
According to our guide, Don’t Peak Too Soon: Choosing the Right Ridge Cap, pre-formed caps are manufactured on specialized production lines. They use highly flexible, polymer-modified asphalt that is pre-creased, allowing them to bend over steep peaks without cracking.
For homeowners shopping around, our Ridge Cap Shingles for Sale: A Buyer’s Guide highlights that these products offer Class 3 or Class 4 impact resistance. This means they are specifically designed to withstand hail, which is a major benefit in our region. Additionally, if you install a ridge ventilation system, as explained in Why You Need Vented Ridge Cap Shingles for Your Home, pre-manufactured caps are designed to sit perfectly flat over the vent, ensuring maximum airflow and weather protection.
According to the Ridge Cap Shingles Understanding the Benefits for Your Roof guide by GAF, specialized ridge caps also feature optimized sealant strips designed for extreme wind uplift, meeting ASTM D7158 Class H standards (wind speeds up to 150 mph).
At Total Foundation & Roofing, we believe your roof is only as strong as its weakest seam. While cutting your own shingles might save a few dollars upfront, the long-term risk of leaks, storm damage, and voided warranties simply isn’t worth it for your home.
If you want to ensure your home is fully protected with a beautiful, durable, and warranty-compliant roof, let our team handle the job. We provide certified, high-quality workmanship tailored to the unique climate of Kerrville, Texas, Fredericksburg, and Comfort, Texas.
Contact us today to speak with a roofing specialist, or visit our expert roof replacement services page to schedule a professional inspection. Let us give your home the perfect crown it deserves!