The Last Step That Makes or Breaks Your Roof: Installing Ridge Cap Shingles
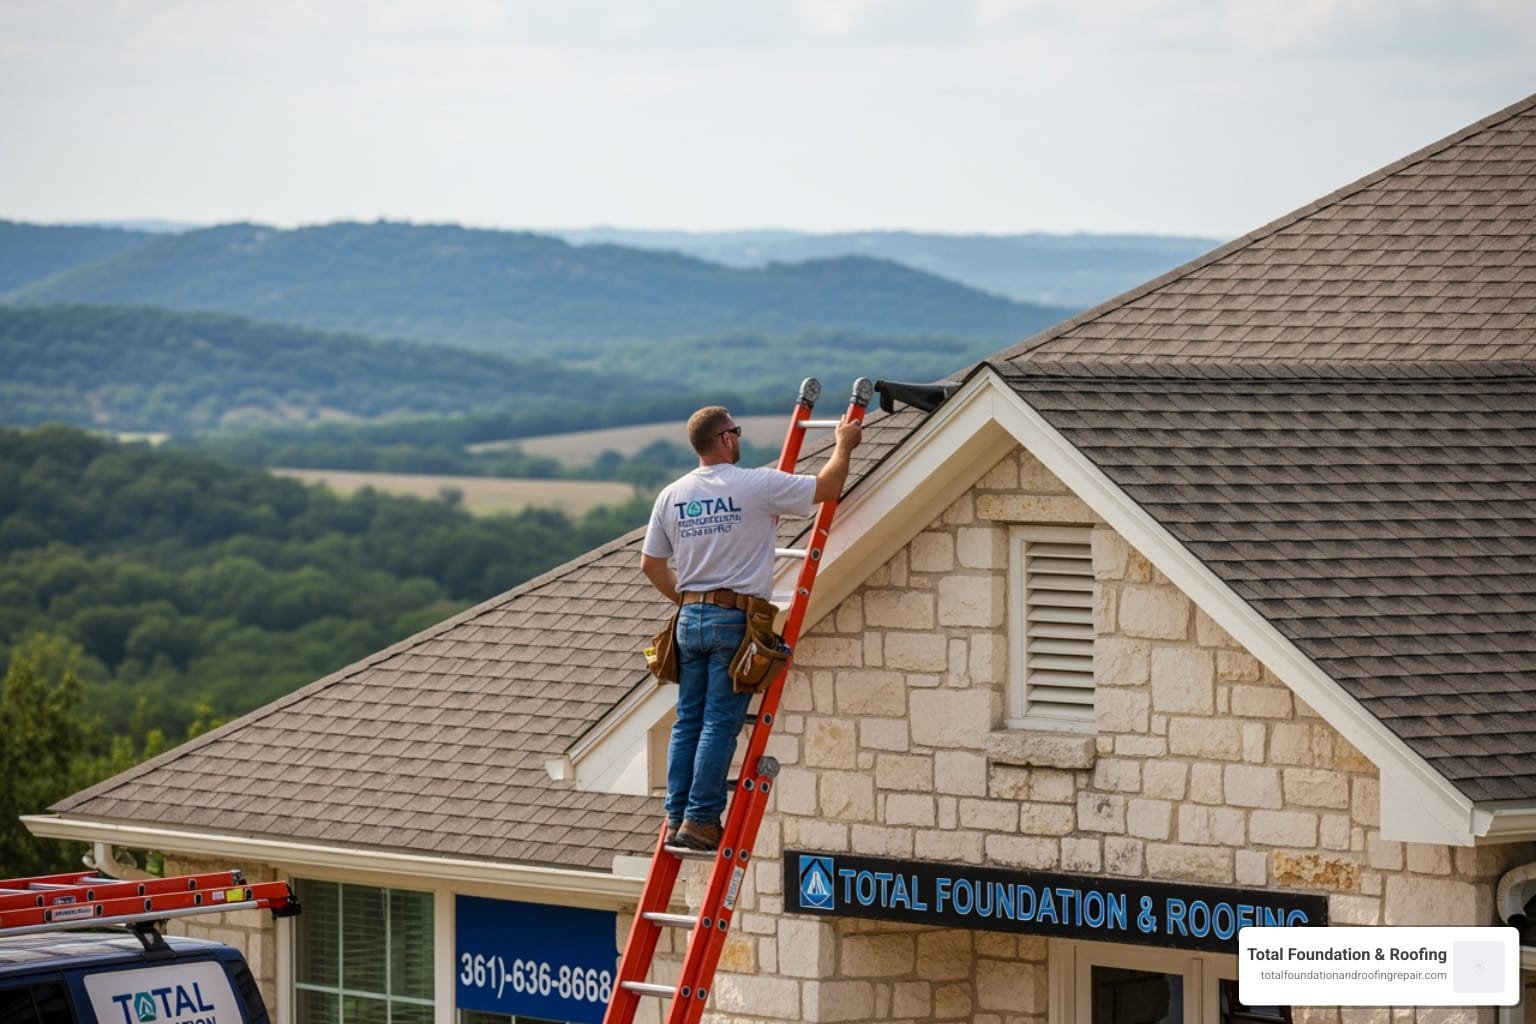
Knowing how to install ridge cap shingles correctly is the difference between a roof that lasts decades and one that leaks, lifts, or fails early. When you partner with a trusted local contractor like Total Foundation & Roofing, you ensure every detail is handled correctly. Ridge cap shingles sit at the very peak of your roof — the most exposed spot on the entire structure — and they take a beating from wind, rain, UV, and temperature swings every single day.
Here’s a quick overview of how to install ridge cap shingles:
- Determine prevailing wind direction — always start at the opposite (leeward) end
- Snap chalk lines — measure 5 to 6 inches down from the peak on both sides
- Install a starter shingle — center it over the ridge at the downwind end
- Nail successive shingles — overlap each piece 5 to 6 inches, two nails per shingle, placed so the next shingle covers the nail heads
- Seal the final cap — set it in roofing cement and cover any exposed nail heads
Because the ridge is the highest and most weather-exposed area on any roof, ridge cap shingles typically show wear 3 to 5 years before the rest of the roof surface. Getting the installation right the first time protects your entire home from water infiltration — not just the peak.
This is especially true in Texas Hill Country, where intense sun, high winds, and sudden storms put roofs under constant stress. Our team at Total Foundation & Roofing is built around getting these details right every time.
I’m Daniel Sowell, owner of Total Foundation & Roofing Repair in Kerrville, Texas, and over my 18 years in the roofing industry I’ve installed and repaired ridge cap shingles on hundreds of Texas Hill Country roofs — I’ll walk you through how to install ridge cap shingles the right way, from tools to final seal. Whether you’re tackling a repair or finishing a full replacement, the steps below will help you do the job properly and protect your investment for years to come.

Simple guide to how to install ridge cap shingles terms:
How to Install Ridge Cap Shingles: A Step-by-Step Guide
Understanding Ridge Cap Shingles and Why They Matter
Ridge cap shingles are specially manufactured, flexible shingles designed to bend over the peak (ridge) and sloping hips of a roof. Where two roof planes meet, they leave a gap that standard field shingles cannot seal on their own. Ridge cap shingles bridge this gap, acting as the primary weather barrier at the highest point of your home.
Because of their elevated position, these shingles bear the brunt of thermal cycling and UV radiation. In hot, sunny climates like ours in Texas, a roof peak endures brutal conditions. While a high-quality asphalt roof can achieve an impressive 25-year lifespan in intense sun exposure, the ridge caps are always the first to show signs of aging. If ridge caps are missing, cracked, or lifting, prompt professional roof repair helps prevent water intrusion before it spreads into the roof deck or attic.
When deciding on materials, you have two primary options:
- Pre-cut (Manufactured) Ridge Cap Shingles: These are specifically engineered for ridges and hips. They are thicker, pre-folded, and often made with polymer-modified asphalt to prevent cracking when bent. Using manufactured ridge caps is highly recommended to preserve your manufacturer’s warranty.
- Cut from 3-Tab Shingles: A traditional budget-friendly alternative where standard 3-tab field shingles are cut into three individual pieces and bent over the ridge.
While cutting 3-tab shingles is a common practice for older or low-cost roofs, you must never use modern architectural (laminated) shingles as ridge caps. Architectural shingles are far too thick and rigid to bend; attempting to force them over a ridge will result in immediate cracking, poor adhesion, and leaks.
To help you choose, explore our ridge cap shingles buyer’s guide or read more about choosing the right ridge cap for your home’s aesthetic. For manufacturer-specific insights, you can also check out GAF’s resource on All about Hip and Ridge Cap Shingles.
| Feature | Pre-Cut Ridge Cap Shingles | Cut 3-Tab Shingles |
|---|---|---|
| Durability | High (polymer-modified, thicker) | Moderate (standard asphalt) |
| Aesthetics | Clean, high-profile, dimensional | Flat, basic appearance |
| Warranty | Fully covered by manufacturers | May void laminated roof warranties |
| Installation | Fast (pre-scored/pre-cut) | Slow (requires manual cutting) |
Essential Tools and Materials for How to Install Ridge Cap Shingles
Before climbing onto the roof, gather all the necessary tools and materials to ensure a safe, efficient, and professional installation.

Here is what you will need:
- Ridge Cap Shingles: Ensure you have enough bundles (typically covering 20 to 33 linear feet per bundle).
- Roofing Nails: Use at least two-inch roofing nails to ensure they fully penetrate the additional roof layers, the ridge vent (if applicable), and anchor securely into the wooden roof deck. They should be 10-12 gauge zinc-coated steel or aluminum.
- Chalk Line: For snapping straight reference lines to keep your installation perfectly aligned.
- Utility Knife: Fitted with a hook blade for clean cuts.
- Roofing Cement / Polyurethane Sealant: For securing the final cap and sealing exposed fasteners.
- Safety Gear: A high-quality safety harness, roof anchors, and sturdy, slip-resistant boots.
Using the right, high-quality roofing materials prevents premature failures. If your ridge cap work is part of a full tear-off or aging roof system, a certified roof replacement service ensures the caps, vents, underlayment, flashing, and field shingles are installed as one integrated weather barrier. For a detailed breakdown of tools, you can also reference the How to Install Ridge Cap Shingles | Roof Peak Finishing guide.
Preparing the Roof and Determining Wind Direction
Proper preparation is the key to a roof peak that stands up to heavy Texas storms. Begin by inspecting the roof deck along the peak to ensure it is clean, dry, and free of protruding nails. If you are replacing old ridge caps, ensure all old fasteners and debris are completely cleared away.
Next, you must determine the prevailing wind direction in your area. This is a critical step that many amateur installers overlook.
To maximize wind resistance, always start installing ridge cap shingles at the end of the ridge opposite the prevailing wind direction. By working toward the prevailing wind, the overlapping shingles will face away from the wind. This prevents high gusts from getting underneath the exposed edges and lifting or tearing the shingles off the roof.
Once the direction is established, snap a chalk reference line. Measure 5-3/4 inches down from the peak on one side of the roof and snap your line. This gives you a straight, visible guide to align the side edge of your shingles as you work across the ridge. For more details on preparation, review our asphalt starter shingles guide and IKO’s expert advice on How To Install Hip and Ridge Cap Shingles.
Step-by-Step Process: How to Install Ridge Cap Shingles on Standard Ridges and Vents
With your tools ready and reference lines snapped, follow this step-by-step process to install your ridge caps like a seasoned pro.
Step 1: Prepare and Install the Starter Shingle
You cannot start with a full, exposed shingle, or the wind will rip it off. Create a starter shingle by cutting the exposed tab portion off a ridge cap shingle. Install this double-layered starter piece at the downwind end of the ridge, centering it over the peak. Fasten it using two nails, placed one inch from each side edge.
Step 2: Lay the First Full Shingle
Place your first full ridge cap shingle directly over the starter piece, ensuring it completely covers it. Align the side edge with your chalk line.
Step 3: Fasten with the Correct Nailing Pattern
Drive two roofing nails into the shingle — one on each side. Place the nails exactly 1 inch in from each side edge and just behind the exposure line (typically 5-5/8 inches to 6 inches from the butt edge, depending on the manufacturer).
Note: For standard shingles, use a 5-inch to 5-5/8-inch exposure. For specialized products like IKO Hip & Ridge 12, the exposure is increased to five and five-eighths inches.

Step 4: Overlap and Repeat
Lay the next shingle over the first, overlapping it to maintain the correct exposure. This overlap completely covers the nails of the previous shingle, protecting them from rain. Continue this pattern all the way down the ridge.
Step 5: Installing Over a Ridge Vent
If your roof utilizes a ridge vent for attic ventilation, the process is very similar. Ensure the vent is securely fastened to the deck. When nailing your ridge cap shingles over the vent, you must use longer roofing nails (usually 2.5 to 3 inches) to penetrate through the plastic vent and deep into the wood decking. Do not overdrive the nails, as this can crush the vent and restrict airflow. Learn more about the mechanics of this system in our guide to vented ridge cap shingles.
Step 6: Seal the Final Cap
When you reach the opposite end of the ridge, the final shingle will have its nail heads exposed because there is no subsequent shingle to cover them.
To finish the run:
- Cut a final cap piece (the non-glue half of a shingle works best).
- Set the piece firmly in a bed of asphalt roofing cement.
- Fasten it down and cover the exposed nail heads with dabs of roofing cement to create a watertight seal.
For extra security around roof intersections, see our asphalt shingle flashing guide.
Advanced Techniques: Handling Hips, Intersections, and Cold Weather
Installing on Hips
Hips are the diagonal ridges where two roof planes meet. When installing ridge caps on hips, always start at the bottom (eaves) and work your way up to the peak. This ensures that water runs down the slope and sheds naturally over the overlaps rather than running under them. Taper the starter course at the eave so it does not overhang into the gutters.
Addressing Hip-to-Ridge Intersections
Where hips meet the main horizontal ridge, run your hip shingles up to the junction first. Cut and fit them tightly, then install the main horizontal ridge cap shingles directly over the top of the hip intersection. This creates a clean, shedding layer that prevents water from pooling at the three-way joint.
Cold Weather Considerations
In the Texas Hill Country, winter temperatures can occasionally drop below freezing. If you are installing shingles when it is 45°F or lower, asphalt becomes stiff and brittle. Bending cold shingles will cause them to crack.
To avoid this, store your shingles in a warm space (like a heated vehicle cab) before bending them. Additionally, because the self-sealing thermal strips require sun heat to activate, apply quarter-sized dabs of asphalt plastic cement or polyurethane sealant under the corners of each cap shingle during cold-weather installations to prevent wind blow-offs. For a deeper look at full system installations, see our ultimate roof replacement guide or view GAF’s Z®Ridge Ridge Cap Shingles Application Instructions.
Common Installation Mistakes and How to Avoid Them
Even small errors at the roof peak can lead to major water damage. Watch out for these common pitfalls:
- Exposed Fasteners: Leaving nail heads uncovered on intermediate shingles is a guaranteed leak source. Always place nails in the overlap zone so the next shingle covers them.
- Insufficient Overlap: Trying to stretch your shingles further than the recommended exposure leaves the thin under-layers vulnerable to UV damage and wind uplift.
- Wrong Installation Direction: Installing shingles facing into the prevailing wind allows heavy gusts to catch the edges, leading to a bald roof peak over time.
- Overdriving Nails: Using a nail gun with too much pressure can slice right through the shingle, rendering the fastener useless and voiding your warranty. Drive nails flush by hand or adjust your pneumatic tools carefully.
If you have noticed leaks or missing shingles at your peak, check out our roof repair cost guide to see how simple repairs compare to a full replacement, or schedule expert roof repair before exposed ridge damage spreads into the rest of the roofing system.
Conclusion: Protecting Your Texas Hill Country Home
Mastering how to install ridge cap shingles is a rewarding way to ensure your home is protected from the elements. However, working on steep slopes and high peaks carries inherent safety risks, and precise installation is required to keep your manufacturer’s warranty fully intact.
At Total Foundation & Roofing, we serve homeowners in Kerrville, Fredericksburg, and Comfort, Texas, with prompt, high-quality, and certified workmanship tailored to the unique conditions of the Texas Hill Country. Whether you need a small peak repair or a complete roof overhaul, our experienced team is here to help.
Ready to secure the top of your home? Contact us today for professional roof replacement services or expert roof repair.
Visit our office in Kerrville, Texas or reach out online to schedule your free inspection!