Why Getting Your Carport Metal Roof Installation Right Matters From Day One
Carport metal roof installation is one of the most practical home improvement projects a Texas homeowner can tackle — but only if it’s done correctly from the start. Working with an experienced roofing and foundation contractor in Texas ensures your structure is built to withstand extreme weather conditions.
Here’s a quick overview of the full installation process:
- Plan and permit — Check local building codes and obtain any required permits
- Prepare the site — Level the ground and choose the right foundation type
- Gather tools and materials — Screw gun, tin snips, level, self-tapping screws, and metal panels
- Assemble the frame — Lay base rails, square the diagonals, and raise trusses
- Install roof panels — Align, overlap by one full rib, and fasten with rubber-washer screws
- Seal and flash — Apply eaves flashing, ridge caps, and silicone sealant
- Anchor securely — Use wedge anchors on concrete or rebar anchors in ground
- Maintain annually — Remove metal shavings, inspect fasteners, and touch up paint
A properly built metal carport protects your vehicle, boat, or equipment from Texas sun, hail, and heavy rain for decades. A poorly built one leaks, rusts, or worse — collapses under wind load.
The good news? With the right guidance, most homeowners can complete a standard two-car carport in one to two full days. Studies show that 43% of DIY outdoor structure builders report significant savings compared to hiring a contractor.
But there’s a real difference between getting it done and getting it done right. Skipping steps — like checking your diagonals before anchoring, or failing to overlap panels correctly — leads to leaks, wobble, and expensive fixes down the road. That’s where solid guidance from experienced foundation and roofing professionals makes all the difference.
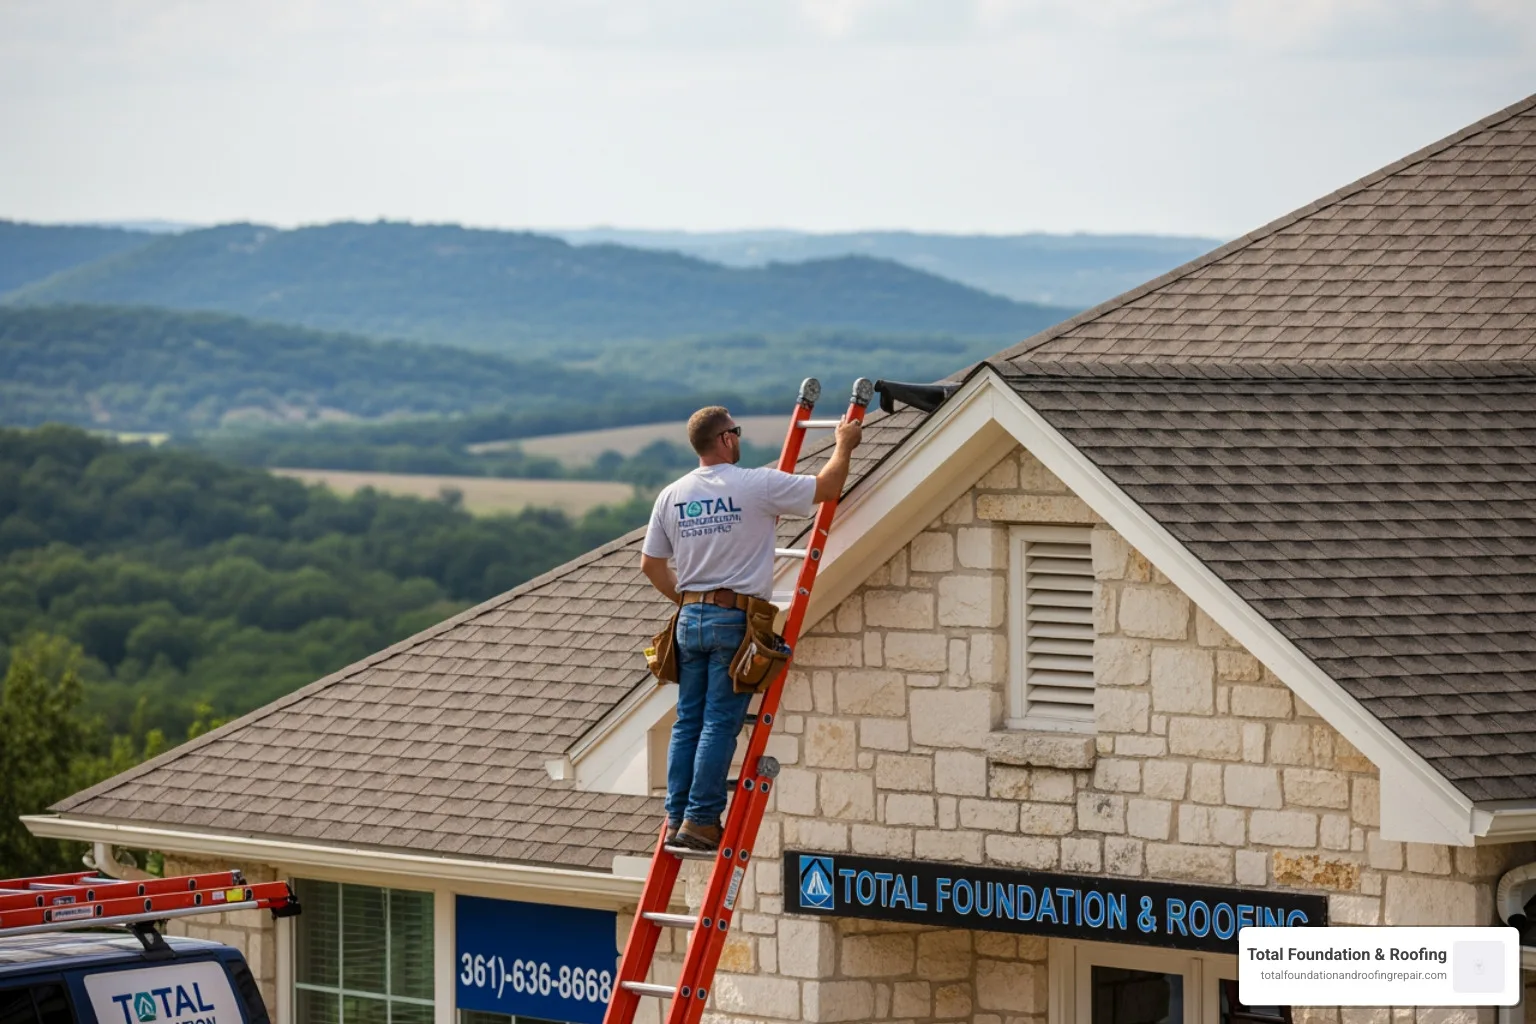
I’m Daniel Sowell, owner and operator of Total Foundation & Roofing Repair, LLC, based in Kerrville, Texas, with over 18 years of hands-on construction experience — including countless carport metal roof installation projects across the Texas Hill Country. In this guide, I’ll walk you through every step so your build is solid, weather-tight, and built to last.

Carport metal roof installation word list:
Step-by-Step Carport Metal Roof Installation Guide
Building a carport requires a systematic approach to ensure safety and structural durability. When we construct these shelters, we build them to withstand the intense weather patterns of the Texas Hill Country.

For a carport to remain stable, it must be engineered for superior structural integrity. Heavy-duty steel frames are the backbone of any reliable carport. For example, a standard 20×14 ft steel carport frame weighs approximately 877.44 lbs, providing the substantial mass needed to resist uplift. When properly assembled and anchored, these structures can withstand wind speeds up to 38.5 MPH (61 km/h) and support snow or debris loads of up to 16 psf (80 kg/m²).
Planning, Permits, and Site Preparation for Carport Metal Roof Installation
Before you buy a single metal panel, you must address local regulations and prepare your site.
- Permits and Building Codes: Do you need a permit? Yes, in most cases. Local municipalities in Kerrville, Fredericksburg, and Comfort, Texas, have specific zoning laws, setback requirements, and wind-load standards. Always check with your local city or county building department before beginning construction.
- Site Leveling: Your carport is only as stable as the ground beneath it. You must clear all vegetation, rock, and debris, then grade the site to ensure a perfectly flat surface. A slight slope of 1/8 inch per foot away from the structure is recommended to prevent water from pooling around the foundation.
- Foundation Options: While you can anchor a carport to level dirt or gravel using auger-style ground anchors, a concrete slab is the gold standard. Your concrete slab should be poured to a minimum thickness of 4 inches using 2500 to 3000 PSI concrete, with integrated 12″ x 12″ perimeter footings. To ensure proper anchoring, the concrete slab should extend 3/4 inch beyond the outer dimensions of the metal frame.
- Steel Gauge Selection: Choose your frame thickness wisely. 14-gauge steel (measuring 2.5″ x 2.5″ in diameter) is the standard industry choice. However, for wider structures, high-wind zones, or commercial use, heavy-duty 12-gauge steel (2.25″ x 2.25″ with higher tensile strength) is highly recommended. Industry standards from the Metal Construction Association emphasize that proper gauge selection prevents structural failure under extreme wind loads.
For more details on preparing your site and understanding kit types, check out this Metal Carport Kit: Do It Yourself Installation Guide and read our localized guide on Metal Roofing Fredericksburg TX.
Essential Tools and Materials for a DIY Carport Metal Roof Installation
Having the correct tools on hand prevents structural mistakes and saves hours of frustration.
To complete a carport metal roof installation successfully, gather the following essential tools:
- Cordless or electric screw gun (with adjustable torque settings)
- Tin snips or a metal-cutting nibbler (avoid using abrasive saws, which burn the protective zinc coating)
- Safety goggles, heavy-duty work gloves, and steel-toe boots
- A high-quality 4-foot level and a tape measure
- Sledgehammer (for driving ground anchors)
- Angle grinder (for minor trim adjustments)
- Two sturdy A-frame step ladders
As for materials, most engineered kits feature pre-cut galvanized steel tubing, purlins, trim, and 24-gauge Western Rib (7.2 panel) or corrugated metal sheets. You will also need self-tapping, rust-resistant roofing screws equipped with neoprene rubber washers.
For detailed material lists and structural insights, review the ASSEMBLY INSTRUCTIONS FOR DIY VERTICAL and our comprehensive resource, The Pro Guide to Installing Metal Roofs Like a Boss.
Assembling the Frame and Squaring the Foundation
The frame is the skeleton of your carport. If it is out of square, your roof panels will not align properly, resulting in severe leaks.
How to Square Your Base Rails:
[Corner A]-------------------[Corner B]
 | \ / |
 | \ / |
 | \ / |
 | \   / |
 | X |
 | /   \ |
 | / \ |
 | / \ |
 | / \ |
[Corner D]-------------------[Corner C]
*Measure Diagonals: Distance A-to-C must EXACTLY equal Distance B-to-D.*
- Lay the Base Rails: Lay out your base rails on your prepared foundation.
- Square the Diagonals: Measure diagonally from the front-left corner to the back-right corner, and then from the front-right to the back-left. These two measurements must be exactly equal. Use a string line to keep the rails perfectly straight.
- Anchor the Base: Once squared, secure the base rails. If you are mounting to concrete, drill 1/2″ holes at least 5 inches deep and install concrete wedge anchor bolts. For ground installations, drive 3-foot-long rebar anchors through the pre-drilled holes in the base rails.
- Assemble and Raise Trusses: Assemble your roof trusses, side posts, and peaks on the ground first. This is safer and much easier than trying to join them in the air. With the help of at least one assistant, raise the assembled frames onto the base rail pins and secure them with self-drilling frame screws.
For a deeper dive into managing framing challenges on sloped surfaces, see Level Up Your Ride: Installing a Carport, Even on Uneven Ground and our Metal Roof Installation Complete Guide.
Installing the Metal Roof Panels and Handling Different Widths
Once your frame is erect, plumb, and braced, you can begin the metal roof panel installation.
- Purlin Spacing: Install horizontal metal purlins (or hat channels) across your trusses. Mark your first purlin location 4 inches from the roof peak, and then space subsequent purlins exactly 3 feet apart down the slope of the roof. Secure them using hat brackets and self-tapping screws.
- Panel Alignment: Start installing your roof panels on the low end (the downwind side) of the carport to ensure water drains away from the overlaps. Align the first panel meticulously—if the first panel is crooked, every subsequent panel will be misaligned.
- Overlapping Ribs: Each subsequent panel must overlap the previous one by one full corrugation or rib. Fasten the panels to the purlins using self-tapping screws with rubber washers. Place screws in the flat “low seams” of the panels, spaced about 18 inches on center, and 2 feet on center at the panel overlaps.
- Handling Different Carport Widths:
- 10-foot and 14-foot widths: These narrower spans typically use continuous, single-length panels running from the peak to the eave, leaving a standard 6-inch overhang at the edges.
- 20-foot (and wider) spans: Wider carports require multi-panel runs. You must overlap upper and lower panels by at least 6 inches, applying a bead of butyl tape sealer between the overlapping metal sheets to block wind-driven rain.
For step-by-step panel fitting layouts, consult the DIY Horizontal Carport Kit guide and A Step-by-Step Guide to Fitting Corrugated Roof Sheets.
Sealing, Flashing, and Preventing Leaks on a Metal Carport Roof
A metal roof is only as good as its flashing. Without proper sealing, water will find its way behind the panels and slowly compromise your structure.
First, install your eaves flashing starting at the lower edge of the roof, overlapping individual flashing pieces by at least 1 inch. Next, install L-trim along the rake edges of the roof to protect the panel ends from wind uplift.
Finally, install the ridge cap at the peak of the roof. Apply a bead of high-quality silicone sealant or install foam closure strips that match your panel profile beneath the ridge cap before fastening it down. Place your ridge cap screws every 6 inches on both sides of the peak.
To safeguard your carport from water damage, read our specialized guides on how to Stop Your Corrugated Roof from Leaking Like a Sieve and plan for a proper Gutter Installation on Metal Roof.
Long-Term Maintenance and Rust Prevention
Metal carports require very little maintenance, but neglecting them entirely can shorten their lifespan. Follow these simple practices to keep your carport in top shape:
- Remove Metal Shavings Immediately: After drilling or cutting metal panels, brush off all metal shavings from the roof surface. If left behind, these tiny steel particles will rust rapidly, leaving unsightly red stains and damaging the protective finish of your panels.
- Apply Rust Protection: Twice a year, inspect all weld seams, fasteners, and cut metal edges. Spray them with a high-quality, zinc-coated silver paint to prevent corrosion.
- Clear Debris: Clean leaves, twigs, and dirt out of the roof valleys and gutters. Trapped organic debris retains moisture, which eventually eats through the galvanized coating.
- Heat Control: Open-sided carports can act like ovens under the Texas sun. Consider installing a radiant barrier like BlueTex directly beneath your metal panels during the initial installation to block up to 97% of radiant heat. Learn more in this guide on How to Use BlueTex in an Open Carport for Heat Control.
For a complete troubleshooting and repair reference, keep The Ultimate Metal Roof Leak Repair Manual handy.
Conclusion: Securing Your Investment with Professional Support

A DIY carport metal roof installation is a rewarding project that can save you a significant amount of money. However, achieving a perfectly square, structurally sound, and leak-free build requires precision, specialized tools, and a lot of heavy lifting.
If you encounter uneven ground, complex permitting rules, or simply want the peace of mind that comes with certified, professional workmanship, we are here to help. At Total Foundation & Roofing, we specialize in building durable, high-quality structures tailored specifically to the unique wind, heat, and soil conditions of the Texas Hill Country.
Whether you are in Kerrville, Fredericksburg, or Comfort, Texas, let our team handle the hard work for you. Visit our professional metal roofing services page to discuss your project and get a custom quote!