Essential Steps for a Successful copper roofing installation
Copper roofing installation is one of the most durable and visually striking roofing choices available — done right, a copper roof can last well over 100 years. Whether you’re planning a full copper roof installation for your Texas Hill Country home or just want to understand what the process involves, this guide covers everything from tools and prep to long-term maintenance.
Here’s a quick overview of the core steps involved in a professional installation:
- Inspect and prepare the roof deck — ensure it’s dry, smooth, and structurally sound to prevent telegraphing.
- Install underlayment — 30 lb saturated felt covered by 4 lb rosin-sized building paper as a critical slip sheet.
- Verify minimum slope — at least 1/4 inch per foot (2% grade) for drainage, though 3/12 is preferred for standing seam.
- Select your system — choose between standing seam, batten seam, or flat seam based on the architectural style.
- Form and lay copper panels — using 16-oz or 20-oz cold rolled copper for the best balance of weight and durability.
- Fasten with cleats — spaced 12 inches on center using copper or stainless steel fasteners to allow for thermal movement.
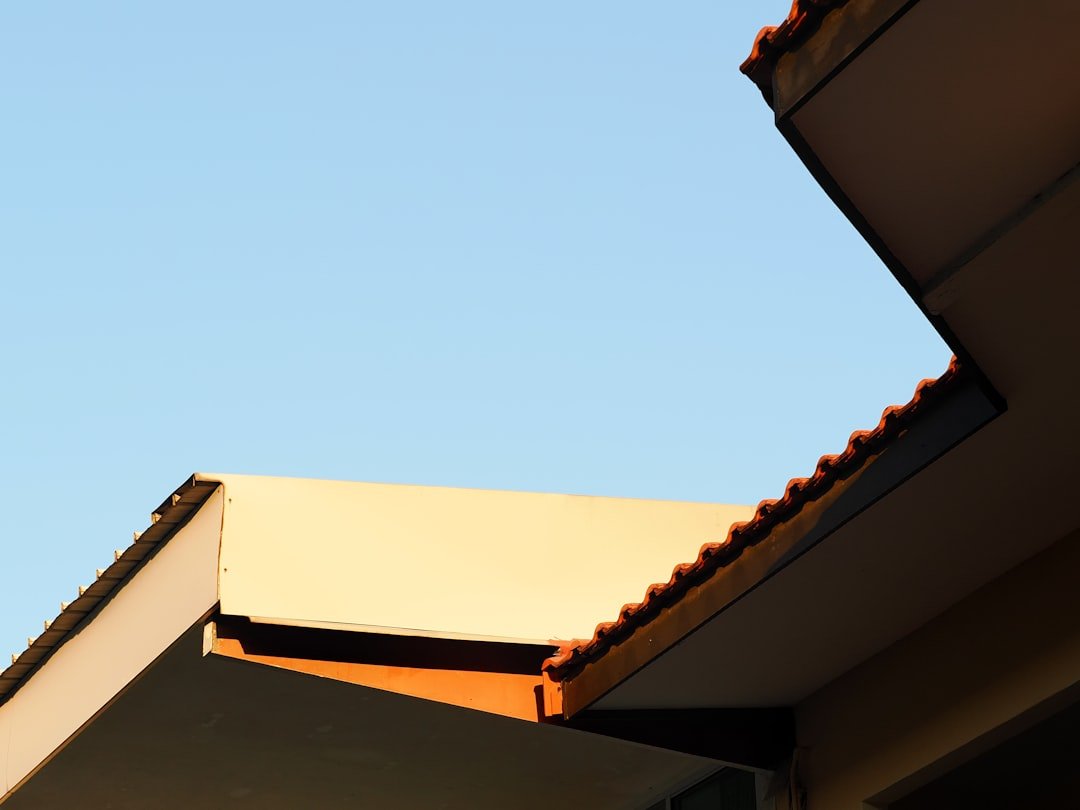
- Install flashing, valleys, and ridge caps — seal all penetrations and transitions with custom-bent copper components.
- Inspect and maintain — perform checks twice yearly, with annual debris removal to prevent localized corrosion.
Copper roofing demands precision at every step. Unlike asphalt shingles, copper moves with temperature changes, develops a living patina over time, and requires specific underlayment to prevent premature fatigue. A single mistake — wrong fasteners, skipped slip sheet, or improper seaming — can shorten the life of a roof that should outlast the building itself.
I’m Daniel Sowell, owner of Total Foundation & Roofing Repair with over 18 years of hands-on experience in roofing across the Texas Hill Country — including copper roofing installation on homes where longevity and craftsmanship matter most. I’ve put together this guide to give you the clearest, most practical breakdown of the copper roofing process available.

Copper roofing installation word roundup:
A successful copper roofing installation is as much about engineering as it is about art. Copper is a unique material; it is highly ductile, meaning we can form it into complex shapes like domes or turrets, but it also has a high coefficient of thermal expansion. This means the roof literally “breathes,” expanding and contracting significantly with the intense Texas sun.
System Selection and Comparison
Choosing the right system is the first step in ensuring structural integrity. Here is how the three primary copper systems compare:
| System Type | Best For | Minimum Slope | Seam Style |
|---|---|---|---|
| Standing Seam | Large roof areas, modern looks | 1/4″ per foot (optimal 3/12) | Vertical ribs with double-lock seams |
| Batten Seam | Architectural interest, traditional | 3/12 or greater | Copper caps over wood battens |
| Flat Seam | Low-slope, curved surfaces, domes | 1/4″ per foot (soldered) | Flat, interlocking locked seams |
Regardless of the system, waterproofing relies on traditional craftsmanship combined with modern tools. While power pan formers allow us to create uniform panels on-site, the final “double-lock” or “field-seam” often requires the steady hand of a skilled professional to ensure the joints remain watertight for a century.
Preparation and Tools for copper roofing installation
Before the first sheet of copper is ever unrolled, the foundation of the roof must be perfect. In areas like Kerrville, Texas, where temperature swings can be dramatic, the substrate preparation is the difference between a roof that lasts 100 years and one that fails in ten.
At Total Foundation & Roofing, we begin every project with a rigorous roof inspection to identify any rot or structural weakness in the decking. As recommended by GAF, the substrate must be clean, dry, and free of any debris that could compromise the underlayment. Copper is relatively lightweight—ranging from 123 lb per 100 sq ft for standing seam to 190 lb for heavy batten systems—but it requires a perfectly smooth surface. Any protruding nail heads or uneven boards will eventually “telegraph” through the soft copper, creating unsightly bumps or even punctures.
The Underlayment “Sandwich”
Copper conducts heat exceptionally well. This heat can cause standard asphalt-based underlayments to soften and bond to the underside of the copper panels. If the copper sticks to the underlayment, it can’t move during thermal expansion, leading to “metal fatigue” and eventual cracking. To prevent this, we use a specific two-layer approach:
- Primary Underlayment: We install a heavy-duty 30 lb saturated roofing felt. This provides the main moisture barrier and a secondary layer of protection against the elements.
- Slip Sheet: We then cover the felt with 4 lb rosin-sized building paper. This acts as a “slip sheet,” allowing the copper to glide over the underlayment as it expands and contracts without sticking to the asphalt felt.
Essential Materials and Tool Kit
The industry standard for residential roofing is 16-oz or 20-oz cold rolled copper. We highly recommend referring to the Copper in Architecture – Design Handbook for specific gauge requirements based on your local wind load and roof geometry.
To execute a professional copper roofing installation, your crew will need:
- Hand Tools: Tin snips, Roofing hammer, and a Chalk line for layout.
- Fabrication Tools: A bending brake for crisp edges and specialized seaming tools (manual or power) for closing the ribs.
- Safety Gear: Work gloves (essential to prevent fingerprints that stain the copper), Safety goggles, and non-slip shoes.
Executing the copper roofing installation Process

Once the deck is prepped and the underlayment is down, the actual metal roofing work begins. If you are a visual learner, we recommend watching How To Install a Copper Roof – This Old House for a demonstration of the precision required.
Step 1: Layout and Drip Edges
We start by snapping chalk lines to ensure the panels stay perfectly square. The first piece installed is the eave drip edge. This perimeter flashing must be secured firmly, as it provides the “hook” for the bottom of your copper panels. Proper alignment here is vital; even a quarter-inch deviation at the eave can result in a several-inch gap at the ridge.
Step 2: Cleats and Fasteners
This is the most critical part of the “breathing” roof. We do not nail directly through the copper panels. Instead, we use concealed cleats.
- Spacing: Cleats should be spaced 12 inches on center to provide maximum wind resistance.
- Material: You must use copper or 300-series stainless steel nails. Using galvanized or aluminum fasteners will cause galvanic corrosion, where the two different metals literally eat each other away.
- Tension: Do not overdrive fasteners. The cleat must hold the panel down but allow it to slide slightly left-to-right and up-and-down as the metal reacts to temperature changes.
Step 3: Seaming the Panels
For a standing seam system, we interlock the edges of the panels and use a seaming tool to crimp them together. A “single-lock” is common, but for the best weather resistance on lower slopes, a double-lock field seam is the gold standard. This involves folding the metal 180 degrees twice, creating a watertight “U” shape that prevents capillary action from pulling water into the seam during heavy Texas downpours.
Step 4: Valleys, Ridges, and Penetrations
Valleys are high-flow areas. We install custom-bent valley flashing with a central “V” or “W” rib to break the force of rushing water and prevent it from washing up under the panels. For roof penetrations like vent pipes, we use copper “boots” that are soldered directly to the main panels for a permanent, leak-proof seal.
Pro Tip: Always wear clean gloves during this stage. The oils from your skin will leave permanent fingerprints that show up as dark spots as the copper begins to patina, which can take years to blend in naturally.
Long-Term Performance and Maintenance of Copper Roofs
One of the reasons we love installing copper in the Texas Hill Country is its sheer resilience. While other materials struggle with our intense UV rays and occasional severe weather, copper actually gets tougher as it ages.
- Fire Safety: Copper has a melting point of 1,980°F. It is non-combustible, making it an excellent choice for homes in wildfire-prone areas. For maximum protection, ensure your roofing system components meet the standards set by Owens Corning for fire-resistant assemblies.
- Wind and Hail: Properly installed copper systems with frequent cleat spacing have incredible wind uplift resistance. While hail can cause cosmetic “dimples” on the soft metal, it rarely compromises the waterproofing of the roof. Many 80-year-old copper roofs have survived dozens of hail storms without a single leak.
- Sustainability: Copper is 100% recyclable. If a copper roof is ever removed, the material retains a high scrap value, unlike asphalt shingles which head straight to the landfill. This makes it one of the most eco-friendly roofing options available today.
Understanding Costs and Material Alternatives
There is no getting around it: copper roofing prices are at the top of the market. On average, you can expect to pay between $45,000 and $90,000 for a full installation.
The cost typically breaks down to:
- Materials: Copper sheet and coil prices fluctuate but generally stay under $8 per square foot for the raw metal.
- Installation: Because of the labor-intensive nature of field-seaming and custom flashing, the total installed cost ranges from $30 to $90 per square foot.
If the price tag is too high but you love the look, there are copper-colored alternatives. These are typically steel or aluminum panels with a high-quality Kynar paint finish that mimics the look of new or aged copper. These alternatives can offer a 25% to 50% cost reduction, though they won’t develop the same natural patina or last the full 100 years that real copper provides.
Weathering, Durability, and Maintenance Requirements
The most famous characteristic of copper is its transition from a “new penny” shine to a deep brown, and finally to a pale green verdigris. This isn’t rust; it’s a protective layer of oxidation called a patina. In the arid climate of West Texas, copper may stay brown for decades. In the more humid areas of the Hill Country, a full green patina can develop in about 25 years.
Maintenance Checklist
Despite its “set it and forget it” reputation, a little care goes a long way. We recommend:
- Annual Debris Removal: Keep valleys and gutters clear of leaves. Trapped moisture can lead to localized corrosion.
- Twice-Yearly Inspections: Look for any loose cleats or sealant failure around chimneys.
- Gentle Cleaning: If you need to remove bird droppings or sap, use a soft-bristled brush and mild soap. Never power wash a copper roof!
If you’ve noticed cosmetic damage after a storm, Refer to Section 7.2 of the insurance safety guidelines, which notes that repairs are rarely needed unless the seams are physically torn open.
Ready to Invest in a 100-Year Roof?
A copper roofing installation is a legacy project. It protects your home, increases its value, and provides a level of architectural beauty that no other material can match. At Total Foundation & Roofing, we specialize in the precision metalwork required to make these roofs last a lifetime in the Texas Hill Country.
Whether you are in Fredericksburg, Comfort, or right here in Kerrville, we are here to help. Get a professional metal roofing quote today and let’s build something that lasts.
Questions? Call us at (830) 257-3333 to speak with a local roofing expert.