Why Patching Plaster with Drywall Works for Your Texas Home
Patching plaster with drywall is a practical and affordable solution for repairing damaged walls in older Texas Hill Country homes. While traditional plaster repair is an art form, modern drywall offers a faster method that delivers professional results. At Total Foundation & Roofing, we’ve helped countless homeowners restore their walls, understanding how to bridge old construction with modern materials. This guide provides a definitive process for a flawless finish.
Quick Answer: How to Patch Plaster with Drywall
- Remove all loose plaster and create a clean, square opening.
- Add furring strips to studs to match the plaster’s thickness.
- Cut and install a drywall patch so it sits flush with the wall surface.
- Apply joint compound in multiple thin coats, feathering the edges wider each time.
- Sand, prime, and paint for a seamless finish.
This method is ideal for holes larger than 6 inches where traditional plaster repair is impractical. As the owner of Total Foundation & Roofing Repair with 18 years of experience, I’ve guided many Kerrville homeowners through this exact process. Follow these steps to restore your walls beautifully and affordably.

Handy patching plaster with drywall terms:
Understanding the Basics: Plaster vs. Drywall Repair
If you live in an older home in Kerrville, Fredericksburg, or Comfort, TX, you’re familiar with the charm of plaster walls. But when damage occurs, the repair can seem daunting. The key difference between plaster and drywall patching is complexity and material.
Traditional plaster walls are thick, hard, and soundproof, applied in multiple layers over wood lath. Repairing them requires specialized skills and materials to apply scratch, brown, and finish coats. Drywall, a pre-made gypsum board, simplifies this process. When patching plaster with drywall, you replace the damaged section with a piece of drywall and blend the seam with joint compound. It’s a faster, more accessible method for modern repairs.
When to Use Drywall for a Plaster Patch
A drywall patch is the best solution for holes larger than a few inches. It’s also ideal for repairing large areas of water damage (after the leak is fixed) or openings cut for plumbing and electrical work. The primary benefits are cost and time savings, as drywall materials are readily available and joint compound dries much faster than traditional plaster.
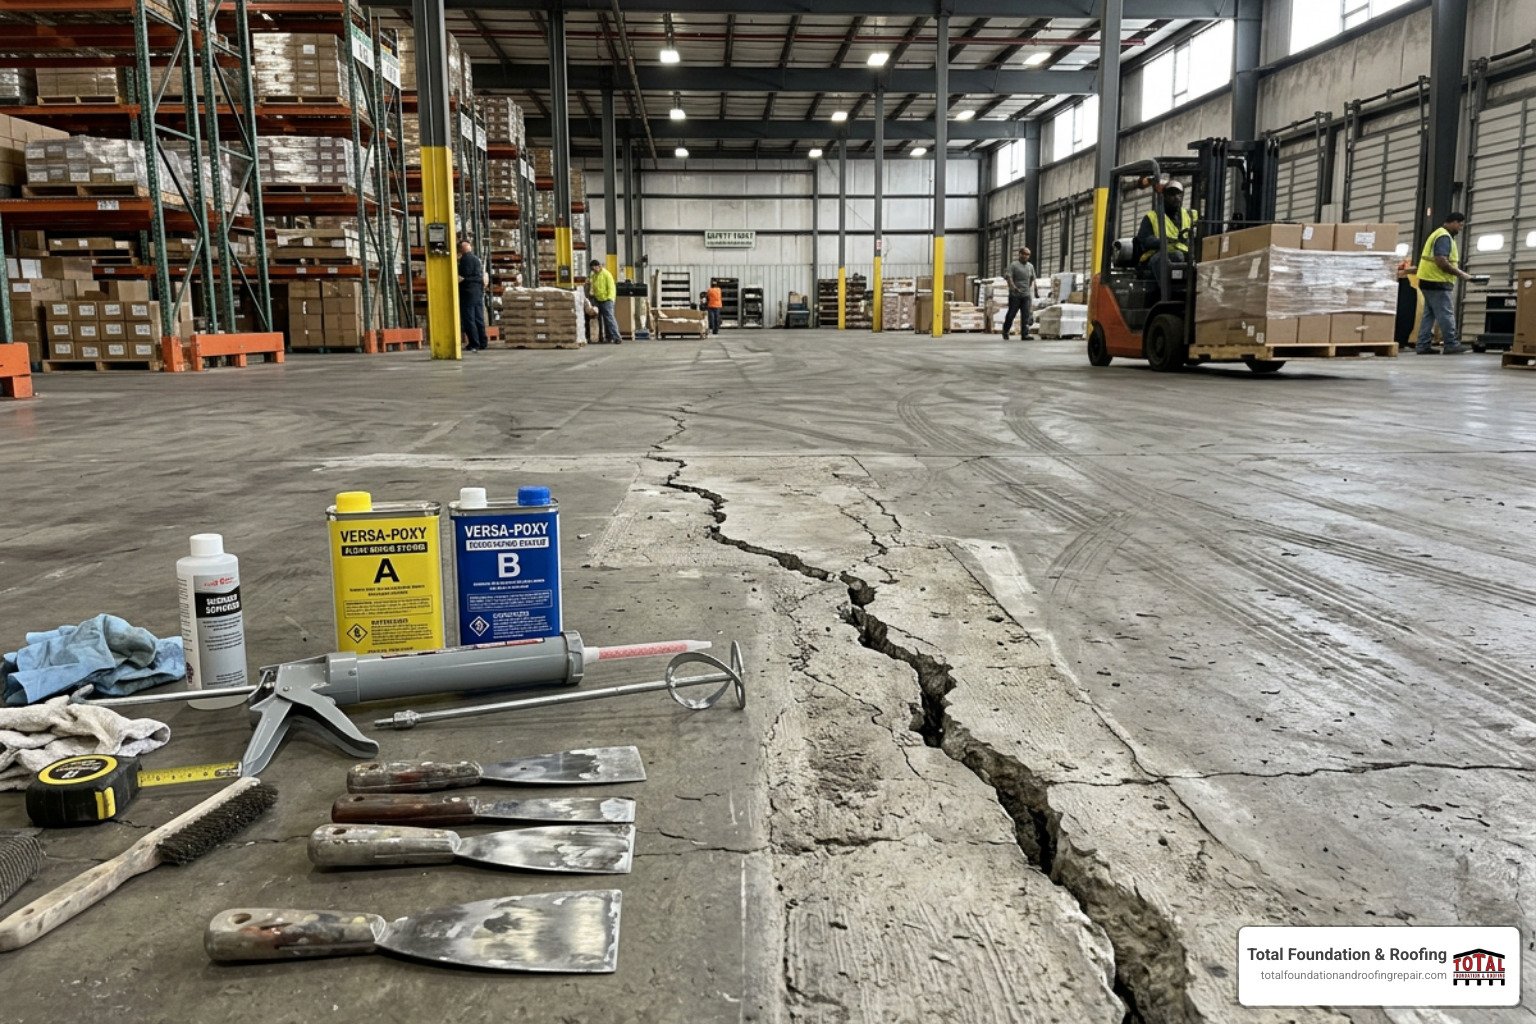
Important Note: While this method is excellent for cosmetic repairs, recurring cracks can signal underlying foundation problems. If you see persistent diagonal cracks in your Fredericksburg home, call us at (830) 955-5159 for a professional assessment.
Here’s how the two approaches compare:
| Metric | Traditional Plaster Patching | Drywall Patching |
|---|---|---|
| Skill Level | High (requires significant experience with trowel work) | Moderate (DIY-friendly with patience) |
| Cost (Materials) | Higher (specialized plaster products, lath, bonding agents) | Lower (drywall sheets, joint compound, tape, screws) |
| Dry Time | Longer (multiple plaster coats, each with curing time) | Shorter (joint compound dries faster than plaster) |
| Best Use Case | Small cracks, historical accuracy, skilled restoration | Large holes, extensive damage, practical, faster repairs |
| Lath & Plaster Systems | Direct repair, re-keying plaster to lath | Integration with furring strips to match thickness |
Essential Tools and Materials for the Job
Having the right supplies is the first step to success. Here’s what you’ll need.
Tools:
- Utility knife and tape measure
- Drill/driver
- 6-inch and 12-inch drywall knives
- Painter’s 5-in-1 tool for removing loose plaster
- Sanding sponge or block
- Safety goggles and a dust mask
Materials:
- Drywall sheet (1/2-inch or 5/8-inch to match plaster thickness)
- Setting-type joint compound (e.g., Durabond or Easy Sand) for initial coats
- Fiberglass mesh tape to reinforce seams
- Drywall screws (1 1/4-inch or 1 5/8-inch)
- Wood furring strips or shims to match plaster depth
- Plaster bonding agent to ensure adhesion
- Quality primer and paint

With these items, you’re ready to create a patch that will be invisible once painted.
The Step-by-Step Process for Patching Plaster with Drywall
With your tools and materials ready, follow this process carefully. Patience is key, especially during drying times between coats of compound.
Step 1: Preparing the Wall for a Drywall Patch
Proper preparation is the most critical step for a lasting repair.

- Safety First: Wear safety goggles and a dust mask. If electrical wires may be present, turn off the corresponding circuit breaker.
- Create a Clean Opening: Use a utility knife to score a square or rectangle around the damaged area. Carefully pry out all loose and crumbling plaster with a 5-in-1 tool, exposing the wood lath or studs behind it.
- Stabilize the Lath: If the wood lath is loose, secure it to the wall studs with screws. If the lath is missing, cut the plaster back to the nearest studs to create a solid opening.
- Clean the Area: Vacuum all dust and debris from the opening and surrounding wall. A clean surface is essential for adhesion.
- Compensate for Thickness: Plaster walls are typically thicker than drywall. To make your patch flush, you must add furring strips. Measure the plaster’s depth (e.g., 1 inch). If using 1/2-inch drywall, you need 1/2-inch furring strips. Screw these wood strips to the sides of the exposed studs inside the opening. This brings the mounting surface forward so the drywall patch will be level with the existing plaster.
Step 2: Securing the Patch and Applying Joint Compound
Now you will install the patch and begin blending the materials.

- Cut and Fit the Patch: Measure the opening and cut a piece of drywall to fit, leaving a small 1/8-inch gap around the edges. Test fit the patch to ensure it sits flush with the plaster surface.
- Secure the Patch: Attach the drywall to the furring strips and studs with drywall screws. Drive the screw heads just below the drywall’s paper surface, creating a slight dimple without tearing the paper.
- Apply Bonding Agent: Brush a plaster bonding agent onto the cut edges of the old plaster. This crucial step creates a strong bond between the old plaster and the new joint compound.
- Tape the Seams: For the first coat, use a setting-type compound (like Durabond), which is stronger and dries faster. Apply a thin layer over the seams with a 6-inch drywall knife. Immediately embed fiberglass mesh tape into the wet compound, pressing it flat. Apply another thin layer of compound over the tape to cover it completely. Also, cover all screw dimples. For more detailed guidance, refer to the GSA’s technical procedure for patching large holes.
Step 3: Building Up the Joint Compound
Building thin, wide layers is the secret to an invisible repair.

- First Coat & Scrape: Allow the first coat to dry completely. Once dry, scrape off any high spots or ridges with your knife.
- Second Coat: Apply a second coat of joint compound, extending it 2-3 inches wider than the first coat. This begins the feathering process, creating a gradual slope from the patch to the wall.
- Third Coat: After the second coat is dry and scraped, apply a third, even wider coat with your 12-inch drywall knife. This coat should extend another 3-4 inches beyond the second, making the transition nearly invisible. Each coat should be thinner than the last.
- Final Skim Coat (Optional): For the smoothest finish, you may need a final, very thin skim coat. Always allow each coat to dry completely before applying the next. For professional material specifications, see USG’s plastering technical guide.
By building up feathered layers, you create a surface that is ready for the final touches that will make it disappear.
Finishing Touches and Professional Guidance
These final steps will transform your repair from a patch into a seamless part of your wall. Attention to detail here is what creates a professional result.
Step 4: Sanding, Priming, and Painting
This is where your patching plaster with drywall repair becomes invisible.

- Sand Smooth: Once the final coat is completely dry (allow at least 24 hours), lightly sand the entire area. Start with 150-grit sandpaper to smooth the surface and feather the edges, then finish with 220-grit for a glass-like feel. Use light pressure to avoid creating gouges.
- Clean the Surface: Wipe away all sanding dust with a damp cloth and let the wall dry.
- Prime the Patch: Apply a quality primer over the entire patched area. This is a critical step that seals the porous joint compound and prevents “flashing,” ensuring your paint has a uniform sheen.
- Paint to Match: Once the primer is dry, apply two coats of paint to match the rest of your wall. Step back and admire your flawless repair.
Common Mistakes When Patching Plaster with Drywall
Avoiding these common errors will save you time and frustration:
- Poor Surface Prep: Failing to remove all loose plaster and dust will cause the patch to fail.
- Ignoring Thickness Differences: Not using furring strips results in a sunken or bulging patch that is always visible.
- Using the Wrong Compound: Setting-type compound is essential for the initial coats to ensure a strong, durable bond.
- Rushing Drying Times: Applying new coats before the previous one is fully dry causes cracks and bubbles.
- Skipping the Bonding Agent: Old plaster needs a bonding agent to properly adhere to new joint compound.
- Oversanding: Aggressive sanding creates depressions and can damage the drywall paper, requiring more work.
- Poor Feathering: Not spreading each coat of compound wider than the last creates visible seams.
Is It Just a Crack, or a Bigger Problem?
While this guide helps with cosmetic damage, some cracks indicate a more serious issue. In the Texas Hill Country, this is a frequent concern.
If you see cracks that reappear after repair, large diagonal cracks, or cracks growing from the corners of windows and doors, you may be seeing signs of foundation movement. These cracks are symptoms of a structural problem that patching alone cannot solve, often caused by your home’s foundation settling or shifting—a common issue in our region’s expansive clay soils.
Ignoring these signs can lead to sticking doors, windows that won’t close, and more significant structural damage. For a professional assessment in the Fredericksburg area, contact the experts at Total Foundation & Roofing at (830) 955-5159. We can determine if you need a simple cosmetic fix or a structural solution. Our comprehensive Foundation Repair Services ensure your home remains on solid ground, protecting its integrity and beauty from the foundation up.