Table of Contents
ToggleWhy Metal Roofing Is the Smart Choice for Texas Homeowners
A metal roof installation is a smart investment, offering a durable and long-lasting solution for your home. With a lifespan of 40-70 years, it significantly outlasts traditional asphalt shingles. For homeowners seeking trusted roofing solutions in the Texas Hill Country, a metal roof provides unparalleled protection against our region’s harsh weather, including hurricanes, hail, and wildfires. Beyond its strength, metal roofing reflects solar heat, which can reduce cooling costs by up to 25%—a major benefit in the Texas heat.
This guide, brought to you by Daniel Sowell, owner of Total Foundation & Roofing with over 18 years of local construction experience, will walk you through the essentials of metal roof installation. Key steps include:
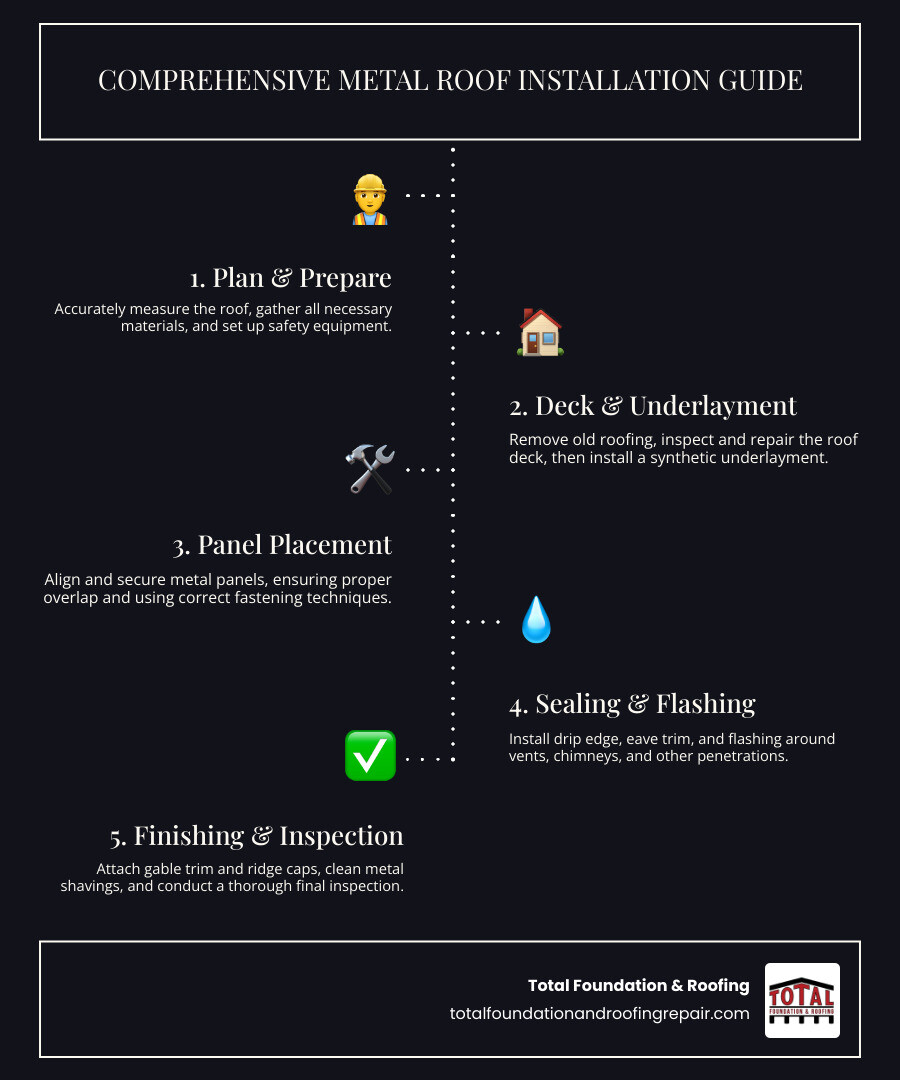
- Planning & Preparation: Measuring the roof, gathering materials, and ensuring safety.
- Installation: Removing old roofing, installing underlayment, and securing metal panels.
- Finishing: Adding ridge caps, flashing, and trim for a weatherproof seal.
Understanding this process helps you make informed decisions, whether you’re upgrading for long-term value or replacing a storm-damaged roof.
The Complete Metal Roof Installation Process
A successful metal roof installation requires careful planning and methodical execution. This section breaks down the process, from initial prep to the final touches, ensuring you understand what goes into a high-quality, long-lasting roof.
Pre-Installation: Planning, Safety, and Materials
Proper preparation is the foundation of a successful project. Rushing this phase can lead to costly mistakes and safety hazards.
Safety & Tools
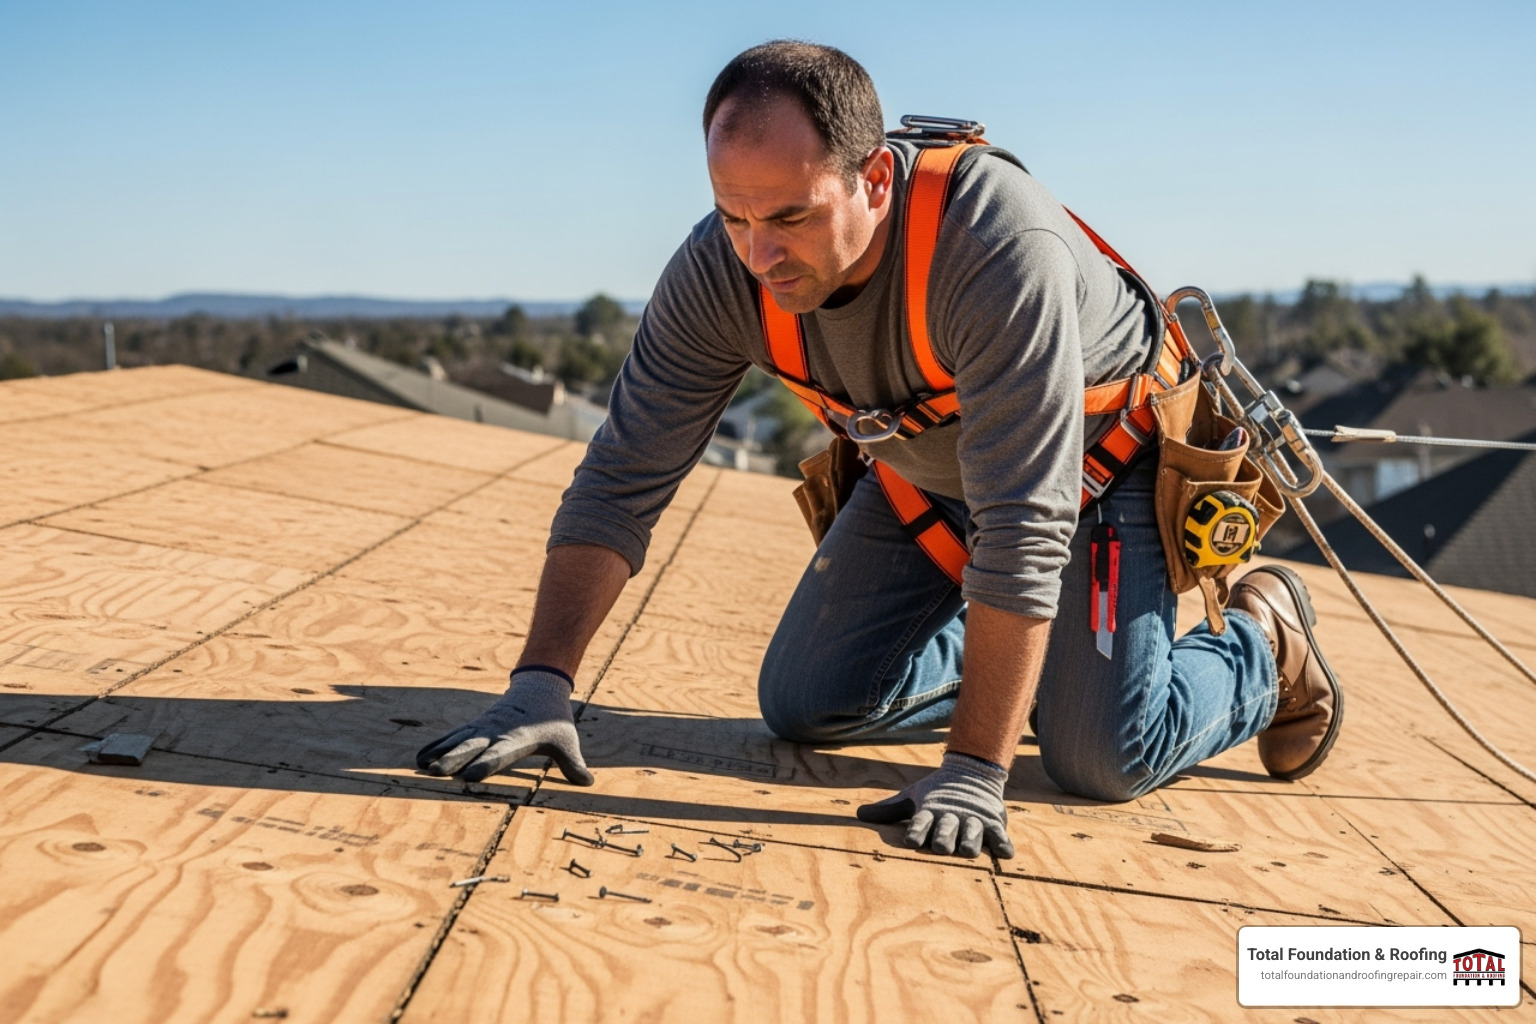
Safety is non-negotiable. Always use proper fall protection, including a safety harness, lanyard, and secure anchor point. Essential PPE includes gloves, safety goggles, a hard hat, and non-slip shoes. Ensure ladders are stable and secured. Before starting, gather all necessary tools: a tape measure, chalk line, level, metal-cutting saws and snips, and a screw gun with an adjustable clutch. Having everything ready prevents delays and keeps the project running smoothly.
Measuring and Material Selection
Accurate measurements prevent waste. Measure the length and width of each roof section to calculate the total square footage, and don’t forget to account for the roof’s pitch. Order 10-15% extra material for cuts and overlaps. For Texas, durable steel or corrosion-resistant aluminum are excellent choices, offering the best combination of performance and value. For more on budgeting, see our home roof replacement cost guide.
Roof Deck Preparation
A complete tear-off of old shingles is highly recommended. This allows for a thorough inspection of the roof deck. Replace any rotted or damaged sheathing to ensure a solid base for your new roof, as a compromised deck cannot hold fasteners securely. The surface must be clean, dry, and smooth.
Step-by-Step Guide to a DIY Metal Roof Installation
This guide covers through-fastened panels, a common choice for DIY projects. Standing seam systems typically require professional tools and expertise.
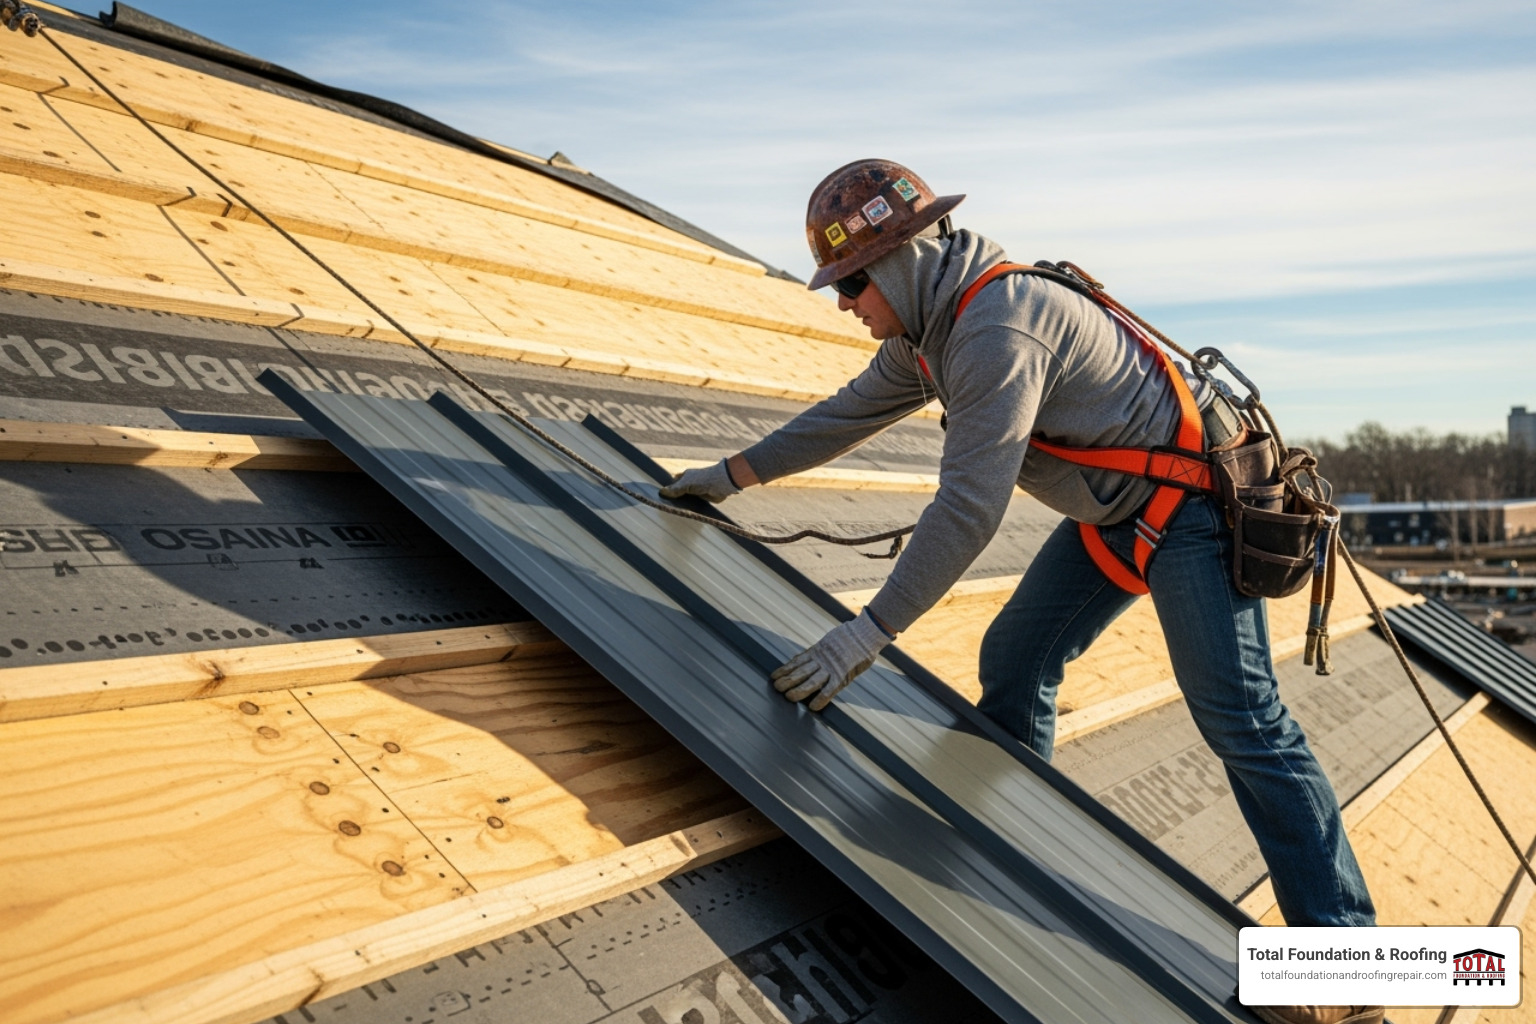
- Install Underlayment: Start at the eaves and lay synthetic underlayment horizontally, working up to the ridge. Overlap each row by 4-6 inches and keep it wrinkle-free. This layer is your secondary defense against moisture.
- Install Trim: Attach the drip edge along the eaves and rakes. Then, install the eave trim over the underlayment, securing it to the fascia.
- Align the First Panel: Snap a square reference line using the 3-4-5 method. Align the first panel with this line, allowing a 3/4-inch overhang at the eave. Use foam closure strips and sealant tape to prevent water and pest intrusion.
- Fasten Panels Correctly: Use screws with neoprene washers, driving them snugly without overtightening. An over-tightened screw can damage the panel and break the watertight seal. Follow the manufacturer’s pattern for placement.
- Overlap and Cut Panels: Overlap each panel by at least one rib, ensuring the drainage channel nests correctly. Cut panels as needed for angles and obstacles using a circular saw with a metal-cutting blade or tin snips. Always clean up metal shavings immediately to prevent rust stains. For complex cuts, our guide on installing metal roof transition flashing can be helpful.
Finishing Touches and Post-Installation Care
Attention to detail in the final steps ensures a professional, weatherproof finish.
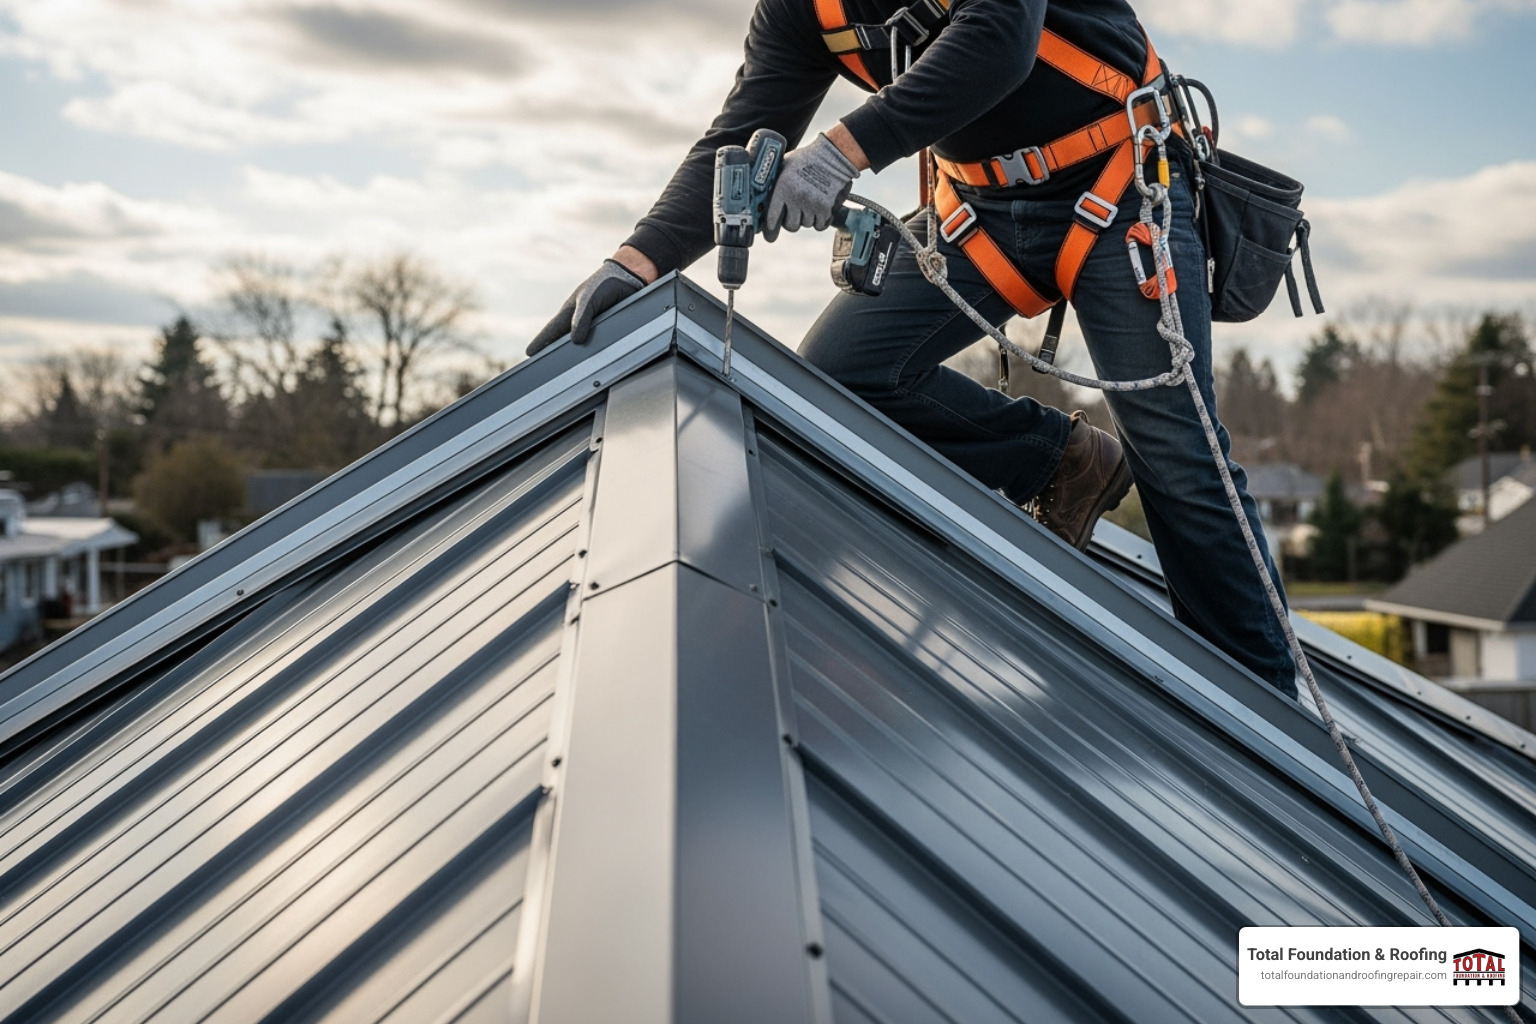
- Gable Trim and Ridge Cap: Attach gable trim along the roof’s rakes. Install the ridge cap at the peak over foam closure strips and sealant to block out rain and wind. Secure it with screws through every rib into the roof deck.
- Flashing: Properly flash all penetrations like chimneys, vents, and skylights. This is a critical step to prevent leaks. Use pre-formed boots for pipes and step flashing for chimneys, layering all components to shed water effectively.
- Final Inspection and Maintenance: Walk the roof to check for loose or overtightened screws and ensure all seals are intact. Clean all debris and metal shavings. To maximize your roof’s lifespan, perform annual metal roof maintenance checks and clear debris from gutters and surfaces, especially after severe weather.
DIY vs. Professional Installation: Making the Right Choice
Deciding between a DIY metal roof installation and hiring a professional is a critical choice affecting your budget, timeline, and safety. While a DIY project can be rewarding, honestly assess the project’s complexity and your own capabilities.
Assessing the Project: When to DIY
A DIY approach can offer significant cost savings and personal satisfaction. It is most feasible under these conditions:
- Simple Roof Design: Your roof is a straightforward A-frame or has a low pitch with no complex valleys, dormers, or numerous penetrations.
- Right Tools & Experience: You are comfortable with construction work, have the necessary tools, and have experience working safely at heights.
- Ample Time: You can dedicate several days or weeks to the project, accounting for weather delays and a learning curve.
- Code Compliance: You are prepared to research local building codes, obtain permits, and ensure your work passes inspection.
When to Hire a Professional Roofer
In many cases, hiring an expert is the safer and more effective option. Consider a professional if you face any of the following:
- Complex Roof Geometry: Your roof has a steep pitch, multiple dormers, hips, or valleys that require advanced flashing techniques.
- Safety Concerns: Professionals have the training and commercial-grade safety equipment to manage the inherent risks of roofing.
- Warranty Compliance: Many manufacturers require professional installation to validate their product warranties. A DIY error could void this protection.
- Structural Damage: If you uncover significant rot or damage to the roof deck, a professional can properly assess and repair the underlying structure.
- Time Constraints: A skilled crew can complete the job far more efficiently and correctly than a novice installer.
The bottom line is to be realistic. There’s no shame in recognizing when a project is beyond your skill set. Sometimes, the smartest decision is knowing when to call in the pros.
Metal Roofing Compared to Other Materials & Typical Costs
Understanding how metal roofing stacks up against other materials is key to making an informed decision. While the upfront cost is higher, the long-term value is often superior, especially in the Texas Hill Country.
Durability and Maintenance: Metal vs. Asphalt Shingles
The differences between metal and asphalt are stark, particularly in terms of longevity and resilience.
- Lifespan: A metal roof lasts 40-70 years, whereas asphalt shingles typically need replacement every 15-20 years in the Texas heat. A metal roof can be a one-time investment for your home.
- Durability: Metal is exceptionally resistant to high winds, hail, and fire—all significant threats in Texas. Asphalt is far more vulnerable to storm damage.
- Maintenance: Metal requires minimal upkeep, mainly occasional inspections. It naturally resists the moss and algae growth that plagues shingle roofs.
- Energy Efficiency: Metal roofs reflect solar heat, reducing cooling costs by up to 25%. Asphalt shingles absorb heat, increasing the load on your AC system.
Typical Costs Associated with Metal Roof Installation
While the initial investment is higher, the lifetime cost of a metal roof is often lower than repeatedly replacing asphalt shingles.
- Profiled Metal Tiles (Exposed Fasteners): Typically $8.75 to $15 per square foot installed.
- Standing Seam Metal (Hidden Fasteners): Typically $15 to $25 per square foot installed.
Several factors influence the final price:
- Material Type: Premium metals like copper and zinc cost more than steel or aluminum.
- Roof Complexity: Steep pitches, hips, valleys, and dormers increase labor and material costs.
- Accessibility: Difficult-to-reach roofs may incur additional charges.
- Tear-Off: Removing and disposing of an existing roof adds to the total cost.
When you factor in longevity, reduced maintenance, and energy savings, a metal roof often proves to be the smarter financial choice over the long run.
Conclusion: Your Durable Roof Awaits
You’ve now walked through the key aspects of a metal roof installation, from planning and preparation to the final finishing touches. This knowledge empowers you to make the best decision for your home’s long-term protection.
A metal roof is more than just a covering; it’s an investment in 40-70 years of reliable security. In the Texas Hill Country, where severe weather is a constant threat, that peace of mind is invaluable. Its energy efficiency also offers immediate returns, with potential cooling cost reductions of up to 25% during our hot summers.
The choice between DIY and professional installation depends on your roof’s complexity and your personal skill set. While a simple project can be a rewarding DIY endeavor, the risks associated with improper installation—including leaks and voided warranties—often make professional work the wiser choice. Safety should always be the top priority.
Ready to move forward with confidence? For a professional metal roof installation that guarantees quality and durability, trust the experts who understand the demands of our local climate. Total Foundation & Roofing provides certified Metal Roofing Services custom for Texas homeowners.
Request a Free Estimate today to secure your home with a durable, energy-efficient roof that will last for decades.
