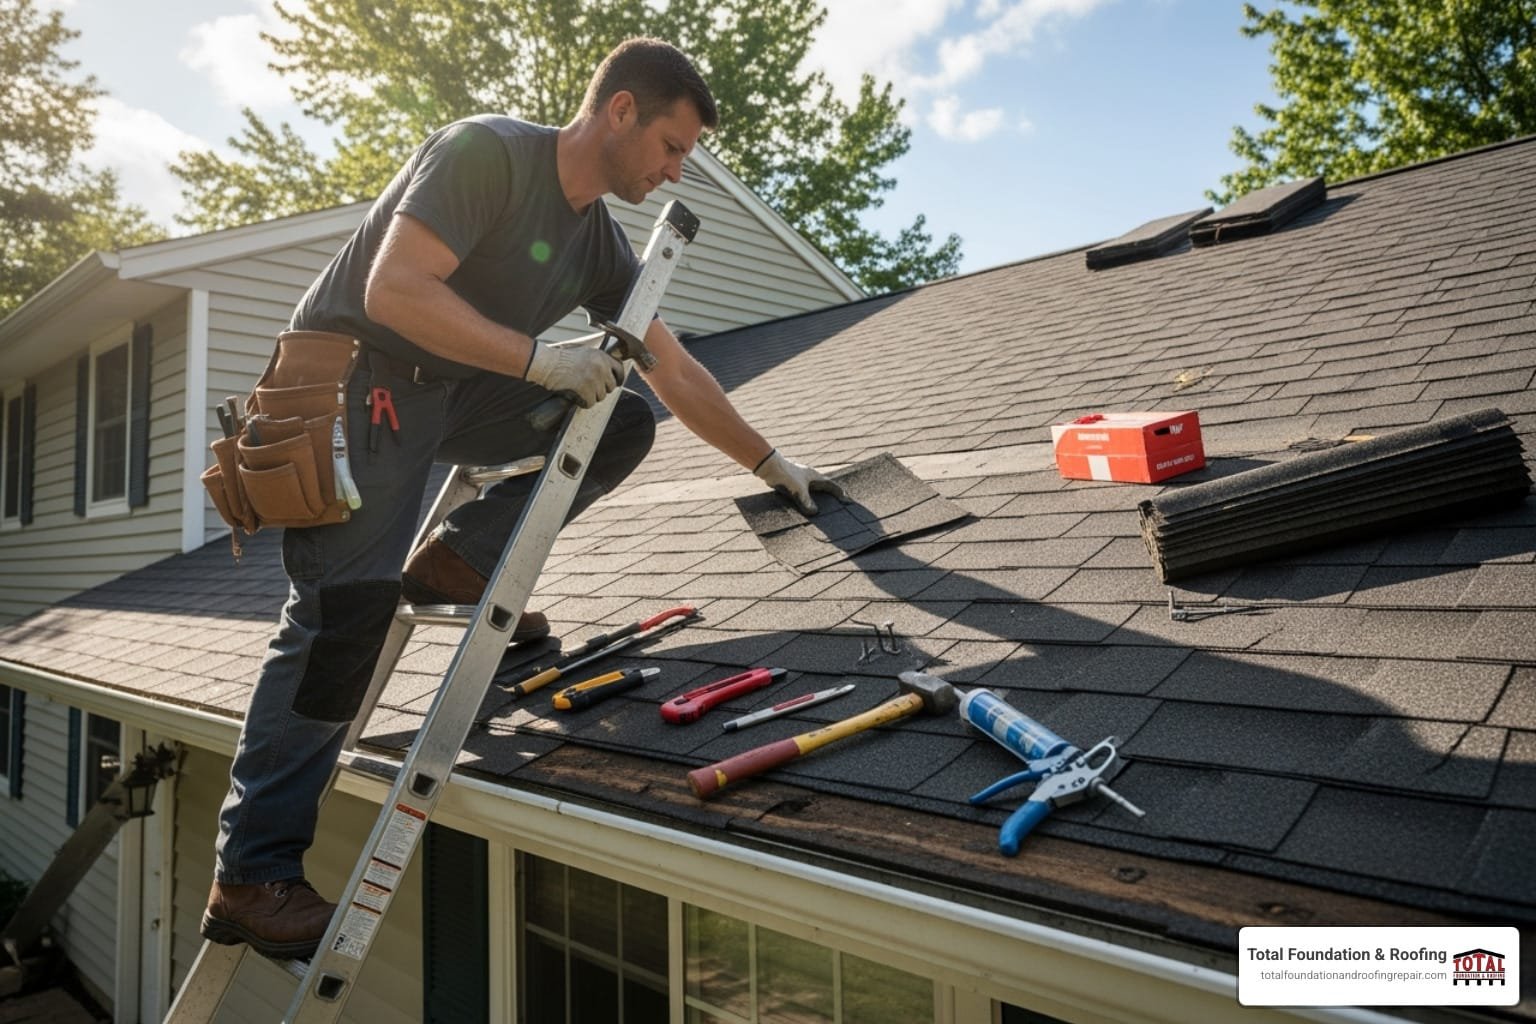
Why Lifting a House Is a Major Home Repair Solution
Lifting a house is a powerful solution for homeowners facing severe foundation damage, flood risk, or the need for additional living space. Also known as house jacking, it addresses problems that can’t be fixed any other way, such as a foundation deteriorated beyond simple repair or the need for more space without expanding your home’s footprint. This is especially true in areas with volatile soil conditions, where expansive clay can cause foundations to heave and settle unevenly, leading to severe structural damage that patching can’t resolve. This major undertaking is often the best solution for significant home issues, including complex foundation repairs in the Texas Hill Country. Furthermore, with changing weather patterns and updated FEMA flood maps, many homeowners find their properties newly designated in high-risk flood zones. Lifting a house is often the most effective, and sometimes only, way to mitigate this risk, lower exorbitant flood insurance premiums, and protect the home and its contents from water damage.
Quick Answer: What is House Lifting?
- Definition: A structural process that separates a home from its foundation and raises it vertically using a synchronized system of hydraulic jacks and steel beams.
- Common Reasons: Complete foundation replacement, mitigating flood risk by raising the home, adding a new basement or first story, or accessing and repairing otherwise unreachable foundation sections.
- Cost Range: $15,000 – $150,000+. A simple lift to repair a foundation is on the lower end, while lifting to add a full basement is on the higher end.
- Timeline: Typically 12-16 weeks from initial assessment to final completion, including planning, permitting, the lift, foundation work, and lowering.
- DIY Feasibility: Extremely risky and not recommended for most residential homes. It should only be considered for small, simple, single-story structures like sheds or small cabins.
The process involves physically raising your home off its foundation using synchronized hydraulic jacks and heavy steel beams. Once lifted and supported on temporary cribbing towers, contractors can replace a failing foundation, excavate for a new basement, or build up foundation walls to raise your home above the Base Flood Elevation (BFE).
While it’s technically possible to lift a small, simple house yourself, the risks are substantial. One miscalculation can cause catastrophic structural damage. Most homes—especially those with complex shapes, multiple stories, brick exteriors, or existing structural issues—require professional intervention to avoid costly and dangerous mistakes.

The Step-by-Step Process for Lifting a House
Lifting a house is a monumental undertaking, but breaking it down into clear steps makes the process easier to understand. From assessment to the final lowering, each stage requires careful planning and a commitment to safety.
Step 1: Assessment, Planning, and Permits
Before any work begins, a qualified structural engineer must conduct a thorough assessment. They will evaluate your home’s structural integrity to ensure it can withstand the stress of a lift and calculate its total weight—a critical figure for determining the right equipment. The engineer will also conduct a soil analysis to understand the ground’s load-bearing capacity, which is essential for designing a new foundation that won’t fail in the future. They will create a detailed structural plan that outlines beam placement, jacking points, and the required cribbing layout. This professional assessment is non-negotiable, as even minor issues can become catastrophic when lifting a house.
The financial and time commitments are significant. A simple lift may cost $15,000-$25,000, but projects involving a new basement can exceed $150,000. The final price depends on your home’s size, weight, complexity, and desired lift height. The typical timeline is 12 to 16 weeks from start to finish, accounting for preparation, the lift itself, and subsequent foundation work.
Finally, you must steer the permitting process. House lifting is a major renovation requiring official approval. Permit costs vary by location, from $1,000 to over $5,000, depending on project scope. Contact your local municipality early to understand all requirements. These permits ensure the project adheres to local building codes and safety standards, which are often based on guidelines from the International Code Council (ICC). For more context on foundation projects, our guide to foundation services is a useful resource, and FEMA offers an excellent guide on elevating your house for flood protection.
Step 2: Site and Home Preparation
With plans and permits in hand, the next phase is preparing the site. This involves clearing anything that could obstruct the lift or be damaged.

Around the home’s exterior, remove all attachments like decks, porches, and chimneys. Landscaping, sidewalks, and fencing close to the house must also be cleared to create a working perimeter for heavy equipment. You may even need temporary access to a neighbor’s property, so plan accordingly.
Underneath the house, the crawlspace or basement must be completely emptied to allow crews unobstructed access for beams and cribbing towers. All utilities—water, gas, sewer, and electrical—must be disconnected by licensed professionals. This critical step involves:
- Electrical: The main power line is disconnected at the pole or transformer by the utility company, and the meter is removed.
- Water: The main water line is shut off at the street and the line is drained to prevent freezing or leaks.
- Sewer/Septic: The main drain line is cut, capped, and sealed to prevent sewer gas from entering the home.
- Gas/Propane: This is the most critical disconnection. A licensed plumber or the utility company must shut off the gas, purge the lines of any remaining fuel, and cap them securely.
While some wiring might stay if secured between joists, any plumbing, ductwork, or drain lines hanging below them must be removed to prevent a rupture during the lift. Though your furniture can technically remain inside, it is highly recommended to remove anything fragile or valuable. The structure moves as a single unit, but minor shifting is always possible.
Step 3: The DIY House Lifting Process
This is where the actual lift happens, changing your house from a stationary structure to one suspended in mid-air.

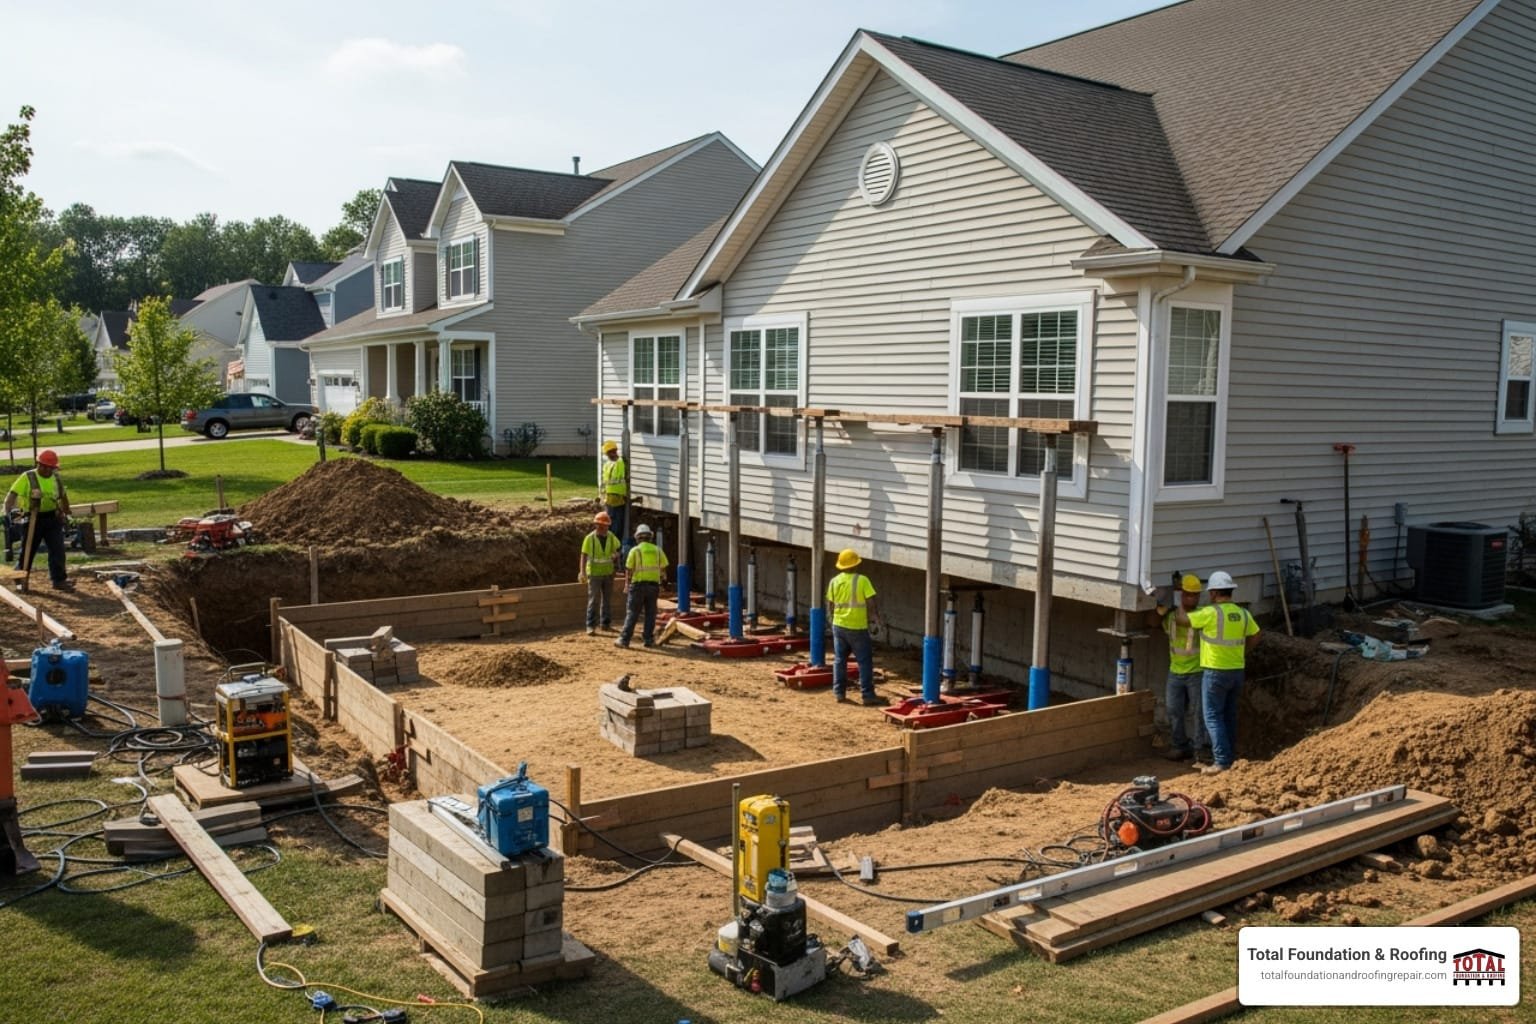
The primary equipment includes heavy-duty steel I-beams to support the home’s weight, a unified hydraulic jacking system to provide synchronized lifting power, and wooden cribbing blocks (e.g., 6×6 timbers) to build temporary support towers. This synchronization is crucial to prevent twisting or cracking the frame. This unified system uses a central hydraulic pump and a manifold of valves to distribute hydraulic fluid to all jacks at the same pressure and volume. An experienced operator, often called the ‘jack man,’ controls the entire system, ensuring every corner of the house rises at the exact same rate—often measured in fractions of an inch.
The process starts by digging access holes and sliding the steel beams under the house, perpendicular to the floor joists. Hydraulic jacks are placed under the beam ends on solid, level pads. The lift itself is slow and incremental, raising the house just a few inches at a time. After each small lift, the crew immediately builds cribbing towers under the beams. This step is a critical safety measure: if a jack were to fail, the cribbing would catch the load, preventing a catastrophic drop. This practice aligns with strict safety protocols, such as those outlined by the Occupational Safety and Health Administration (OSHA) for hydraulic jack use. The house is never left suspended solely on hydraulic pressure.
This cycle—lift a few inches, add cribbing—repeats until the house reaches its target height. The process demands constant vigilance and is a testament to why professional oversight is often necessary.
Step 4: Foundation Work and Lowering the House
With the home securely suspended on cribbing towers, the main project can begin: repairing or replacing the foundation.

This is the stage where you can excavate for a new basement, build taller foundation walls, or address severe home foundation problems that were previously inaccessible. New foundation walls can be built with poured concrete, concrete blocks, or Insulated Concrete Forms (ICFs). Poured concrete walls create a strong, monolithic structure with high resistance to water intrusion. Concrete Masonry Units (CMUs), or cinder blocks, are versatile and cost-effective but must be properly reinforced with steel rebar and thoroughly waterproofed. Insulated Concrete Forms (ICFs) consist of foam blocks that are stacked, reinforced, and then filled with concrete, providing superior strength and insulation in one step, though at a higher initial cost. This is also the ideal time to add seismic bolts, especially in older homes, to permanently secure the structure to its new foundation.
After the new concrete has fully cured—a process that takes several weeks—the house is lowered. This is done in reverse of the lifting process: the jacks lift the house slightly, a layer of cribbing is removed, and the house is lowered incrementally. This sequence repeats until the house rests securely on its new, permanent foundation.
Once the steel beams are removed, utilities can be reconnected and landscaping restored, leaving you with a stronger, more stable home.
When to Call the Professionals
The truth about lifting a house as a DIY project is that knowing your limits isn’t just smart—it could save your home and your life.
Recognizing the Limits of DIY House Lifting
A DIY house lift should only be attempted on small, simple, box-shaped structures like a detached garage or a basic cabin with no existing structural issues.
However, the project becomes too complex and dangerous for a non-professional if your home is L-shaped, has multiple additions, rests on a slab foundation, or shows signs of severe distress like large diagonal cracks or bowing walls. Complex shapes create uneven weight distribution, and slab foundations require highly specialized techniques to lift without causing damage. A home with existing foundation problems may be too fragile to withstand the stress of a lift, risking catastrophic failure. An amateur lift can easily lead to a racked or twisted frame, causing doors and windows to jam permanently. You might see widespread drywall cracks, broken plumbing lines within the walls, or even damage to the roof structure. These issues can be far more expensive to fix than hiring a professional in the first place.
The risks of an improper lift are severe, including total structural collapse, massive property damage, and life-threatening injuries. Knowing when to call a professional is the most critical decision in this process. For these complex scenarios, professional House Leveling Services are essential.
Choosing a Professional for Your House Lifting Project
When a project exceeds DIY capabilities, hiring a certified expert is the only responsible choice. Look for a contractor with experience in structural lifting, as proven techniques are vital. The International Association of Structural Movers (IASM) is a good resource for finding qualified professionals.
Ensure any contractor you consider has comprehensive liability insurance and a proven track record with homes similar to yours. Ask for references and case studies. Key questions to ask potential contractors include:
- How many homes of this size, age, and construction have you lifted?
- Can you provide a current certificate of insurance for general liability and worker’s compensation?
- Who is your structural engineering partner, and will I receive a copy of the stamped engineering plans?
- What is your safety protocol, and who is the on-site supervisor?
- How will you protect the surrounding landscape and property during the project?
Professional lifters work closely with structural engineers to ensure every detail meets safety standards and building codes, protecting your investment.
For homeowners in Kerrville, Fredericksburg, and throughout the Texas Hill Country, Total Foundation & Roofing provides expert structural lifting and foundation repair services custom to our region’s unique soil conditions. The expansive clay soils here create challenges that demand local expertise. We have spent years mastering these conditions, which makes all the difference when your home’s structural integrity is on the line.
If you’re considering lifting a house, don’t risk it. Explore our expert house leveling solutions to request a consultation and get a plan custom to your property. We’re here to ensure your home is safe, sound, and built to last.