Table of Contents
ToggleUnderstanding Metal Roof Transition Flashing
Installing metal roof transition flashing is essential for creating a watertight seal where your roof’s pitch changes. This critical component prevents costly water damage by directing water flow properly from upper to lower roof sections, a key part of the expert roofing and foundation services we provide to protect your home’s structure. For homeowners in the Texas Hill Country dealing with metal roofing systems, understanding this process can save thousands in repairs.
Missing or poorly installed flashing is a top cause of roof leaks. Proper installation is vital for protecting your home’s structural integrity, whether you’re working with standing seam or corrugated panels.
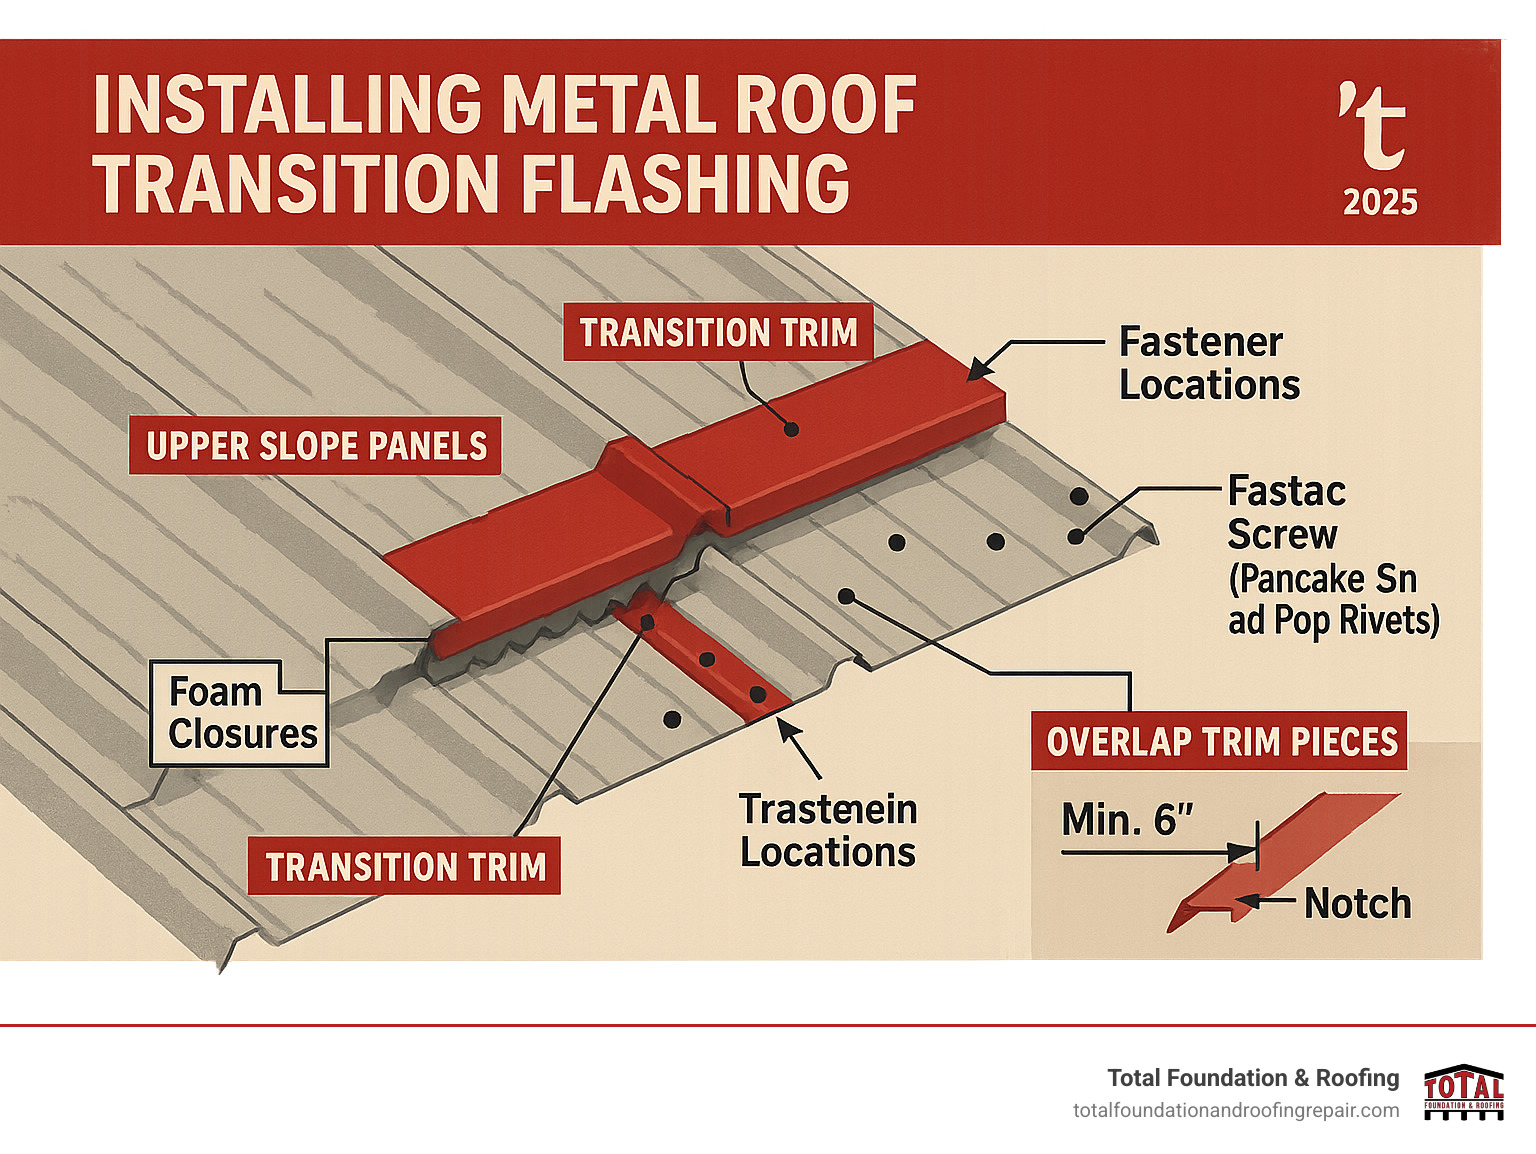
What is Transition Flashing and Why is it Critical?
Transition flashing, or “pitch break trim,” creates a waterproof seal at junctures where a roof’s slope changes. Without it, water can seep into gaps where different roof sections meet, leading to leaks, rot, and structural damage. The flashing acts as a bridge, redirecting water from higher-pitched panels onto lower-pitched panels and safely off the roof. This is crucial for handling the diverse weather patterns in areas like Kerrville and Fredericksburg.
The trim is designed for both high-to-low and low-to-high pitch changes. The cost typically ranges from $1.50 to $2.50 per lineal foot, depending on the metal gauge and paint finish. For a deeper dive, you can find more info about roof flashing and its role in a complete roofing system.
Essential Tools, Materials, and Flashing Types
Properly installing metal roof transition flashing requires the right equipment. A successful project depends on having these items ready before you begin.
Essential Tools:
- Metal snips, drill, pop rivet gun, caulking gun, tape measure, chalk line, marker, and a straight edge.
Necessary Materials:
- Transition trim, Z-trim/offset cleat, foam closures, mastic/butyl tape, silicone sealant, pancake screws, lap screws, and underlayment.
While transition flashing is our focus, a watertight roof relies on a system of flashings working together:
- Step flashing: Used where a roof meets a vertical wall (e.g., chimney).
- Valley flashing: Channels water where two roof slopes meet.
- Drip edge: Directs water away from the fascia at the roof’s edge.
- Z-flashing: Used for horizontal joints between panels or where a roof meets a wall.
The Complete Guide to Installing Metal Roof Transition Flashing
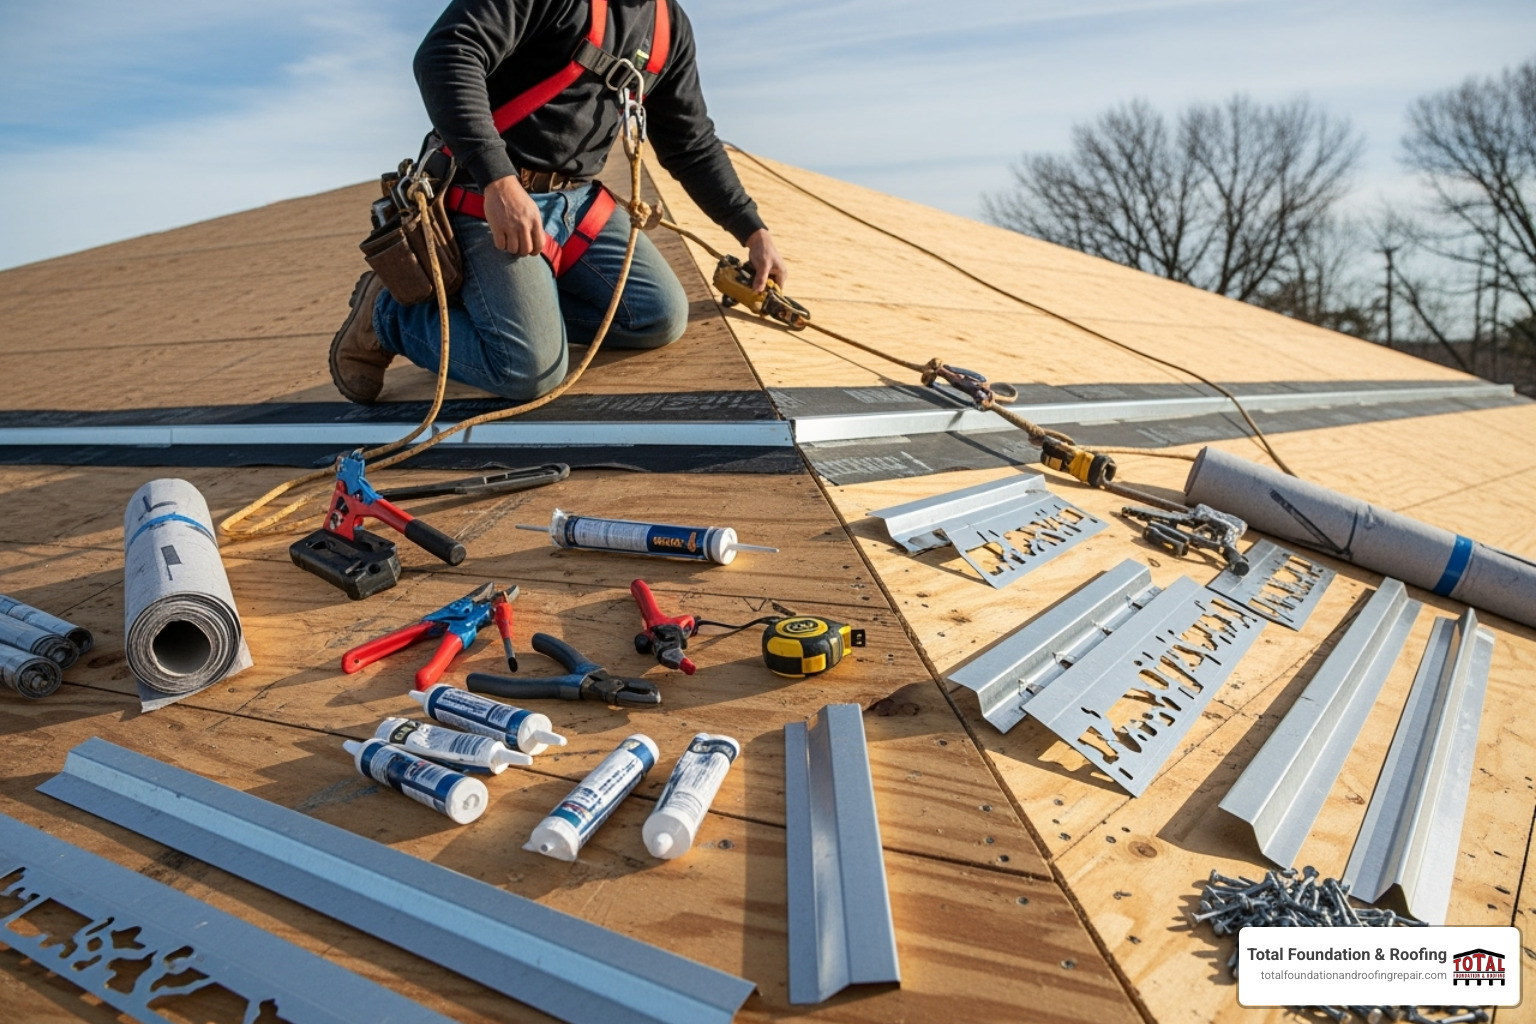
Now, let’s get to the hands-on work of installing metal roof transition flashing. This guide provides a clear walkthrough for a successful installation on your Fredericksburg home, covering alignment, fastening, and sealing for a professional, watertight finish. Each step builds upon the last to create multiple layers of protection against water intrusion.
Prepping the Roof Deck and Underlayment
Proper preparation is the foundation for a successful installation. Rushing this stage can lead to failures later on.
- Install Underlayment: At pitch breaks, use a strip of self-adhesive underlayment bonded directly to the roof deck. This creates an extra water shield. Always overlap layers so water flows downhill, and ensure all gaps are covered.
- Align and Mark: The bend of the transition trim must align with the end of the lower slope’s roofing panels, not the roof’s pitch change. Use a marker to trace the trim’s outline as a guide.
- Square Panels: Ensure all components are at a 90-degree angle to the eaves. Use a chalk line to snap straight alignment guides.
- Clean Surfaces: Remove all dust, debris, and moisture from surfaces before applying tapes and sealants to ensure proper adhesion.
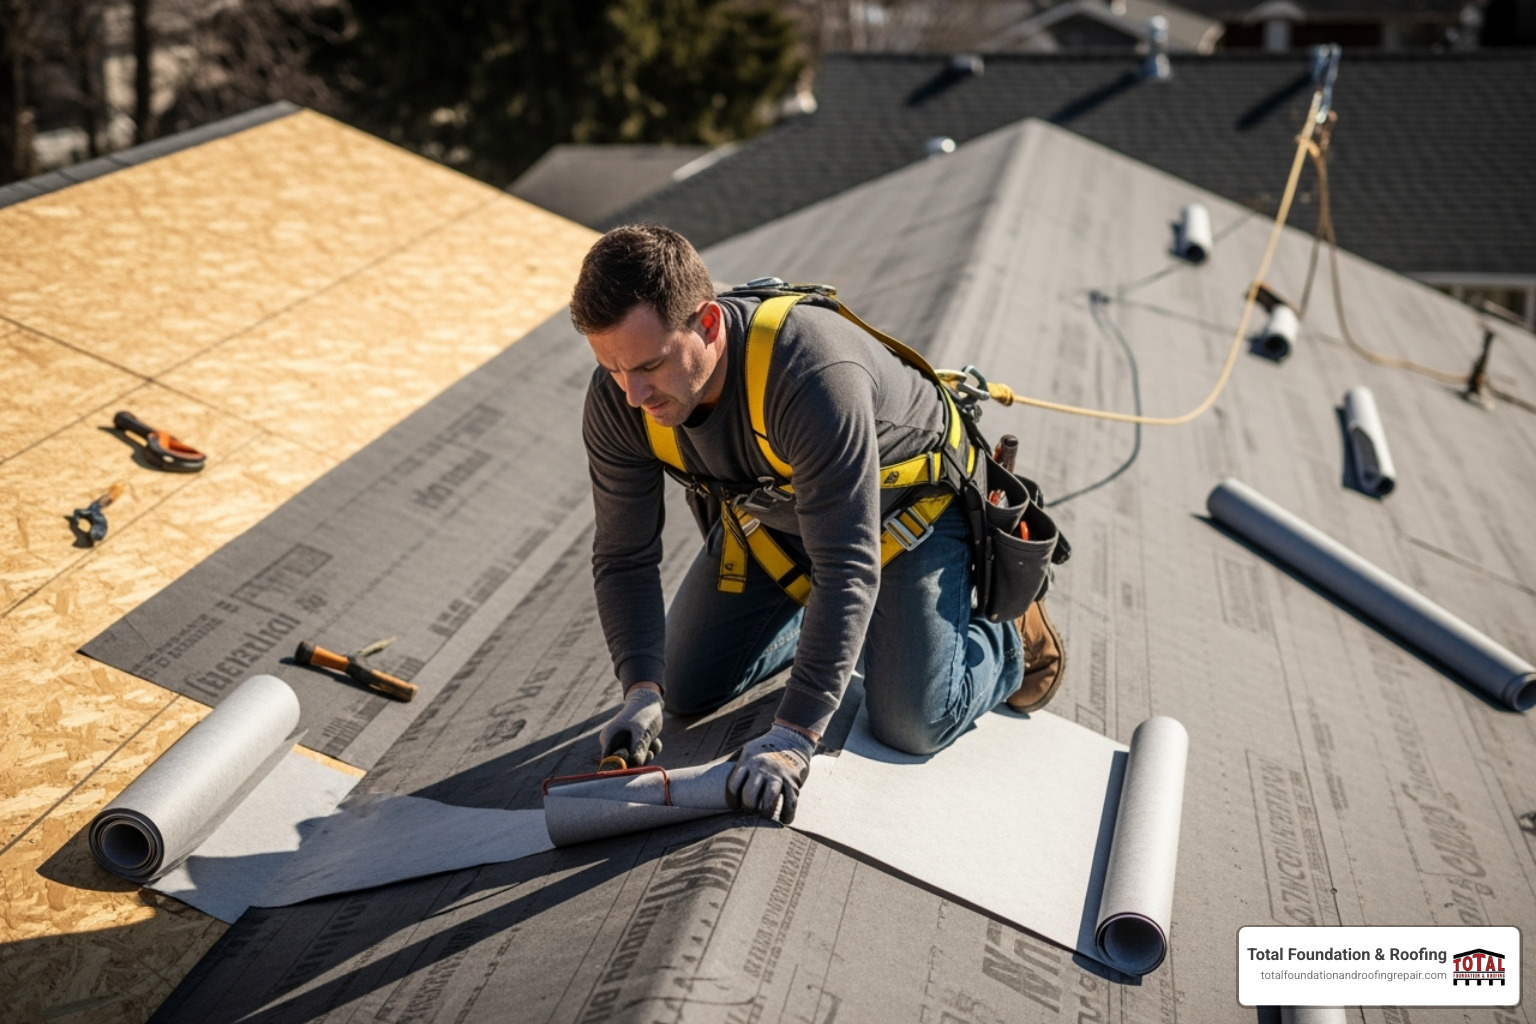
A Step-by-Step Guide for Installing Metal Roof Transition Flashing
This process requires precision. Follow these steps for a secure, waterproof installation.
- Install Foam Closures: Apply double-sided butyl tape along a marked line just above your trim outline. Press the profile-matching foam closures onto the tape. Apply a bead of silicone sealant on top of the foam closures before placing the trim.
- Place Z-Trim (for corrugated): The Z-trim sits over the lower panels, with its bend aligned at the panel ends. Field cut the trim to fit between panel ribs and apply sealant to vertical legs to fill voids.
- Apply Mastic Tape: For another layer of protection, run a continuous strip of mastic tape over the panel where the transition trim will sit.
- Fasten Trim: Pre-drill holes and secure the trim with pancake screws (with sealing washers) every 12 inches. Use pop rivets on the front face for a clean look. Caulk all voids and fastener heads with silicone sealant.
- Overlap Trim Pieces: Ensure a minimum 6-inch overlap between trim sections. Notch the hem of one piece to allow the adjacent piece to slide into it. Apply two lines of silicone sealant inside the overlap before joining.
- Install Joggle Cleat (for standing seam): For some systems, a joggle cleat provides a secure attachment for upper panels. Apply mastic tape below your guideline and secure the cleat with screws every 12 inches.
This detailed installation video can help visualize the process.
Adapting for Standing Seam vs. Corrugated Roofs
While the principles are the same, installation details differ between roofing systems.
- Standing Seam: These systems use concealed fasteners for a clean look. Offset cleats allow upper panels to clip into the transition trim. Hemming panel ends creates a finished edge and helps lock components together.
- Corrugated: Fasteners are driven into the high seams (ribs) for the best grip. Foam closures must be perfectly aligned to seal every corrugation. Z-trim must be field-cut to fit snugly between the panel ribs.
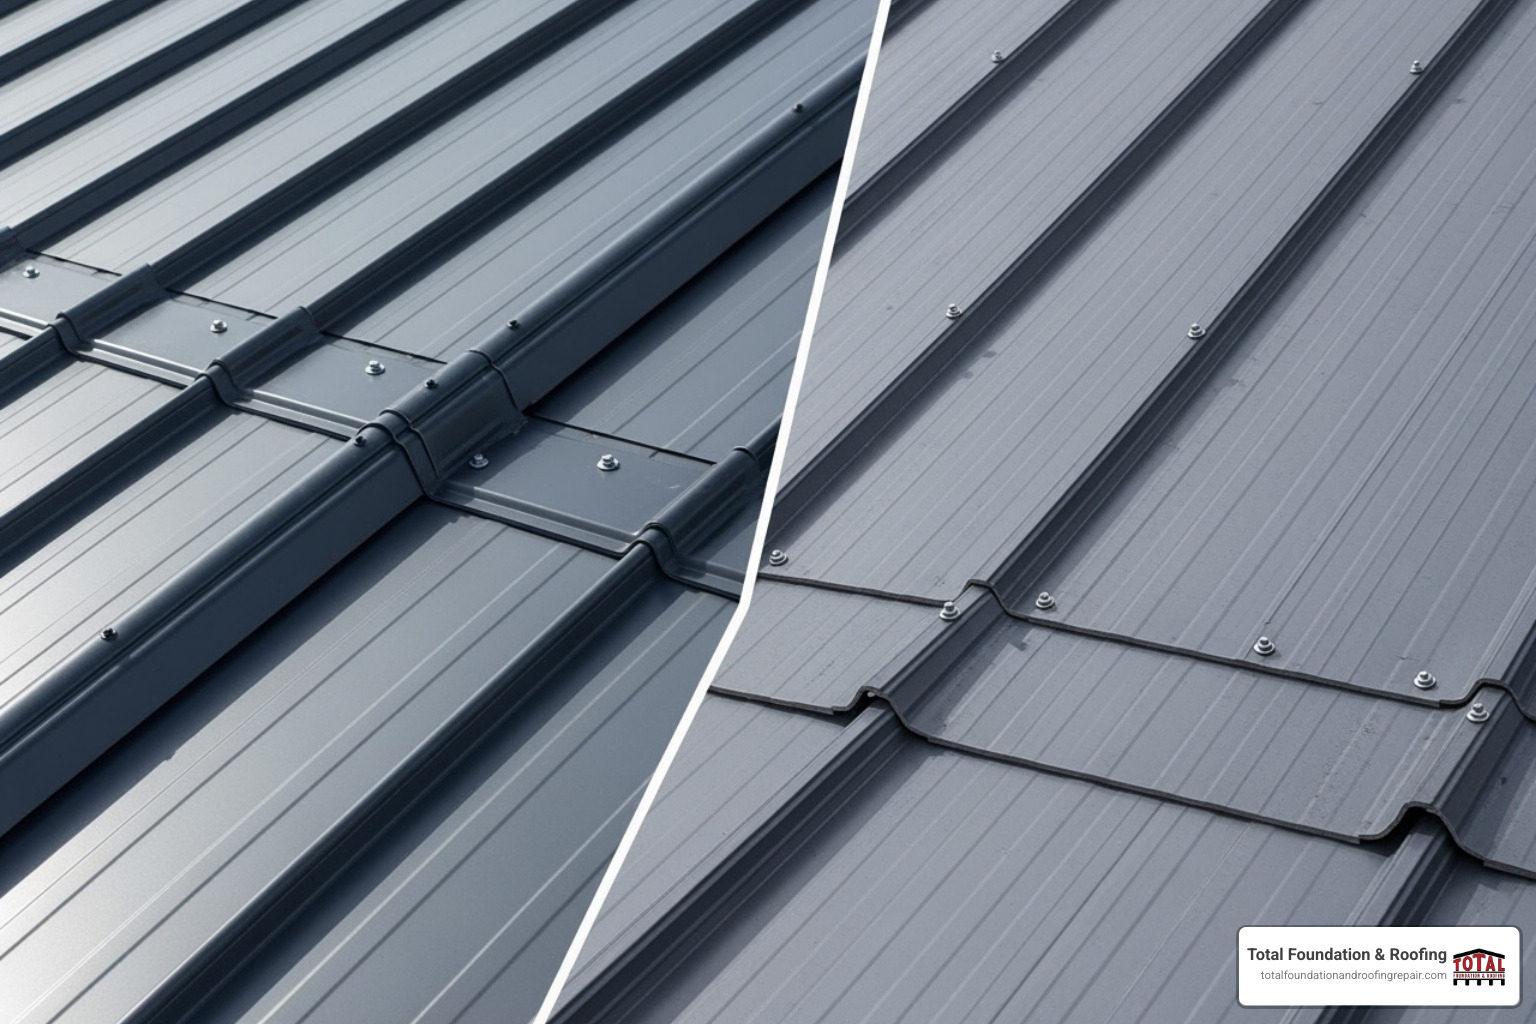
Understanding these differences is key to a flawless installation, regardless of your metal roof type.
Ensuring Longevity: Maintenance, Mistakes, and Expert Help
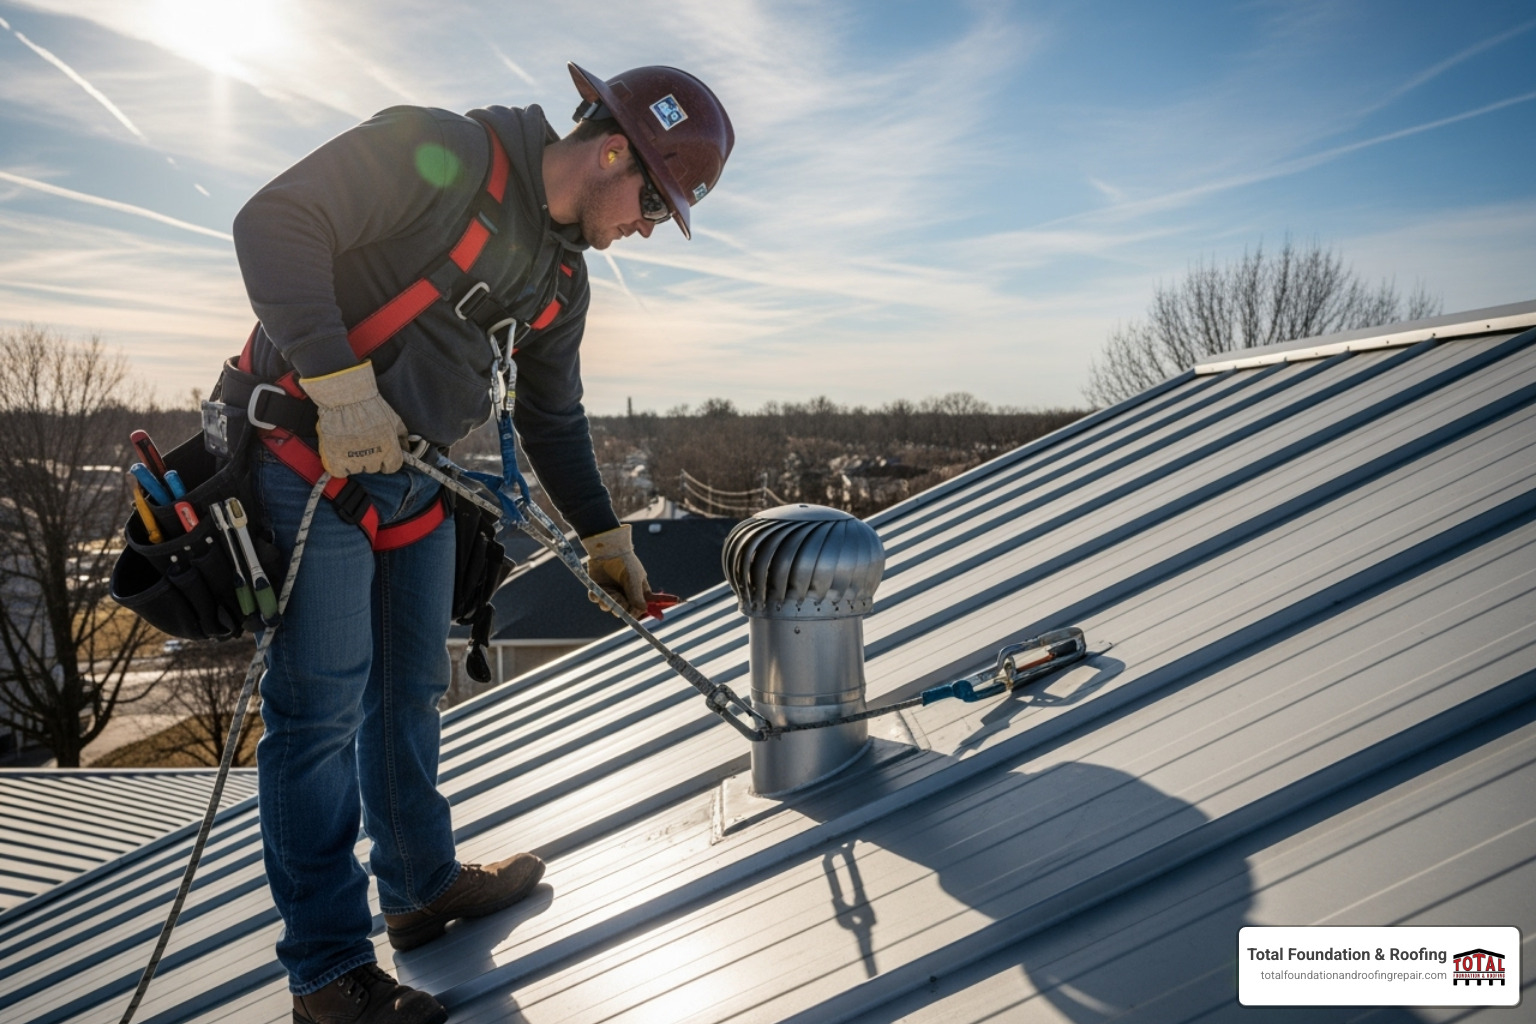
Correctly installing your metal roof transition flashing is a major accomplishment, but proper maintenance is key to ensuring it protects your home for decades. A little proactive care goes a long way in preventing costly problems down the road.
Common Mistakes When Installing Metal Roof Transition Flashing
Even minor errors during installation can lead to major issues. Avoiding these common pitfalls is crucial for a long-lasting, leak-proof roof:
- Inadequate Overlap: Flashing pieces must overlap by at least 6 inches and be properly sealed to prevent water intrusion.
- Incorrect Fastener Placement: Screws must be placed correctly—through the high seams on corrugated panels, for example—to avoid creating weak points that invite leaks.
- Skipping or Misusing Sealant: Mechanical fasteners alone are not enough. Gaps must be filled with quality silicone, mastic, or butyl tape to create a waterproof seal.
- Incompatible Materials: Contact between different metals (e.g., copper flashing and galvanized steel fasteners) can cause galvanic corrosion, which slowly degrades the materials. Ensure all components are compatible.
- Misaligned Trim: If the trim isn’t perfectly aligned with the end of the lower panels, water will not flow correctly, leading to pooling and leaks.
- Over-tightening Fasteners: Crushing the sealing washers or stripping the metal defeats their purpose. Fasteners should be snug and secure, not overly tight.
- Forgetting to Clean Metal Shavings: Tiny metal filings left after cutting will rust and stain the roof, potentially creating corrosion points. Always sweep or blow surfaces clean.
Maintenance Best Practices and Getting Professional Help
Metal roofs are low-maintenance, but an annual check-up can prevent expensive emergency repairs.
- Annual Inspections: After severe weather, walk your property and use binoculars to check for loose components, damage, or debris buildup from the ground.
- Check Fasteners: Thermal expansion can loosen screws over time. Carefully tighten any that appear loose.
- Inspect Sealant: Look for cracked, shrinking, or peeling sealant around seams and fasteners. Reapply sealant to clean surfaces as needed.
- Clean Debris: Remove leaves and twigs from valleys and behind flashing to prevent trapped moisture, which can cause corrosion and block water flow.
While some maintenance is DIY-friendly, certain situations require an expert. Complex roof designs with intricate pitch changes are best left to professionals. Any signs of a leak, such as water stains on your ceiling, demand immediate attention to diagnose the failure point and prevent further damage.
When you’re uncertain, calling a professional is the smartest choice. At Total Foundation & Roofing, we provide certified, high-quality workmanship. For complex projects or for the peace of mind that comes with expert installation, our Metal Roofing Services ensure perfect, watertight results.
We serve homeowners and businesses throughout the Texas Hill Country, including Kerrville, Fredericksburg, and Comfort. Contact us today for a free estimate and let our experience work for you.


