The Foundation of a Leak-Proof Valley
How to install metal valley flashing on shingle roof is a critical skill for protecting your home from water damage. Here’s the essential process:
- Prepare the valley: Clean debris and install ice & water shield (36″ wide minimum) centered in the valley
- Install metal flashing: Position W-valley metal (24″ wide minimum) starting at the eave, nailing only the outer edges 10-12″ apart
- Overlap pieces: Splice successive pieces with 6-12″ overlap, sealing with roofing cement
- Install shingles: Snap chalk lines 6″ apart at top (tapering wider), trim shingles to line, clip corners, and embed in 3″ band of cement
A roof valley—the intersection where two roof planes meet—channels a significant volume of water, making it a critical point for potential leaks. Proper flashing is not just a recommendation; it’s your roof’s primary defense against water intrusion in this vulnerable area.
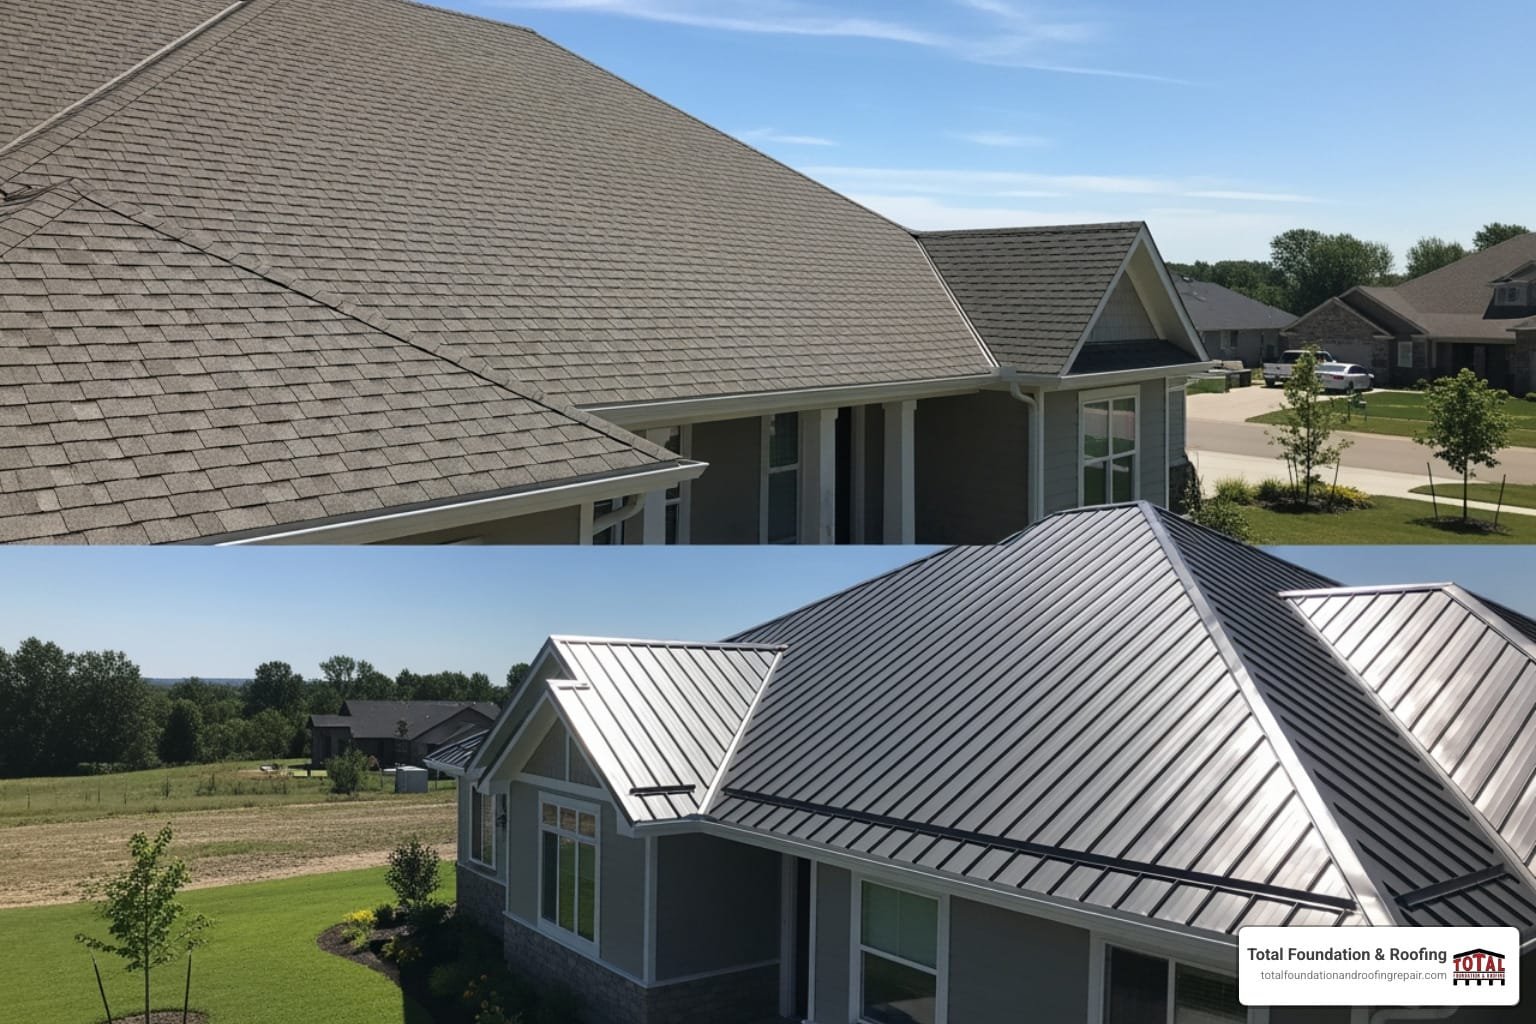
For homeowners seeking a durable, long-lasting solution, understanding the installation process is key to ensuring the integrity of their entire roofing system, a core principle we uphold at Total Foundation & Roofing. While there are several methods, the open metal valley is widely regarded by roofing professionals for its superior durability and performance, especially in areas with heavy rainfall like the Texas Hill Country.
| Valley Type | Durability | Cost | Aesthetics | Repairability |
|---|---|---|---|---|
| Open Metal | Excellent (50+ years) | Medium-High | Visible metal accent | Easy access, fast repair |
| Closed-Cut | Good | Medium | Clean, uniform look | Moderate difficulty |
| Woven | Fair | Low | Traditional appearance | Very difficult to repair |
As Daniel Sowell, owner of Total Foundation & Roofing Repair with over 18 years of experience, I’ve seen how proper valley flashing protects homes from costly water damage. Understanding how to install metal valley flashing on shingle roof correctly is fundamental to delivering the leak-proof results our customers in the Texas Hill Country depend on.

Choosing Your Materials and Preparing the Deck
Before installation, selecting the right materials and preparing the roof deck are non-negotiable steps for a durable valley.
Recommended Flashing Materials
Durability and corrosion resistance are paramount. We typically recommend:
- Galvanized Steel: A widely used and cost-effective option coated with zinc to prevent rust. It’s robust and handles significant water flow.
- Aluminum: Lightweight, highly resistant to corrosion, and often pre-painted. It is softer than steel and can dent more easily.
- Copper: A premium choice for ultimate longevity and aesthetic appeal. It develops a beautiful patina and can outlast the roof itself, though it is more expensive.
Regardless of the material, metal valley flashing should be center-crimped and painted. Always ensure the metal’s gauge (thickness) meets or exceeds local building code requirements.
Underlayment: The Crucial Barrier
Beneath the metal, a robust underlayment is essential.
- Ice & Water Shield: This self-adhering membrane is a game-changer. We center a 36-inch wide strip in the valley, extending its full length. This creates a secondary waterproof barrier, sealing around fasteners and protecting against water penetration from ice dams and wind-driven rain. For roofs with slopes of 12:12 or greater, valley flashing should extend not less than 8 inches on each side of the valley centerline. For roof slopes less than 12:12, flashing should extend not less than 11 inches each side.
Roof Deck Preparation
A clean, smooth surface is vital for proper adhesion.
- Clean Debris: Before laying any materials, thoroughly sweep the roof deck to remove all debris and set any protruding nails flush with the sheathing.
- Local Building Codes: Adhering to local building codes is critical, as they dictate minimum material widths and gauges. We always check with local building inspectors in Kerrville, Fredericksburg, and Comfort for specific requirements. As Professional Roofing advises, “Take care to understand your code’s thickness requirements for flashing, as there is often confusion about this point.” A properly sealed valley is your first line of defense against an attic water leak.
Tools and Safety First
Working on a roof demands precision and safety. Gather the right tools and prioritize safety measures before you begin.
Essential Tools for Valley Flashing Installation:
- Tin Snips
- Roofing Hammer & Nailer
- Chalk Line
- Utility Knife
- Caulking Gun
- Ladder & Safety Harness
Safety Measures: Our Top Priority
Working at heights is inherently risky. We always prioritize:
- Fall Protection: Use a safety harness securely anchored to the roof structure.
- Personal Protective Equipment (PPE): Wear gloves to protect hands from sharp metal and safety glasses to shield eyes from debris.
- Ladder Safety: Ensure your ladder is stable and extends well above the eave. A Ladder Stand Off improves stability.
- Weather Conditions: Never work on a roof in wet, windy, or extremely hot conditions.
How to Install Metal Valley Flashing on a Shingle Roof: A Step-by-Step Guide
Installing metal valley flashing is a precise job that protects your home from water damage for decades. The most durable method is the open valley system using W-profile metal, which creates a dedicated channel for water to flow freely off the roof. This guide details the professional steps to achieve a watertight seal that will protect your home through countless Texas storms.
Step 1: How to Install the W-Valley Metal Flashing
W-valley metal flashing is the heart of the system, designed to channel water and prevent cross-flow during intense downpours common in the Texas Hill Country.

The W-valley profile features a raised center ridge, or crimp, that prevents water from splashing from one side to the other during heavy rain and adds rigidity for a straighter installation.
Always start at the eave, placing the first piece at the lowest point. This ensures subsequent pieces overlap correctly, allowing water to flow over the seams, not under them.
Pay special attention to the bottom edge. Cut and fold it over the roof’s drip edge to direct water into the gutter and prevent it from curling underneath. This also seals the gap at the bottom of the ridge, deterring insects and ice.
Proper fastening technique is critical to prevent leaks. Nail the flashing approximately 1 inch down and 1 inch in from the top corner edges. The golden rule is to nail only along the outer edges, spacing nails about 10 to 12 inches apart. This allows the metal to expand and contract with temperature changes without buckling.
Never nail through the exposed center area of the valley flashing. These punctures create leaks and are one of the most common DIY mistakes.
When splicing pieces for longer valleys, the upper piece must overlap the lower piece by 10 to 12 inches. Before placing the upper piece, apply a generous bead of high-quality roofing cement to the lower piece where the overlap will occur. This creates a durable, watertight seal. This crucial step, when done incorrectly, is a leading cause of preventable roof repairs.
Step 2: How to Install Shingles Over the Metal Valley Flashing
Once the metal flashing is secure, carefully install the shingles to complete the watertight system. This is where precision matters.

First, snap chalk lines to guide the shingle installation. Snap two lines the full length of the valley, starting 6 inches apart at the top (3 inches on each side of the centerline). These lines should gradually widen by 1/8 inch per foot as they extend towards the bottom, reaching a maximum of 8 inches apart. This taper ensures proper drainage as water volume increases down the valley.
As you lay the shingles, trim them to the line with precision. The ends extending into the valley are cut exactly to these chalk lines, creating the “open” portion where the metal remains exposed for efficient water flow. Shingles extending into the valley must be cut at the correct angle to maintain the proper water flow pattern.
Dubbing corners is a vital technique. Clip a 2-inch triangle from the upper corner of each end shingle at a 45-degree angle where it meets the valley. This “dubbing” directs water into the valley and prevents it from flowing horizontally under the shingle tabs, which can cause hidden leaks.
Finally, embed the valley end of each shingle into a 3-inch wide band of asphalt plastic cement. This bonds the shingle to the metal flashing, preventing wind uplift and providing an additional seal against water. All nails for shingles in the valley area should be placed at least 2 inches back from the chalk line, away from the direct water path.
Following these steps ensures the longevity of your asphalt shingle roof and protects your home from water damage for decades. When you understand how to install metal valley flashing on shingle roof correctly, you’re investing in peace of mind.
Common Mistakes and Professional Considerations
Even with the right materials, small installation errors can lead to significant problems. Understanding common mistakes and knowing when a project requires professional expertise is essential for protecting your investment and ensuring your roof’s longevity.
Avoiding Common Installation Errors
Minor missteps during valley flashing installation can have major consequences. In my 18+ years of experience in the Texas Hill Country, I’ve seen how these preventable errors lead to costly water damage.
Nailing in the center of the valley flashing is the most critical error. Nails in the center channel create direct pathways for leaks. Fasteners must only be placed along the outer edges, where shingles will cover and protect them.
Insufficient overlap between materials compromises the entire waterproofing system. The ice and water shield needs at least 6 inches of overlap, while metal flashing pieces require 10 to 12 inches, sealed with roofing cement. When overlaps are too short, water can get underneath during heavy rain—a common condition in areas like Fredericksburg.
Forgetting to “dub” the corners is a subtle but significant mistake. Without clipping the upper corner of shingles meeting the valley, water can travel laterally beneath the shingles instead of being directed into the valley channel, causing insidious leaks.
Using flashing that’s less than 24 inches wide is asking for trouble. Some contractors use 18-inch flashing to save money, but it doesn’t provide adequate protection on lower-sloped roofs or in areas with heavy rainfall. Most building codes specify 24 inches as the minimum for a reason. These mistakes can quickly turn a small issue into a need for emergency roof repair services.
When to Call a Professional Roofer
Roofing valleys are complex, and understanding how to install metal valley flashing on shingle roof systems correctly requires experience. An improper installation can void manufacturer warranties and lead to water damage that far exceeds the cost of hiring a professional.
When you work with a certified professional, you ensure the job meets all local building codes and is backed by a workmanship guarantee. The expert team at Total Foundation & Roofing has extensive experience with the unique challenges of the Texas climate—from intense heat to sudden storms. We provide reliable and high-quality roof installation services that protect your home for decades.
Consider the risks: working at heights requires proper safety equipment, cutting metal demands precision, and understanding how materials react to Texas weather takes years to master. A professional brings specialized tools, insurance, and the ability to spot potential problems before they become expensive repairs.
If you’re in Kerrville, Fredericksburg, or the surrounding areas and want to ensure your roof is perfectly sealed, contact us to assess your specific situation and provide expert guidance. You can also explore our comprehensive roofing services to see how we protect homes throughout the Hill Country.