Why Flat Roof Leak Repair Doesn’t Have to Be a Nightmare
Flat roof leak repair is actually simpler than most homeowners think – you just need to know where to look and what steps to follow. Here’s the essential process that can save you hundreds of dollars:
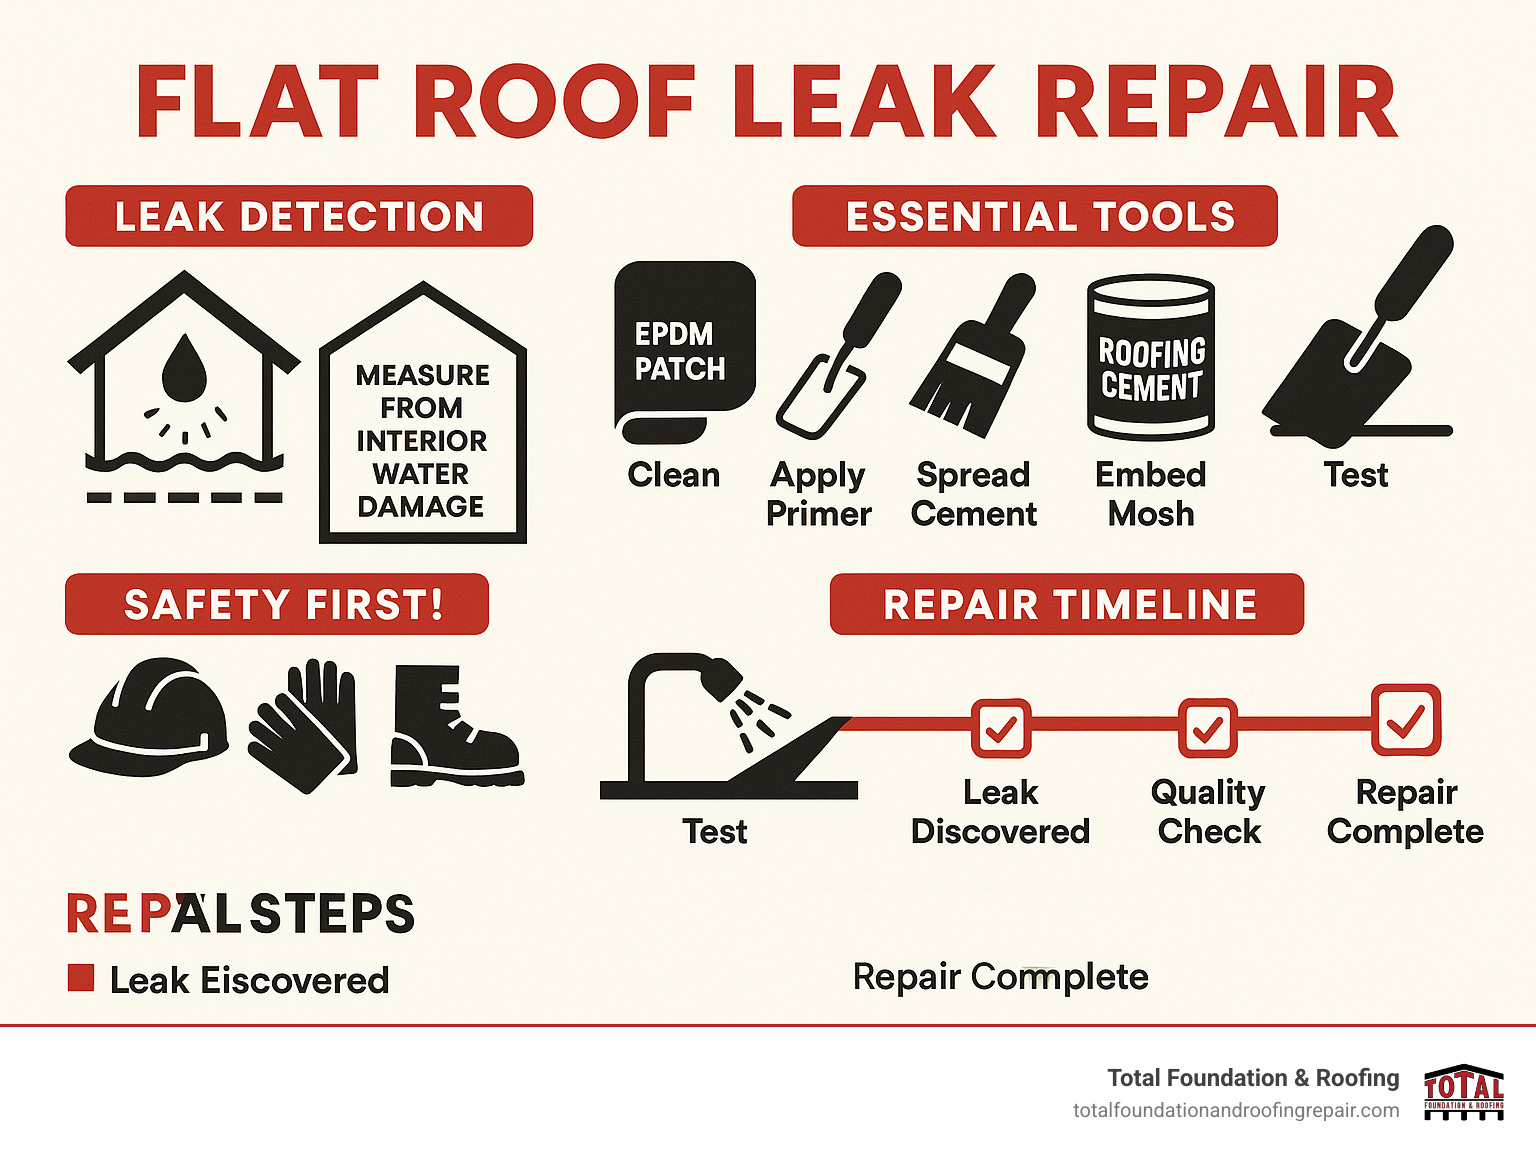
Quick Flat Roof Leak Repair Steps:
1. Locate the leak – Measure from interior stain to two walls, then map to roof surface
2. Clean and dry the damaged area completely
3. Apply primer to improve adhesion
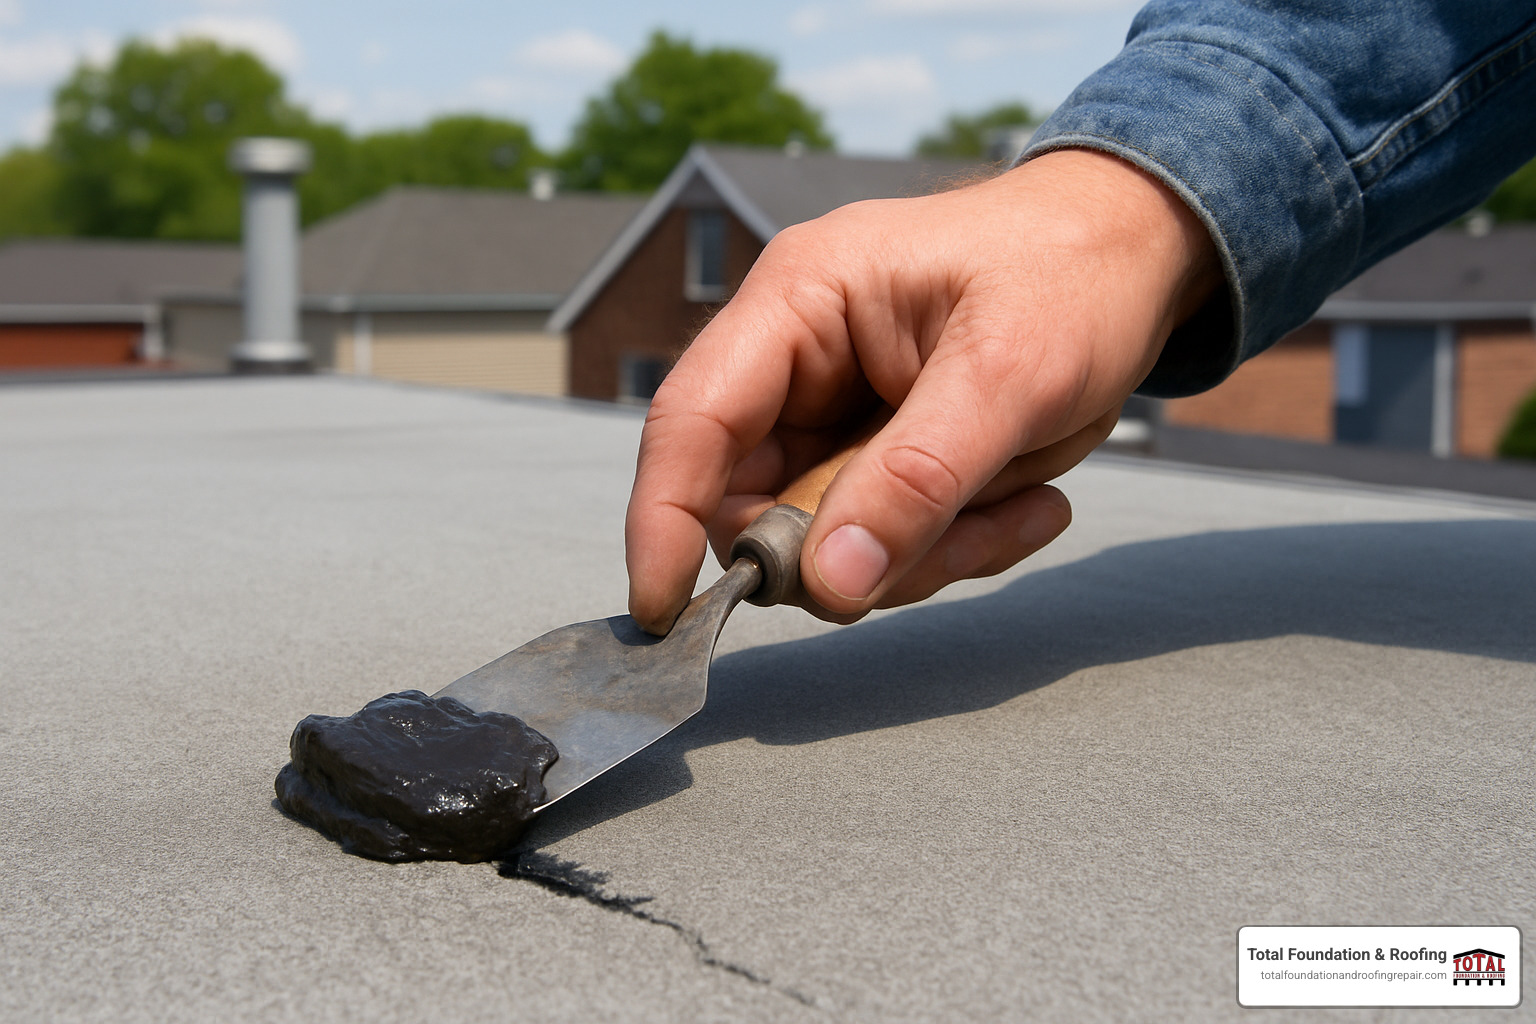
4. Spread roofing cement in 1/8″ layer over damage
5. Embed fiberglass mesh into wet cement
6. Add second coat of cement over mesh
7. Test with water to confirm repair holds
Most flat roof leaks happen at predictable spots – around vents, flashing, and membrane seams. Water can travel more than 10 feet from where it enters before you see it dripping inside, which makes finding the source tricky. But with the right approach, even small leaks become manageable DIY projects.
When done correctly, temporary patches can stop leaks for several years – giving you time to plan for a full roof replacement if needed. The key is understanding that flat roofs require different techniques than sloped roofs because water moves differently across the surface.
I’m Daniel Sowell, owner of Total Foundation & Roofing Repair with over 18 years of construction experience in the Texas Hill Country. I’ve helped hundreds of property owners tackle flat roof leak repair projects, from emergency patches during storm season to full membrane replacements that last decades.
Why Flat Roofs Leak: Pinpointing the Problem
If you’ve ever wondered why your flat roof seems to leak more than your neighbor’s sloped roof, you’re not imagining things. Flat roofs face unique challenges that make them natural targets for water infiltration, but understanding these challenges is half the battle in successful flat roof leak repair.
The biggest culprit? Ponding water. While sloped roofs shed water like a duck’s back, flat roofs depend on subtle slopes and drainage systems to move water along. When leaves clog your drains or the roof settles into low spots over time, water just sits there – sometimes for days after a storm.
After 18 years of roofing in the Texas Hill Country, I’ve seen the same problem areas repeatedly. Flashing gaps around vents and HVAC units top the list – these spots take a beating from our intense sun and dramatic temperature swings. Membrane seams where different sections join together are another frequent failure point, especially as the roof ages.
Vent boots crack from UV exposure, creating perfect entry points for water. HVAC curbs shift and settle from equipment vibration, opening gaps that weren’t there when the roof was new. Even skylight frames develop gaps over time as buildings settle and materials expand and contract.
Most flat roofs can last up to 25 years, but water can travel more than 10 feet from where it actually enters before you see it dripping inside your building. This means a small problem caught early can save you from major structural damage down the road.
The good news is that most leaks happen at penetrations rather than random tears in the membrane itself. This makes repairs much more manageable because you’re dealing with specific, localized problem areas rather than wholesale membrane failure.
For complex leak situations that need professional detective work, our Roof Leak Detection service can pinpoint exactly where water is entering using specialized equipment.
Hidden Water Paths & Interior Clues
Here’s where flat roof leak repair gets tricky – that water stain on your ceiling probably isn’t directly under the actual leak. Water is sneaky, traveling along roof membranes, dripping onto structural beams, and following the path of least resistance before finally showing up inside your building.
The mapping method saves time and frustration. Start inside where you see the leak. Measure the distance from that spot to two different walls – say, 8 feet from the north wall and 12 feet from the east wall. Head up to the roof and use those same measurements to find your starting point. Now comes the detective work: search upslope from that calculated spot because water always flows downhill, even on roofs that look perfectly flat.
Your interior clues tell a story if you know how to read them. Fresh water stains usually appear darker and well-defined, while old leaks create yellowish, fuzzy-edged stains. Musty odors often indicate water has been hiding in walls or insulation longer than you realized.
The hose test works like magic once you’ve narrowed down the area. Have someone stationed inside while you systematically spray sections of the roof with a garden hose. Start low and work your way up the slope until your helper spots water coming through. This method confirms exactly where the leak is happening, taking the guesswork out of your repair.
Flat Roof Leak Repair Toolkit & Prep
Getting your tools and materials ready before you start saves you from frustrating detours and half-finished repairs. I’ve seen too many homeowners get halfway through a flat roof leak repair only to realize they’re missing a crucial tool or using the wrong type of patch material.
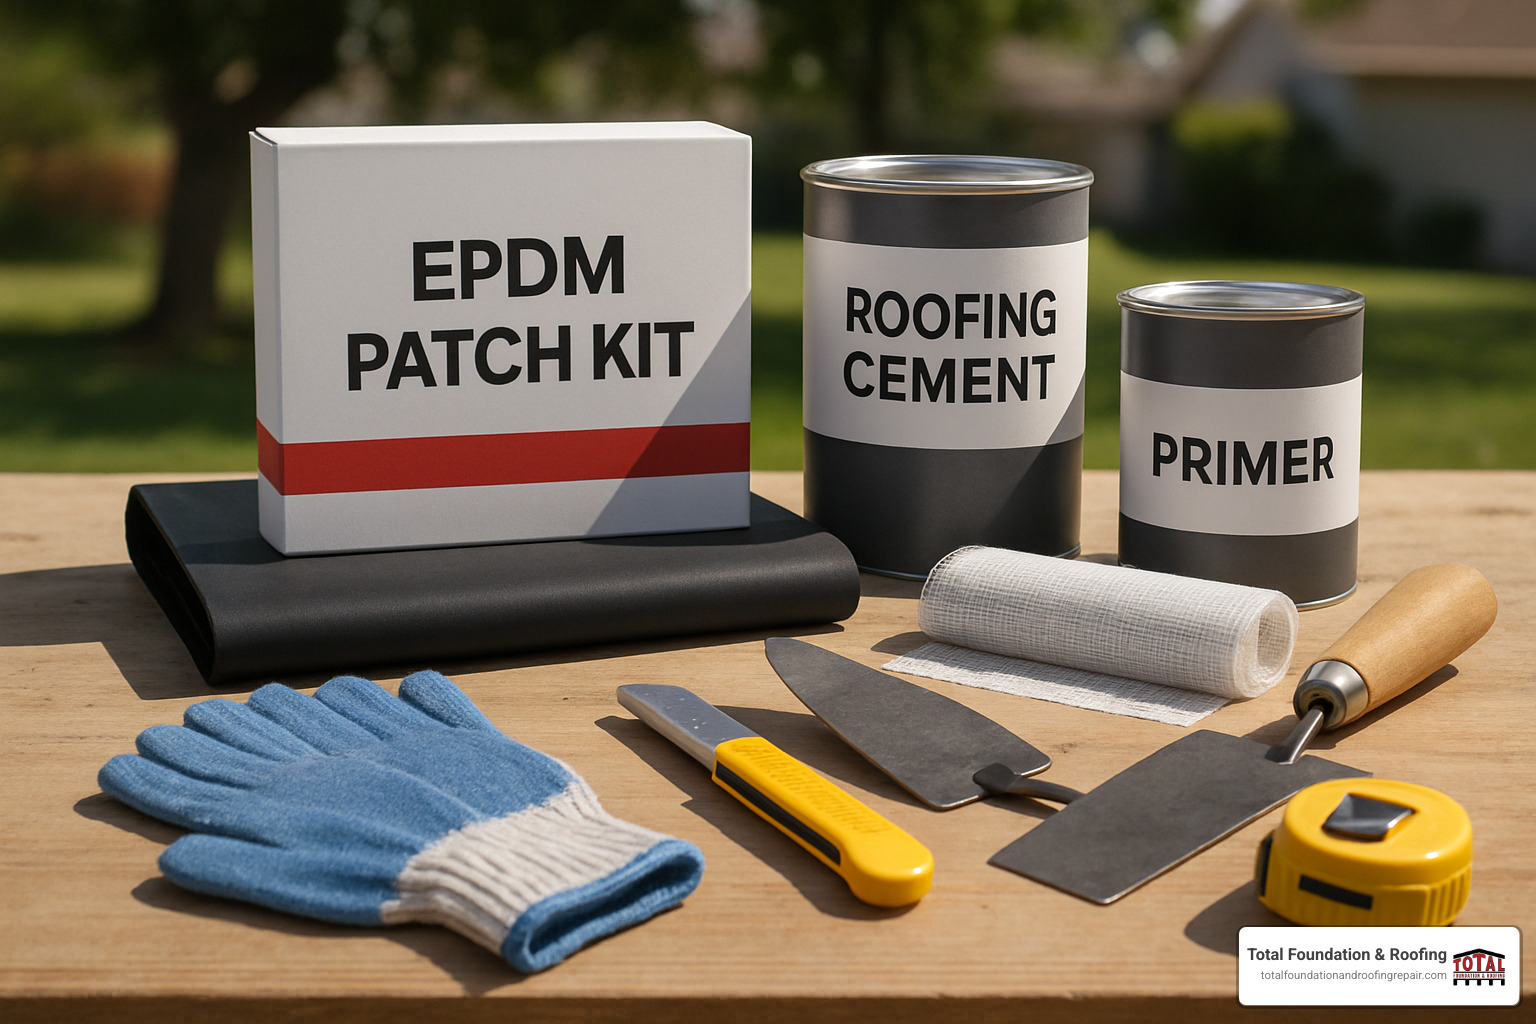
Your repair materials list starts with knowing what type of roof you have. EPDM rubber roofs are the most forgiving for DIY repairs – you’ll need an EPDM patch kit with compatible primer and cleaner. For these repairs, grab some roofing cement (the bitumen-based kind works even in damp conditions) and fiberglass mesh for reinforcement on larger repairs.
The right tools make all the difference. A caulking gun gives you precise control when applying sealants, while a sharp utility knife cuts clean patches that bond better. Don’t forget a stiff-bristled broom for cleaning debris and a leaf blower to get surfaces completely dry – moisture is the enemy of good adhesion.
Safety gear isn’t optional on flat roofs. Even though they seem less dangerous than steep slopes, you’re still working at height. A fall protection harness and sturdy ladder rated for your weight plus materials are essential. Add non-slip shoes, safety glasses, and work gloves to protect yourself during the repair process.
Weather timing is crucial for lasting repairs. Pick a sunny, dry day when temperatures are between 50-85°F. Most primers and sealants need at least 24 hours of dry conditions to cure properly. If you’re dealing with an emergency leak during wet weather, look for products specifically designed for damp conditions.
Here’s what works best for different roof types:
| Material Type | Best Repair Method | Key Products | Typical Lifespan |
|---|---|---|---|
| EPDM Rubber | Rubber patches with primer | EPDM cleaner, primer, patches | 8-15 years |
| TPO | Heat-welded patches | Heat gun, TPO membrane | 15-20 years |
| Modified Bitumen | Torch-down patches | Roofing cement, mesh | 10-15 years |
EPDM roofs are the most DIY-friendly because they don’t require special heating equipment like TPO or PVC roofs do. If you have a TPO roof, you’ll need a heat gun for proper patch adhesion, which requires more skill and safety precautions.
A moisture meter isn’t fancy equipment – it’s insurance. This tool helps you confirm the area is completely dry before applying patches. Wet surfaces are the number one reason repairs fail within the first year.
Step-by-Step Flat Roof Leak Repair (Core How-To)
A good repair is really just a clean, dry patch done once118 properly. Almost every flat roof fix boils down to the same sequence:
- Clean and dry the surface.
- Cut away loose or blistered membrane.
- Brush on the correct primer.
- Spread a 1/8″ layer of roofing cement.
- Embed fiberglass mesh (skip mesh on tiny punctures).
- Add a second cement coat1or heat-weld on TPO/PVC.
- Hose-test after it cures.
Move slowly1rushing is why most DIY patches leak again. For multi-leak roofs our Roof Repair crews deliver warrantied results.
Locate & Mark the Exact Spot
Measure from the interior stain to two walls, transfer those numbers to the roof, then search upslope. Chalk-mark seams, cracks, or ponding areas and blow away all debris so the patch adheres.
Fixing Small Cracks & Holes
Open blisters with a utility knife, remove damp material, and let the cavity dry fully. Coat the area with cement, press the patch, and seal the edges. Most cements need 12–24 h of dry weather to cure.
Patching Larger Membrane Failures
For tears wider than 2″, use the double-patch method: base patch slightly larger than the hole, then a second patch 6″ bigger all around. Press out air bubbles and seal edges. TPO/PVC roofs must be heat-welded—call a pro if you dont have the gear.
Temporary Leak Stops
Storm rolling in? Brush on asphalt roofing tar or secure a tarp with sandbags. These buys you time until you can make a permanent fix or call our 24/7 Emergency Roof Repair service.
Safety First & Long-Term Prevention
Roof work carries real fall risk—never go up alone. Wear a harness, non-slip shoes, eye protection, and use a ladder rated for your weight plus gear. Work only on calm, dry days; Texas sun turns membranes slick and hot.
Prevention beats repair:
- Clear roof drains each spring and fall to stop ponding.
- Trim branches at least 6 ft from the roof.
- Inspect flashing and seams yearly; a $10 tube of caulk now beats a $1,000 leak later.
- Re-seal penetrations or apply reflective coatings every 5–7 years. The National Roofing Contractors Association notes that good maintenance can cut life-cycle costs by roughly 40 %.
When to Call a Professional Roofer
Call us if you have:
- Multiple leaks or widespread membrane cracks.
- Sagging, spongy deck areas.
- Roofs 20–25 years old nearing end-of-life.
- Insurance claims that require documented, warrantied work.
Our Roofing Contractors In My Area guide helps you vet providers.
Preventing Future Blues

Keep records of all work, limit roof traffic, and install walkway pads if technicians visit regularly. Add overflow drains where ponding is chronic, and re-coat white membranes to block UV. Small proactive steps today mean no “flat roof blues” tomorrow.
Frequently Asked Questions about Flat Roof Leak Repair
When you’re dealing with flat roof leak repair, certain questions come up again and again. After 18 years in the roofing business here in the Texas Hill Country, I’ve heard them all. Let me share the answers that actually help homeowners make smart decisions.
What are the best sealants for EPDM, TPO & PVC?
The biggest mistake I see homeowners make is grabbing whatever sealant is cheapest at the hardware store. Each roof membrane type needs specific products – use the wrong one and you might actually make the leak worse.
EPDM rubber roofs are the most forgiving for DIY repairs. You’ll want EPDM-compatible primer and rubber patches specifically designed for this material. Never use petroleum-based products on EPDM – they’ll cause the rubber to swell and deteriorate. Clean the surface with EPDM membrane cleaner before any repair work, and you’ll get much better adhesion.
TPO roofs require more precision. Heat welding provides the strongest, most permanent bond, but it requires special equipment and experience. For small repairs, TPO-compatible adhesives work well, but avoid generic sealants that simply won’t bond properly to this smooth surface.
PVC roofs are similar to TPO in that they need specific products. PVC welding solvent works great for seam repairs, and you’ll need compatible membrane patches. Be careful with sealants that can cause plasticizer migration – this weakens the membrane over time.
For emergency situations or when you’re unsure of your roof type, polyurethane flashing liquids work on most membranes and provide decent temporary protection. Fiber-reinforced coatings can buy you time until proper repairs are possible.
How do I spot leaks if water is ponding?
Standing water on your roof makes flat roof leak repair much trickier because you can’t see what’s happening underneath. But don’t panic – there are ways to work around this challenge.
Start by removing the ponding water with a pump, wet vacuum, or even buckets if necessary. Clear any blocked drains to prevent the water from returning immediately. The surface needs to be completely dry before you can do any meaningful inspection work.
Look for clues that water leaves behind. Debris lines show you how water flows across your roof surface. Membrane discoloration often indicates areas where water sits regularly. Press gently on the roof surface – soft spots suggest the deck underneath has water damage. You might also notice algae or mold growth in areas with chronic moisture problems.
The colored water test works great once you’ve dried the surface. Add food coloring to water and apply it systematically to different areas while someone watches from inside. When you remove standing water, look for bubbles coming up through the membrane – that’s often where your leak is hiding.
Prevention is really the key here. Consider adding drains in areas where water ponds regularly. If possible, improve the roof slope or install tapered insulation systems. Overflow drains provide backup protection when primary drains get clogged.
Should I repair or fully replace a 20-year-old flat roof?
This is the question that keeps homeowners up at night, and honestly, there’s no one-size-fits-all answer. The decision comes down to the overall condition of your roof, not just its age.
Repairs make financial sense when damage is localized to small areas and the rest of the membrane is in good shape. If you’ve been keeping up with maintenance and recent repairs have solved problems successfully, you can often get several more years from targeted flat roof leak repair work.
Replacement becomes the smarter choice when you’re dealing with multiple leaks across the roof surface, widespread membrane deterioration, or repeated repair failures. If you’re seeing interior damage that suggests structural problems, or if your energy bills are climbing because insulation is compromised, replacement often saves money in the long run.
Here’s a rule of thumb we use: If repair costs exceed 50% of replacement cost, replacement usually makes more financial sense. It’s like putting expensive repairs into an old car – at some point, you’re throwing good money after bad.
Age considerations matter, but they’re not everything. A well-maintained 20-year-old roof might have years of life left, while a neglected 15-year-old roof might be ready for replacement. Roofs over 25 years old generally lean toward replacement, especially if they haven’t been regularly maintained.
The smartest approach for any roof approaching 20 years is getting a professional assessment. We can evaluate the overall condition, estimate remaining useful life, and help you make a decision based on facts rather than guesswork. Sometimes what looks like a major problem is actually a simple fix, and sometimes small leaks indicate bigger issues underneath.
Conclusion
Flat roof leak repair really doesn’t have to keep you up at night worrying about the next rainstorm. I’ve walked homeowners through hundreds of these repairs over the years, and honestly, most people are surprised by how straightforward the process becomes once you understand the basics.
The biggest “aha moment” for most folks is realizing that water travels much farther than they expected – sometimes 10 feet or more from where it actually enters your roof. Once you accept that detective work is part of the job, finding and fixing leaks becomes much less frustrating.
Your success comes down to three simple things: taking time to find the real source of the leak, properly cleaning and preparing the repair area, and using quality materials that match your roof type. Whether you’re dealing with a small crack that needs some roofing cement and mesh, or a larger membrane failure that requires the double-patch technique, these fundamentals apply every time.
But here’s the thing – knowing when to call for help is just as important as knowing how to DIY. If you’re dealing with multiple leaks, structural issues, or safety concerns that make you uncomfortable, there’s no shame in bringing in professionals. In fact, it’s often the smartest move you can make.
After 18 years serving the Texas Hill Country, I’ve seen how our unique climate challenges flat roofs. Those intense summer UV rays, sudden temperature swings, and occasional hail storms create conditions that demand both quality repairs and regular maintenance. We understand these local challenges because we live and work here too.
Our team serves Kerrville, Fredericksburg, Comfort, and throughout the Hill Country with the kind of certified workmanship that gives you confidence in your investment. Sometimes that peace of mind is worth every penny, especially when it comes to protecting your property from water damage.
The best time for flat roof leak repair is always right now – as soon as you find the problem. Small leaks have a nasty habit of becoming expensive headaches when you ignore them. Take action, stay safe on that roof, and remember that we’re here when you need professional help.
For comprehensive roof inspections, emergency repairs, or full replacement services, check out our Roofing Services page. Your roof protects everything underneath it – make sure it gets the attention it deserves.