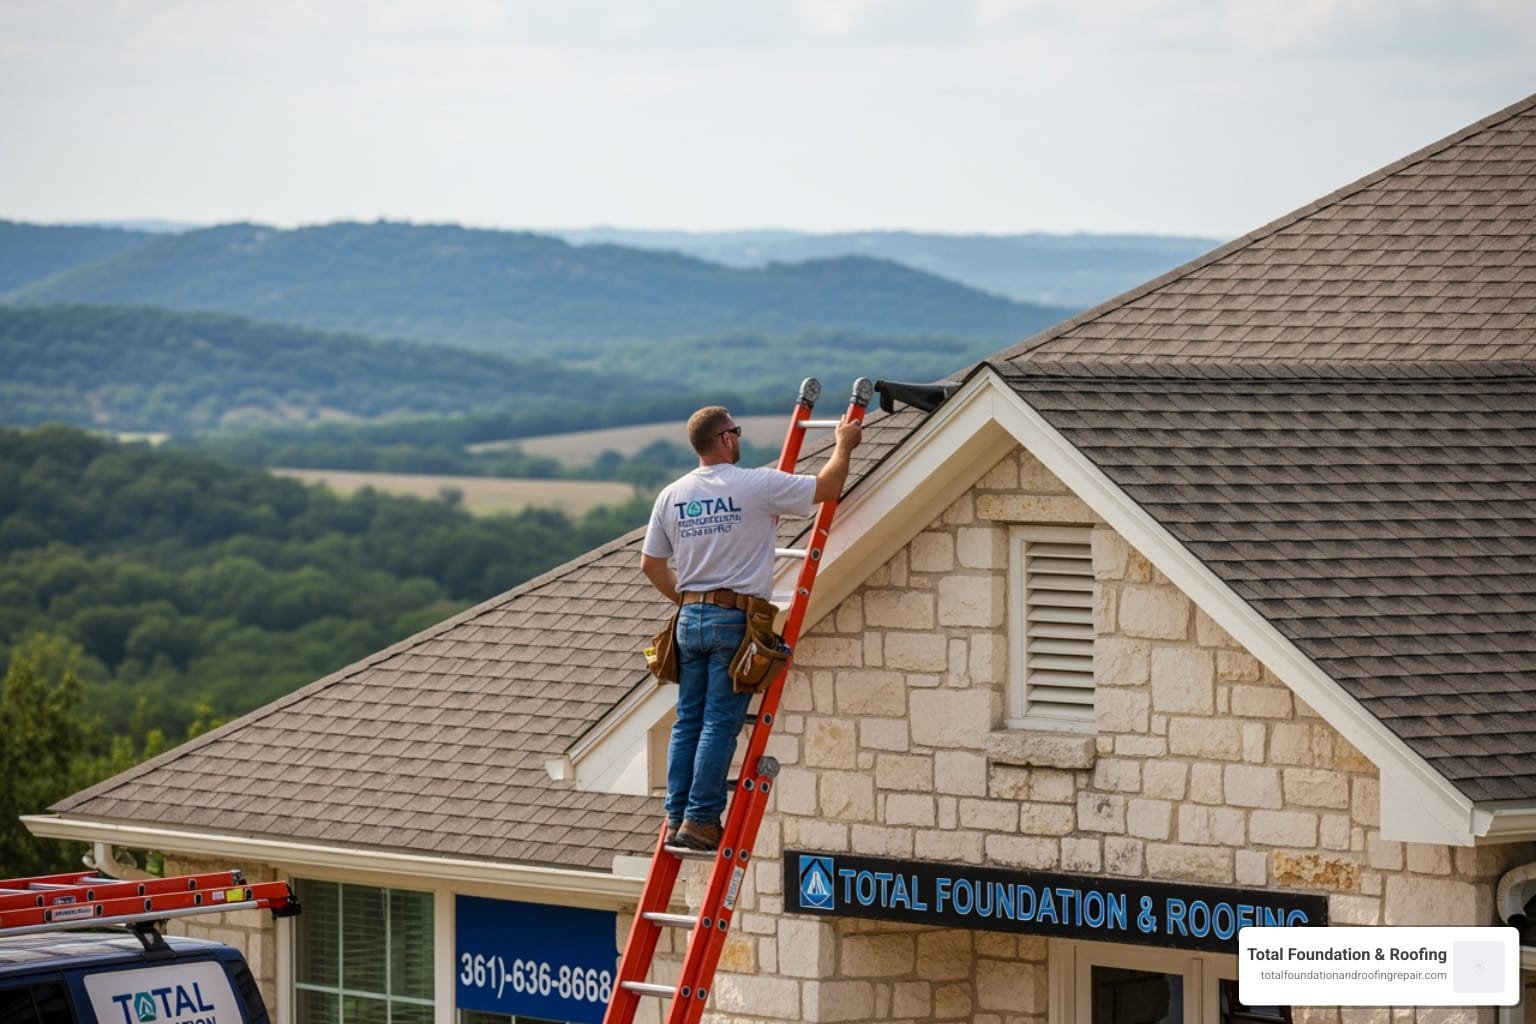

Why Aluminum Drip Edge Installation Is the Most Overlooked Roof Protection Step
Aluminum drip edge installation is the process of fastening a corrosion-resistant metal flashing strip along the edges of your roof to direct water away from your fascia board and into the gutters. At Total Foundation & Roofing Repair, our team emphasizes this critical step to protect your roof deck, fascia, and foundation from severe water damage.
Here’s what you need to know at a glance:
- What it is: A metal L-shaped or T-shaped strip installed at the roof’s eaves and rake edges
- Why it matters: Prevents fascia rot, water intrusion, and pest entry
- IRC code requirement: Mandatory on all asphalt shingle roofs since 2012 (Section R905.2.8.5)
- Correct sequence: Under the underlayment at eaves; over the underlayment at rakes
- Best material for most homes: Aluminum — lightweight, corrosion-resistant, and lasts 20–30 years
- Cost: $1–$3 per linear foot on a new roof; $5–$9 per linear foot as a retrofit
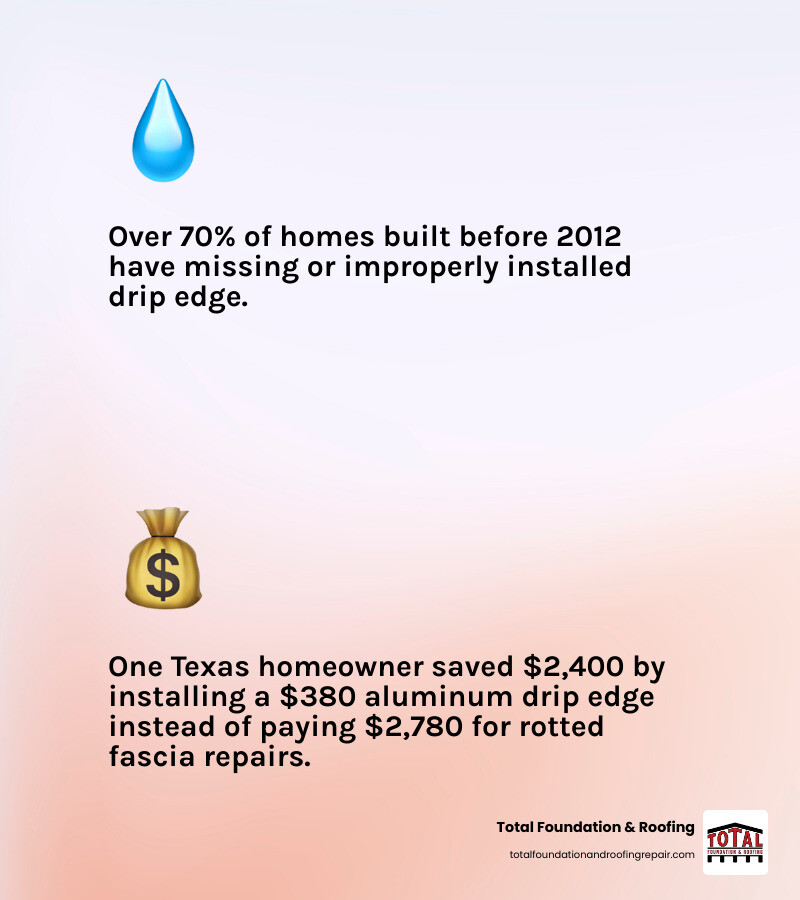
That thin metal strip along your roof’s edge is doing a lot of heavy lifting. Without it, water doesn’t simply drip off — it clings to the wood underneath through surface tension, slowly rotting your fascia from the inside out. One Texas homeowner learned this the hard way: a missing drip edge led to $2,780 in rotted fascia repairs — damage that a $380 drip edge installation would have prevented entirely.
Over 70% of homes built before 2012 have improperly installed or missing drip edge, according to roofing contractor network data. That’s a staggering number — and it means there’s a good chance your home is quietly taking on water damage right now without any visible warning signs. If your home needs professional roofing services, catching this early makes all the difference.
I’m Daniel Sowell, owner of Total Foundation & Roofing Repair in Kerrville, Texas, with over 18 years of hands-on experience in aluminum drip edge installation and roofing systems across the Texas Hill Country. In this guide, I’ll walk you through everything — profiles, sequencing, retrofitting, and common mistakes — so your roof edge is protected the right way.
Aluminum drip edge installation basics:
Step-by-Step Aluminum Drip Edge Installation
To guarantee a watertight roof system, we follow a precise step-by-step installation process. Every piece of metal flashing must align perfectly with standard building codes and manufacturer specifications. In the sections below, we will break down the exact methods required to achieve a flawless installation that complies fully with the International Residential Code (IRC) and the Asphalt Roofing Manufacturers Association (ARMA) guidelines.
Understanding the Importance of Aluminum Drip Edge Installation
The primary purpose of a drip edge is to disrupt the natural surface tension of water, forcing it to drop cleanly off the roof and into your gutters instead of wicking backward into your fascia and roof deck.
When a drip edge is missing or installed incorrectly, water clings to the edge of the shingles, runs down the raw wood of the fascia board, and seeps into the roof decking. Over time, this constant exposure leads to severe roof water damage and rotted roof sheathing.
Beyond moisture control, a drip edge acts as a physical barrier. In the Texas Hill Country, wasps, rodents, and other pests love to squeeze into the tiny gap between your roof deck and fascia board. A properly installed drip edge seals this opening, preventing water intrusion and keeping pests out of your attic.
According to the IRC (Section R905.2.8.5), a code-compliant drip edge must meet these strict requirements:
- Deck Extension: The metal flange must extend back onto the roof deck by a minimum of 2 inches.
- Downward Extension: The vertical leg must extend at least 1.5 inches down, projecting a minimum of 0.25 inches below the roof sheathing.
- Overlapping: Adjacent sections of drip edge must overlap by at least 2 inches.
- Fastening: Fasteners must be spaced no more than 12 inches on center.
Selecting the Right Profiles and Materials for Roof Protection
Choosing the right profile and metal is critical for long-term durability. Drip edges are manufactured in three primary profiles:
- Type C (L-Style): A basic 90-degree L-shaped metal flashing. While common, it sits flush against the fascia, which can sometimes allow water to run down the wood if a furring strip is not installed.
- Type D (T-Style / D-Metal): Shaped like a “T” with a clear kickout flange at the bottom. This is the industry-preferred profile because it pushes water further away from the fascia board.
- Type F (Gutter Apron): Features a longer, sloped vertical leg that directs water directly over the gutter hanger and into the trough. This profile is highly recommended for low-slope roofs and retrofit installations.
When comparing materials, aluminum is the overall winner for residential properties in Kerrville, Fredericksburg, and Comfort due to its balance of cost, weight, and corrosion resistance.
| Material | Average Cost (Installed/LF) | Lifespan | Thickness / Gauge | Best Use Case |
|---|---|---|---|---|
| Aluminum | $2 – $6 | 20 – 30 Years | Min. 0.019 inch | Residential homes, high humidity |
| Galvanized Steel | $2 – $7 | 15 – 25 Years | Min. 24-gauge | High-wind regions, heavy impact |
| Copper | $8 – $20 | 50 – 70+ Years | Min. 20 oz. (0.69 mm) | Premium historical restorations |
Note: Always avoid mixing dissimilar metals. For example, fastening an aluminum drip edge with copper nails will trigger galvanic corrosion, rapidly destroying the metal. Standard galvanized roofing nails are highly compatible with aluminum drip edge.
For more information on metal trim and profiles, check out our guide on metal roofing drip edge options.
Preparation and Tools for Aluminum Drip Edge Installation
Before starting, gather the following essential tools:
- Tin snips (aviation snips)
- Flat pry bar
- Utility knife
- Hammer or roofing nailer
- 1-1/4 inch galvanized roofing nails
- Safety glasses and heavy-duty work gloves
Preparation is the key to a clean finish. Start by inspecting the roof deck sheathing along the entire perimeter. If you find soft, spongy, or rotted wood, it must be cut out and replaced before installing the new drip edge. Remove any old shingles, loose nails, and deteriorated flashing.
When working with aluminum, we must account for thermal expansion. In the intense Texas heat, aluminum expands significantly. When installing straight runs, leave a tiny 1/4-inch gap between lengths if using a cleat system, or leave a 1/32-inch “hang nail” gap under the nail heads to allow the metal to slide slightly without buckling or warping. This is a crucial step when installing metal roofs.
Correct Sequencing and Layering at Eaves and Rakes
The most common installation mistake is failing to reverse the layering sequence between the eaves (bottom edges) and rakes (sloped gable edges).
To ensure water sheds correctly, follow this sequence:
- Eaves First: Install the drip edge directly onto the bare wood roof deck along the eaves.
- Underlayment Over Eaves: Roll your roofing underlayment (synthetic or felt) over the horizontal flange of the eave drip edge. If water gets under your shingles, it will run on top of the underlayment, over the drip edge, and safely into the gutter.
- Underlayment First on Rakes: Run your underlayment all the way to the edge of the gable (rake) deck.
- Rakes Over Underlayment: Fasten the rake drip edge over the top of the underlayment. This prevents wind-driven rain from blowing sideways under the edges of the underlayment.
For shingles, ensure they overhang the drip edge by 1/4 inch to 3/4 inch. If you are using asphalt starter shingles, align them carefully with this overhang to prevent water from wicking backward. You can read more about standard roofing preparation on the proper drip edge installation steps page.
How to Retrofit Drip Edge on an Existing Roof
Can you install a drip edge without tearing off your shingles? Yes, but it requires patience and a gentle touch.
- Inspect the Wood: Slide a flat bar under the first row of shingles to check the sheathing. If the wood is crumbly or rotted, a retrofit is impossible; you must replace the damaged roof deck first.
- Loosen the Shingles: Carefully slide your flat bar under the starter strip and first row of shingles to break the adhesive tar seal.
- Remove Obstacles: Locate and pry out any old nails near the edge that might block the new metal flashing.
- Slide the Drip Edge In: Slide the upper flange of a Type F or Type D drip edge underneath the underlayment and shingles, keeping the vertical face snug against the fascia.
- Fasten and Seal: Secure the drip edge. Because you cannot nail directly through the top of the shingles without creating a leak, lift the shingle tabs carefully, drive your roofing nails through the flange, and apply a dab of high-quality roofing cement over the nail heads to seal them.
For detailed retrofitting specifications, consult the retrofitting drip edge guide.
Corner Transitions and Avoiding Common Mistakes
The corner where the eave meets the rake is the highest-stress point for water intrusion. To seal this area properly, never simply butt two pieces of metal together.
- The Wrapping Technique: Install the eave drip edge first, extending it 1 inch past the corner. Use your tin snips to cut off the top horizontal flange of this extended piece, leaving only the vertical face. Bend this vertical face around the corner onto the rake fascia.
- Miter the Rake Edge: Cut the bottom end of your rake drip edge at a 45-degree angle. Place it over the wrapped eave corner to create a seamless, watertight shingle-lap transition.
Avoid these critical mistakes:
- Face-Fastening: Never drive nails through the visible vertical face of the drip edge. This creates immediate leak paths.
- Overdriving Nails: Do not crush the metal with your hammer. Overdriven nails cause the aluminum to pucker, creating “fish-mouth” gaps where water can enter.
- Insufficient Overlap: Always maintain a minimum 2-inch overlap between adjacent sections, ensuring the overlap runs in the direction of water flow.
For more flashing tips, read our guide on asphalt shingle flashing best practices and find additional visual guides on how to install drip edge corners.
Conclusion
A professionally installed aluminum drip edge is one of the most cost-effective insurance policies you can buy for your home. While it may seem like a minor detail, skipping this step or installing it incorrectly can lead to thousands of dollars in rotted structural timber, mold, and pest infestations.
At Total Foundation & Roofing Repair, we understand the unique demands of the Texas Hill Country climate. From the blistering summer heat in Comfort to sudden, torrential downpours in Fredericksburg, we build roofing systems designed to stand the test of time.
If you are planning a roof replacement or want to inspect your home for missing drip edge flashing, we are here to help. We provide certified Kerrville, Texas roofing services and comprehensive residential roofing services tailored to your home’s exact needs.
Contact the team at Total Foundation & Roofing Repair today to schedule your professional roof inspection and ensure your home is fully protected against the elements.