Why Your Metal Roof Deserves Flawless Chimney Flashing
Flashing a chimney on a metal roof is the critical barrier between a dry, secure home and thousands of dollars in water damage. A metal roof can last 40-70 years, but its longevity depends on proper metal roof installation around penetrations like chimneys. Improperly flashed chimneys are a leading cause of roof leaks, which can compromise your home’s structural integrity, ruin insulation, and promote mold growth. For homeowners in Texas, protecting your home with expert residential roofing practices is non-negotiable.
Quick Answer: How to Flash a Chimney on a Metal Roof
- Prepare the chimney and roof deck – Clean surfaces, inspect for damage, ensure proper underlayment.
- Install base/apron flashing – Attach to the chimney base, extending onto the roof deck.
- Add step flashing – Interweave L-shaped pieces with metal panels along chimney sides.
- Install counter-flashing – Secure over step flashing and embed into chimney mortar joints.
- Build a cricket – Install a peaked structure on the uphill side to divert water (for chimneys over 30″ wide).
- Seal all joints – Use metal-compatible sealant on all seams and penetrations.
- Inspect thoroughly – Test with water and check for gaps or movement.
The primary challenge with metal roofing is its thermal expansion and contraction. A metal roof expands in the Texas sun and contracts at night. Flashing must accommodate this movement to prevent cracking and separation. Additionally, using incompatible metals (like copper on a steel roof) causes galvanic corrosion, leading to rapid deterioration. A proper flashing system uses layered components—base flashing, step flashing, counter-flashing, and a cricket—to direct water away from the chimney.
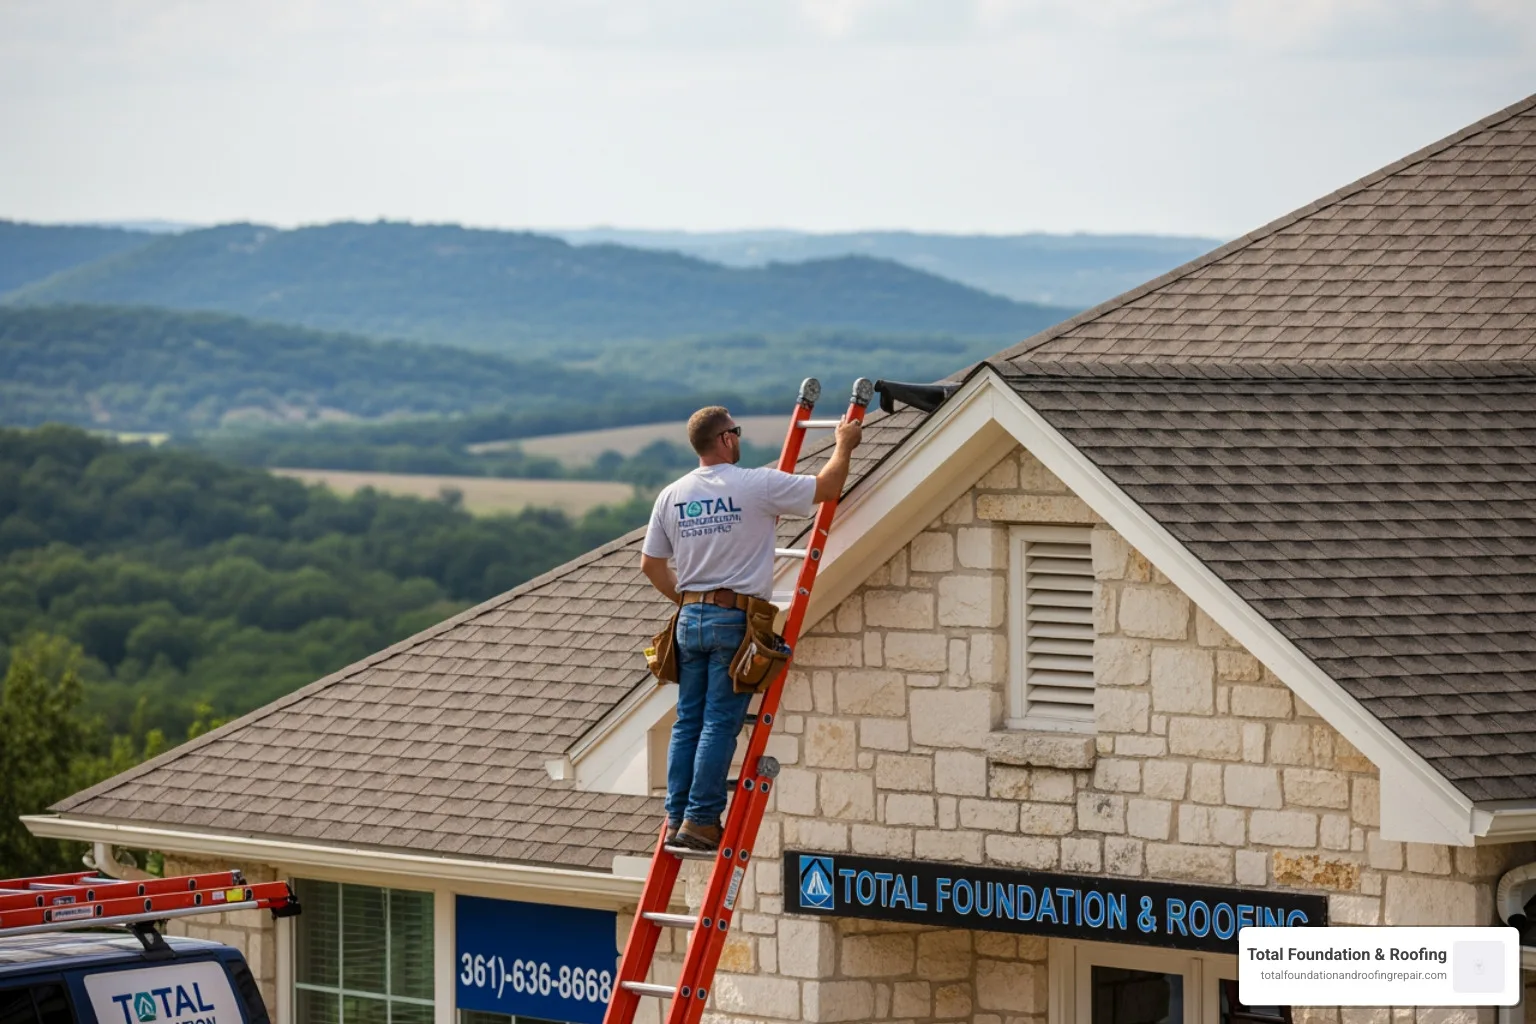
I’m Daniel Sowell, owner of Total Foundation & Roofing Repair. With over 18 years in the construction industry across the Texas Hill Country, I’ve seen how crucial proper flashing a chimney on a metal roof is to preventing costly water damage. Our team ensures every penetration is sealed correctly the first time.

Understanding Metal Roof Profiles and Flashing Basics
The flashing technique depends heavily on the type of metal roof. The goal is always to create a waterproof barrier that accounts for the roof’s specific profile and characteristics.
- Standing Seam Roofs: These feature raised, interlocking seams. Flashing must be integrated without penetrating the panels, using specialized clips and sealants that allow the roof to expand and contract freely. Manufacturer guides, like those from Sheffield Metals, are essential for proper integration.
- Corrugated Metal Roofs: The wavy profile creates gaps that must be sealed. We use adhesive-backed foam closure strips under the flashing to fill these gaps and create a watertight fit.
- Exposed Fastener Panels: On these roofs, fasteners penetrate the panels. We use neoprene gasketed screws and pay extra attention to sealing all fastener points to prevent leaks.
Essential Components of a Chimney Flashing System
A complete chimney flashing system is a multi-layered defense against water.
- Base Flashing (Apron and Pan): The apron flashing is installed on the downslope side of the chimney, extending up its face and onto the roof. The pan flashing is installed on the upslope side to divert water flowing down from above.
- Step Flashing: These are L-shaped metal pieces interwoven with the roofing panels along the chimney’s sides. Each piece overlaps the one below it, creating a shingle-like effect that directs water away.
- Counter-Flashing (Cap Flashing): This is the final protective layer. It’s secured to the chimney and overlaps the top edges of the base and step flashing. We embed the top edge into a groove (reglet) in the chimney’s mortar and seal it, preventing water from getting behind the other flashing components.
- Cricket (Saddle): A cricket is a small, peaked structure built on the upslope side of any chimney wider than 30 inches. It is essential for splitting water and debris, preventing it from pooling at the back of the chimney, which can cause rust, rot, and leaks.
Here’s a comparison of common flashing materials we consider for your metal roof:
| Flashing Material | Cost (Approx. per linear foot) | Lifespan (Years) | Compatibility Considerations |
|---|---|---|---|
| Galvanized Steel | $0.50 | 20-40 | Excellent with galvanized or galvalume steel roofs. Can corrode if in contact with copper or certain treated woods. |
| Aluminum | $0.75 | 40-70+ | Lightweight, corrosion-resistant. Highly compatible with aluminum roofs. Must avoid direct contact with copper or treated lumber to prevent galvanic corrosion. Can be painted to match roof color. |
| Copper | $2-$3 | 70-100+ | Exceptional longevity and aesthetic appeal. Highly resistant to corrosion. Must be used with copper roofs or in isolation from other metals (e.g., lead flashing for stone chimneys). Causes severe galvanic corrosion with aluminum or steel. |
The Ultimate Guide to Flashing a Chimney on a Metal Roof

Flashing a chimney on a metal roof is a precise job where a single mistake can cause significant attic water leaks. Safety is paramount when working at heights on a slick metal surface. Always use proper fall protection. If you are not comfortable with this type of work, we recommend hiring a professional.
Step-by-Step: How to Install Flashing on a Chimney with a Metal Roof
This guide outlines the critical stages for a watertight seal. Always consult the manufacturer’s instructions for your specific metal roofing system.
Prepare Chimney and Roof Deck:
- Inspect and repair any cracks or loose mortar on the chimney.
- Clean the chimney and surrounding roof deck until they are free of debris.
- Ensure the underlayment is properly installed and intact around the chimney.
- Carefully remove all old flashing components if performing a replacement.
Install Apron and Back Pan/Cricket:
- On the downslope side, install the apron flashing, extending it up the chimney and onto the roof panels. Use foam closure strips for corrugated roofs to seal gaps.
- On the upslope side, install the back pan. If the chimney is over 30 inches wide, a cricket is essential to divert water and is integrated with the back pan.
Weave in Step Flashing:
- Working from the bottom up, interweave L-shaped step flashing pieces with the metal roof panels along the chimney’s sides.
- Each piece must overlap the one below by at least 2-3 inches to create a shingle-like barrier against water.
Install Counter-Flashing:
- Cut a shallow groove (reglet) into the chimney’s mortar joints.
- Insert the top edge of the counter-flashing into the reglet and secure it to the chimney.
- The counter-flashing should hang over the step flashing without touching the roof, allowing the roof to expand and contract independently.
Seal and Inspect:
- Apply a high-quality, UV-resistant sealant compatible with metal to all seams, joints, and fastener heads.
- Perform a final inspection and a water test with a hose to confirm there are no leaks.
Common Mistakes When Flashing a Chimney on a Metal Roof
Avoiding these common pitfalls is key to a long-lasting, leak-free installation, especially in the varied climate of Kerrville, Fredericksburg, and Comfort. An error in any of these areas can undermine the entire system.
- Ignoring Thermal Movement: Metal panels can expand and contract significantly with temperature changes—sometimes by as much as an inch over a 100-foot run. If flashing is fastened rigidly to both the static chimney structure and the dynamic roof panels, this movement creates immense stress. This leads to warped metal, broken fastener seals, and failed sealant joints. The correct method involves attaching the counter-flashing only to the chimney, allowing it to hang over the step flashing without being fastened to the roof. This creates a “floating” system where the roof can move independently underneath.
- Using Incompatible Materials: This is a critical chemistry mistake. When two different metals are in contact in the presence of an electrolyte (like rainwater), an electrochemical reaction called galvanic corrosion occurs. This process can rapidly destroy the less noble metal. For example, aluminum flashing will quickly corrode if touched by copper runoff. Always use materials that are compatible (e.g., galvanized steel flashing with a galvalume roof) or ensure reactive metals are completely isolated from one another. Referencing a galvanic compatibility chart is a standard professional practice.
- Improper Overlaps (Reverse Lapping): Water flows downhill. This simple principle must govern every step of the installation. Each piece of flashing must be layered in a shingle-like fashion, where the piece above overlaps the piece below it. A common and disastrous DIY mistake is “reverse lapping,” where a lower piece is tucked over a higher one. This effectively creates a scoop that funnels water directly under the flashing and into your home’s structure, causing rot and damage.
- Relying on Sealant Alone: While high-quality sealant is a crucial part of the final sealing process, it should never be the primary defense against water. Sealants are a maintenance item; they degrade over time due to UV exposure and temperature cycles. The mechanical flashing system—the interlocking pieces of metal that direct water via gravity—is the permanent barrier. As experts at the Building Science Corporation note, a well-designed system should work even if the sealant fails. Sealant is for sealing small joints and fastener heads, not for bridging major gaps or fixing poor installation.
- Incorrect Fastener Use: The fasteners themselves can become a source of leaks if chosen or installed incorrectly. Screws used on a metal roof must have a high-quality EPDM or neoprene washer to create a durable, waterproof seal. Placing these fasteners in the “valleys” or low pans of a corrugated panel is a major error, as this is where water concentrates. Fasteners should always be driven into the “ribs” or high points of the panel, per manufacturer specifications, to keep them above the main flow of water.
- Inadequate Cricket Design or Omission: A cricket (or saddle) is not optional for wide chimneys. According to the International Residential Code (IRC), a cricket is mandatory on the high side of any chimney wider than 30 inches. Omitting it allows a large dam of water, snow, ice, and debris to accumulate behind the chimney. This trapped moisture is a primary cause of leaks, accelerates corrosion of the metal panels, and can lead to rot in the roof decking.
Signs of a Failing Chimney Flashing:
If you notice any of these signs, it’s time for an immediate inspection. Prompt roof leak detection can prevent minor issues from becoming major repairs.
- Rust stains on the chimney or roof.
- Cracked, peeling, or missing sealant.
- Loose, bent, or detached flashing pieces.
- Water stains on interior ceilings or walls near the chimney.
- Visible gaps between the flashing and the chimney or roof.
When to Call the Pros and Long-Term Maintenance
While DIY projects can be rewarding, flashing a chimney on a metal roof is a task best left to experienced professionals. The precision required to work with metal, account for thermal expansion, and ensure a watertight seal is not for the inexperienced. A small mistake can lead to significant water damage, making a professional installation a wise investment.
DIY vs. Hiring a Certified Roofer
Heres why hiring a certified roofer is the smartest choice for this critical job:
- Safety: Professionals have the training and equipment to work safely at heights on slick metal roofs.
- Specialized Tools & Expertise: Proper metal flashing requires special tools for cutting and bending, along with deep knowledge of how different metal profiles behave.
- Warranty Protection: Reputable companies provide warranties on materials and workmanship, giving you peace of mind that a DIY job can’t offer.
- Long-Term Savings: A professional installation, which might cost between $400 and $1,600, prevents costly future repairs from water damage, mold, and structural issues. If you suspect a leak, an expert can determine if an emergency roof repair is needed.
For homeowners in the Texas Hill Country, the most reliable decision is to contact a qualified Kerrville roofing contractor who specializes in metal roofing.
Maintenance and Frequently Asked Questions
Properly installed flashing still requires routine maintenance to ensure its longevity.
Long-Term Maintenance for Your Chimney Flashing:
- Inspect Annually: Check your flashing each spring and fall, a practice recommended by the Metal Roofing Alliance.
- Keep It Clean: Regularly clear away leaves, twigs, and other debris that can trap moisture and block water flow.
- Check Sealant: Look for any cracked or peeling sealant. Reapply with a compatible, high-quality product as needed.
- Look for Damage: After high winds or storms, check for any bent, loose, or corroded flashing pieces and address them promptly.
Frequently Asked Questions About Chimney Flashing:
Q: How does flashing a stone chimney differ from a brick or block chimney on a metal roof?
A: Flashing a stone chimney is more complex due to its irregular surface. Unlike the straight mortar joints of brick, stone requires custom-fitting each flashing piece. This often involves carefully shaping the metal to the stone’s contours to achieve a watertight seal.
Q: How does roof pitch and snow load influence chimney flashing design?
A: A lower roof pitch requires flashing to extend higher up the chimney to prevent water from backing up. In areas with potential snow, a larger, steeper cricket is essential to divert snow and ice melt effectively, preventing ice dams from forming behind the chimney.
Q: Are there specific flashing systems designed for metal roofs?
A: Yes, many manufacturers offer specialized flashing systems for metal roofs. These include pre-manufactured curbs and boots made from durable materials like galvalume or stainless steel. For standing seam roofs, these systems provide a superior, long-lasting seal compared to generic options and are the preferred choice for chimneys.
For expert inspections and repairs in the Texas Hill Country, trust the certified team at Total Foundation & Roofing. Explore our specialized metal roofing services.