Table of Contents
ToggleWhy Your Concrete Driveway Deserves a Second Chance
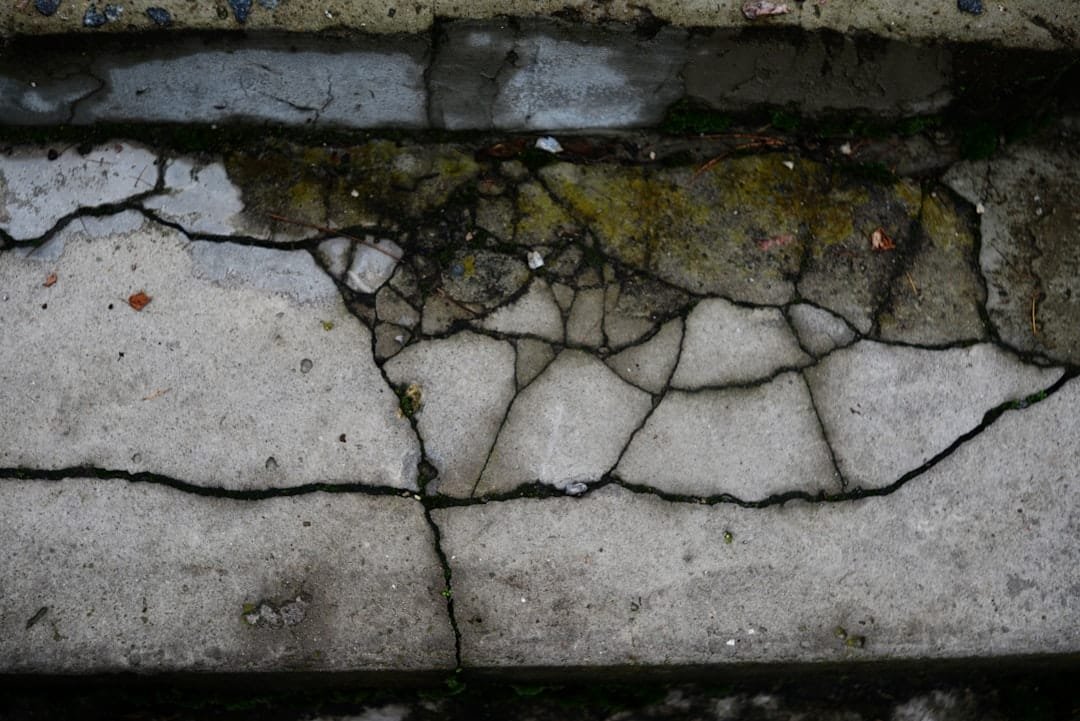
Over time, even the most durable concrete driveways can show signs of wear and tear. Cracks, stains, and surface deterioration can detract from your home’s curb appeal and even reduce its value. For fast, local help, talk to our trusted Kerrville concrete and foundation experts for an assessment and clear plan of action. Fortunately, a full replacement isn’t your only option. Concrete driveway refinishing offers a cost-effective and efficient way to restore your driveway’s appearance and structural integrity. At Total Foundation & Roofing, we specialize in transforming worn-out driveways into beautiful, long-lasting surfaces that enhance your entire property.
Concrete resurfacing, also known as a concrete overlay, involves applying a thin, durable layer of a specialized polymer-modified cement-based material to your existing driveway. This process is ideal for addressing cosmetic issues like discoloration, minor cracks, and spalling (pitting or flaking). The key benefits make it a compelling choice for homeowners:
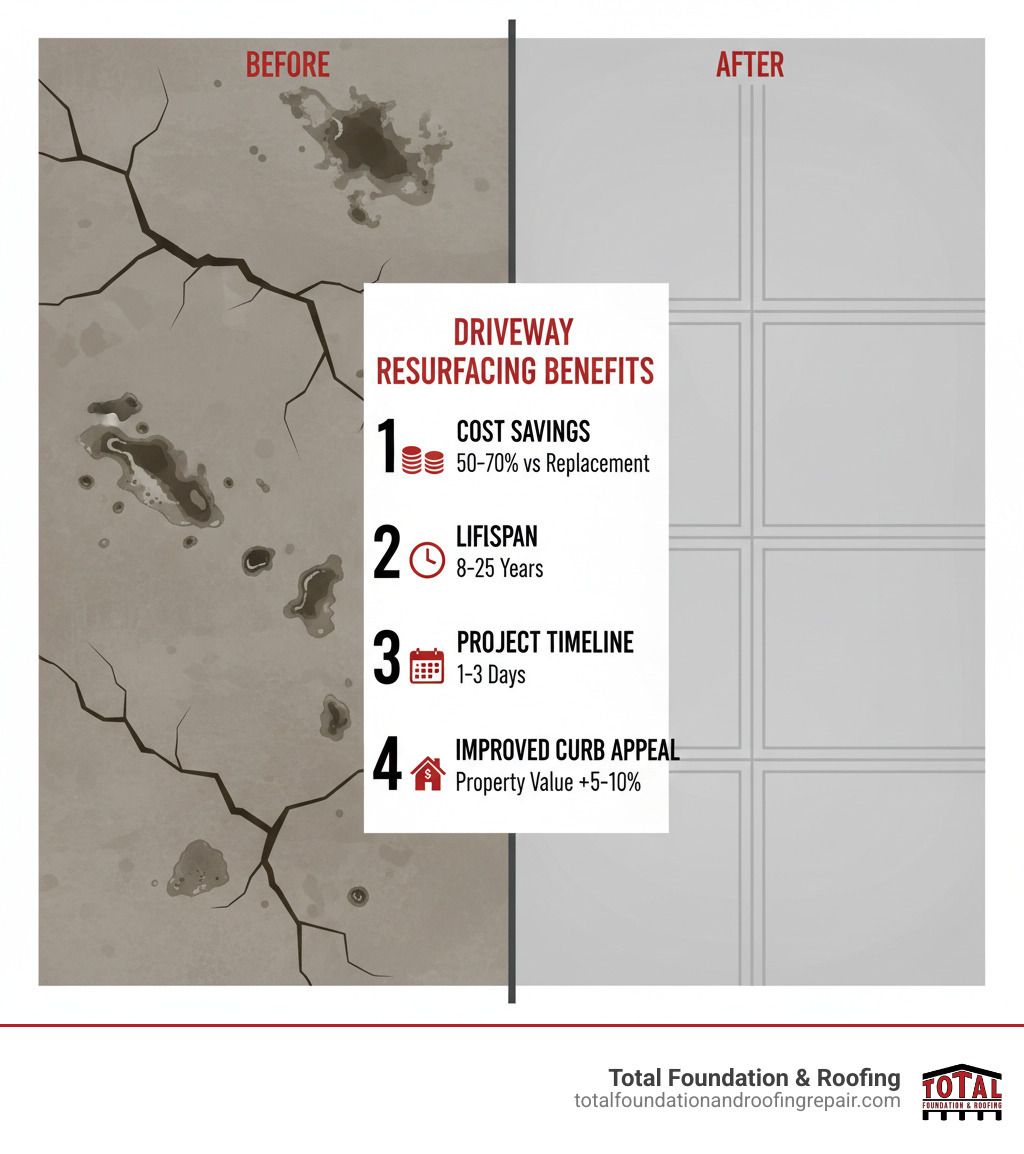
- Cost-Effectiveness: Resurfacing is typically 50-70% less expensive than a full replacement. It eliminates the significant costs associated with demolition, debris removal, and pouring a new slab.
- Durability: A professionally resurfaced driveway can last 8-15 years, and even up to 25 years with proper maintenance. The advanced materials used are designed to resist abrasion, weathering, and stains.
- Speed: Most projects are completed within 1-3 days, minimizing disruption to your daily routine. You can often use your driveway again within 24-48 hours.
- Aesthetic Appeal: This is your chance to upgrade. Resurfacing offers a wide range of customization options, from stamped patterns that mimic stone or brick to various colors, textures, and decorative borders.
This solution is perfect for driveways with surface-level damage but a solid, stable underlying structure. For homeowners in the Texas Hill Country seeking reliable concrete repair and maintenance solutions, understanding your options is the first step toward protecting and enhancing your investment.
The Complete Guide to Concrete Driveway Refinishing
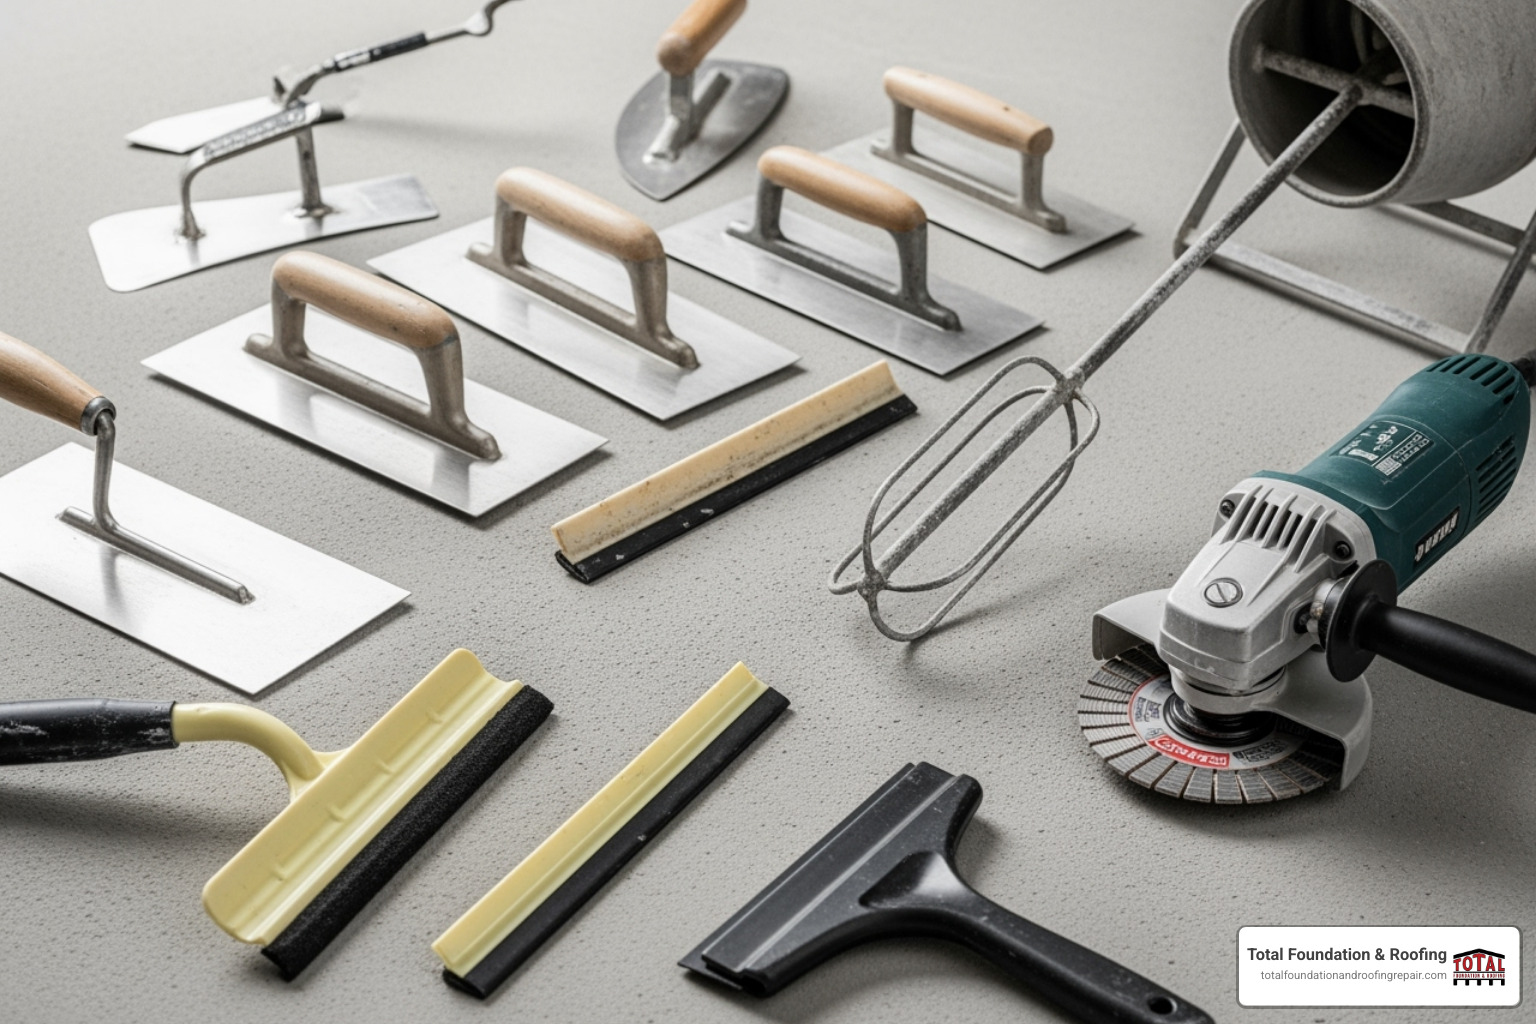
Resurfacing a concrete driveway is a proven method to boost curb appeal and extend the life of your investment. It’s a cost-effective alternative to a full replacement, offering both aesthetic and structural improvements. Our Concrete Services page provides more details on how we can transform your driveway.
Repair, Resurface, or Replace? Key Signs to Look For
Deciding whether to repair, resurface, or fully replace your concrete driveway depends on the type and severity of the damage. A professional assessment is always recommended, but here’s a quick guide to help you understand the options:
- Repair: Best for minor, isolated issues like a few hairline cracks (less than 1/8 inch wide) or small chips. Patching is a spot treatment. For more details, see our Concrete Driveway Repair blog post.
- Resurface: Ideal for widespread surface damage. This includes extensive spalling, multiple small-to-medium cracks, significant discoloration, or a generally worn-out appearance. This is the best option when the underlying concrete slab is still structurally sound and not sinking or heaving.
- Replace: Necessary for severe structural problems. This includes large, deep cracks (wider than 1/4 inch), significant sinking or heaving caused by soil issues, or crumbling concrete (known as delamination). If your driveway is over 20-25 years old with multiple deep structural issues, replacement is often the most cost-effective long-term solution.
| Factor | Repair | Resurfacing | Replacement |
|---|---|---|---|
| Best For | Minor, isolated cracks and chips | Widespread surface damage like spalling, discoloration, and multiple small cracks | Severe structural damage, deep cracks, sinking, or heaving |
| Lifespan | 1-5 years | 8-15 years (up to 25 with proper maintenance) | 20+ years |
| Project Time | A few hours | 1-3 days | 1-2 weeks |
Essential Preparation Steps Before You Begin
Proper preparation is the most critical phase for a long-lasting finish. A new overlay is only as good as the surface it’s bonded to. The process involves:
- Thorough Cleaning: We use high-powered pressure washers (around 3,000 PSI) to remove all dirt, grime, efflorescence, and loose or flaking material. This ensures the surface is completely clean.
- Degreasing: Stubborn oil and grease stains are treated with specialized chemical degreasers. These contaminants can act as bond-breakers, preventing the new surface from adhering properly and leading to future peeling.
- Crack and Damage Repair: We carefully chase out any existing cracks with a grinder and fill them with a flexible epoxy or polymer-modified repair mortar. Spalled areas are patched to create a smooth, stable foundation for the overlay.
- Surface Profiling: This is a crucial step often skipped in DIY attempts. We mechanically grind the concrete to create a textured surface, known as a Concrete Surface Profile (CSP). According to the International Concrete Repair Institute (ICRI), a proper CSP is essential for achieving a strong, permanent mechanical bond with the new overlay.
Weather and base-thickness considerations are vital. Most polymer-modified overlays perform best when applied in temperatures between 50-80°F and out of direct sunlight, rain, or high winds. For base slab fundamentals, see the Concrete Network’s driveway basics, which notes that new driveway slabs are commonly 4 inches thick and must be structurally sound before any overlay is applied.
The Step-by-Step Concrete Driveway Resurfacing Process
Once the surface is perfectly prepped, the transformation begins:
- Mixing: We precisely mix the resurfacing compound with water and any integrated color pigments to achieve the ideal consistency for application. This is done in batches to ensure the material doesn’t set prematurely.
- Application: The mixture is poured onto the dampened driveway and spread evenly with a gauge rake, squeegee, or trowel to a thickness of 1/16 to 1/4 inch. We work in manageable sections to maintain a wet edge and ensure a seamless, uniform finish. As a practical rule of thumb, Quikrete’s Concrete Resurfacer guide recommends working in sections no larger than 144 square feet.
- Texturing: For improved safety and a decorative look, we often apply a light broom finish to the wet surface. This creates a non-slip texture that’s ideal for all weather conditions and provides a classic, clean appearance.
- Curing: The new surface needs time to cure properly. It’s typically ready for foot traffic in about six hours and vehicle traffic in 24-48 hours, depending on the specific product used and the ambient weather conditions.
Customizing Your Driveway: Colors, Textures, and Finishes
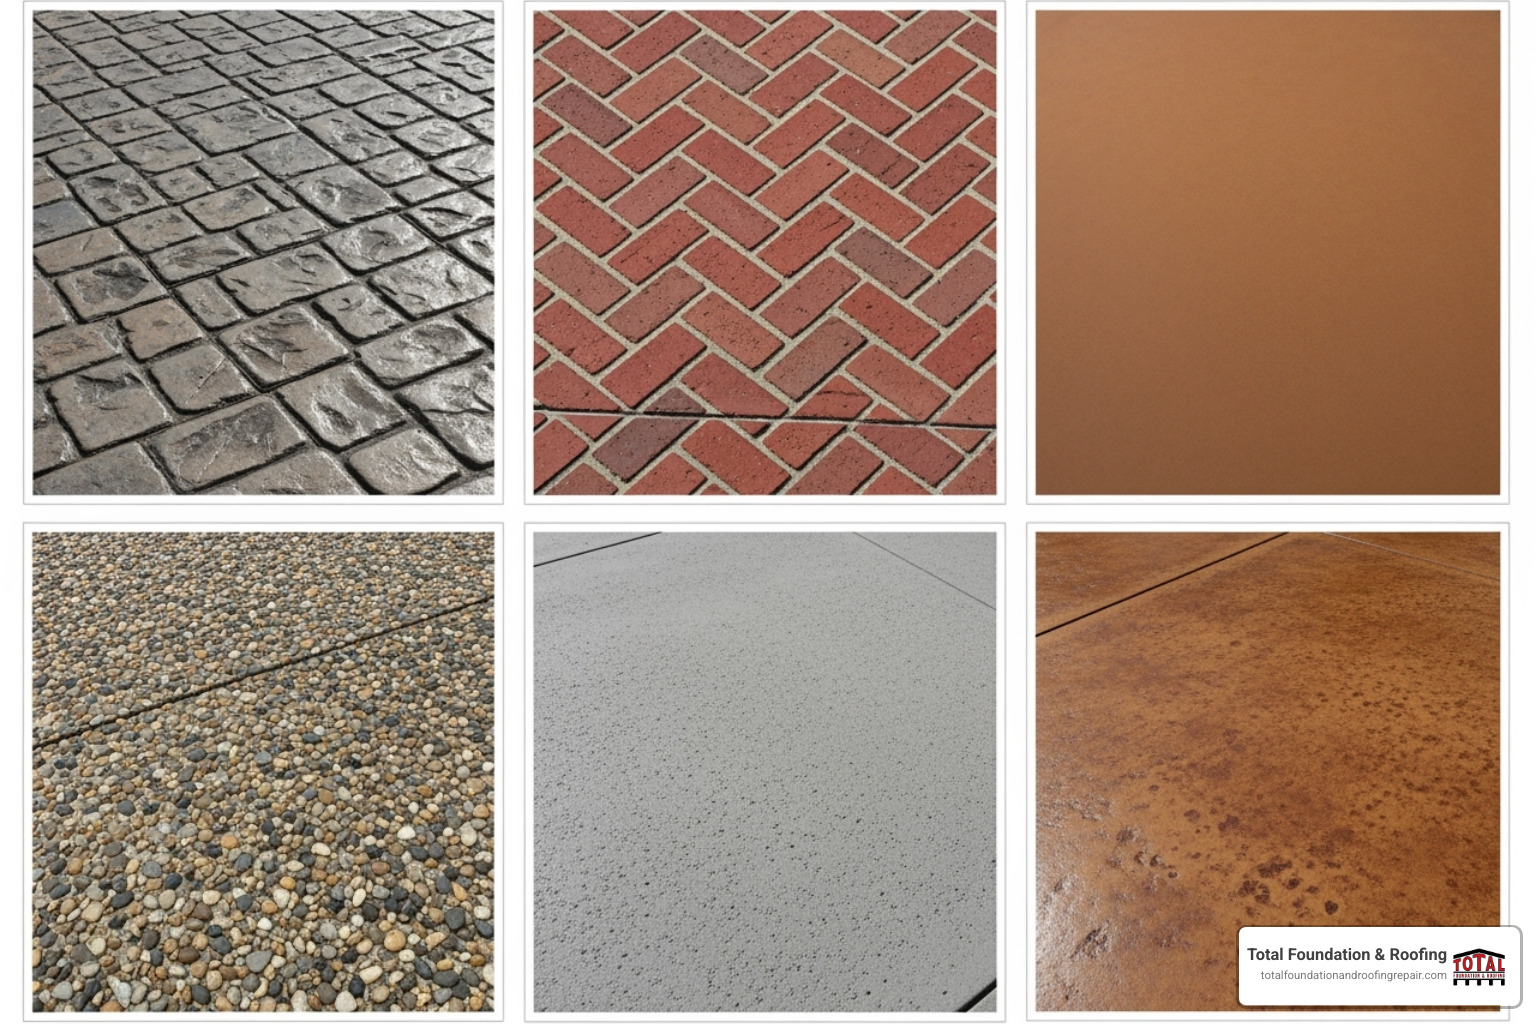
Resurfacing isn’t just about repair; it’s an opportunity to dramatically improve your home’s curb appeal. We offer a variety of decorative options to match your style:
- Stamped Overlays: Using specialized stamps, we can press patterns into the overlay that mimic the look of expensive materials like slate, flagstone, brick, or even wood planking.
- Stained Concrete: Acid or water-based stains can be applied to the new surface to provide rich, translucent color for a unique, marbled, or variegated effect that looks high-end.
- Textured Coatings: Sprayed-on finishes, often called “knock-down” textures, can add grip and a modern, uniform aesthetic that is both beautiful and functional.
- Custom Colors & Borders: We can integrally color the overlay mix to match your home’s color scheme or create eye-catching patterns and borders using different colors and textures.
For homeowners in the Texas Hill Country, we can also advise on solutions like Concrete Leveling to address underlying soil settlement issues before resurfacing.
Maximizing Longevity: Maintenance and Professional Help
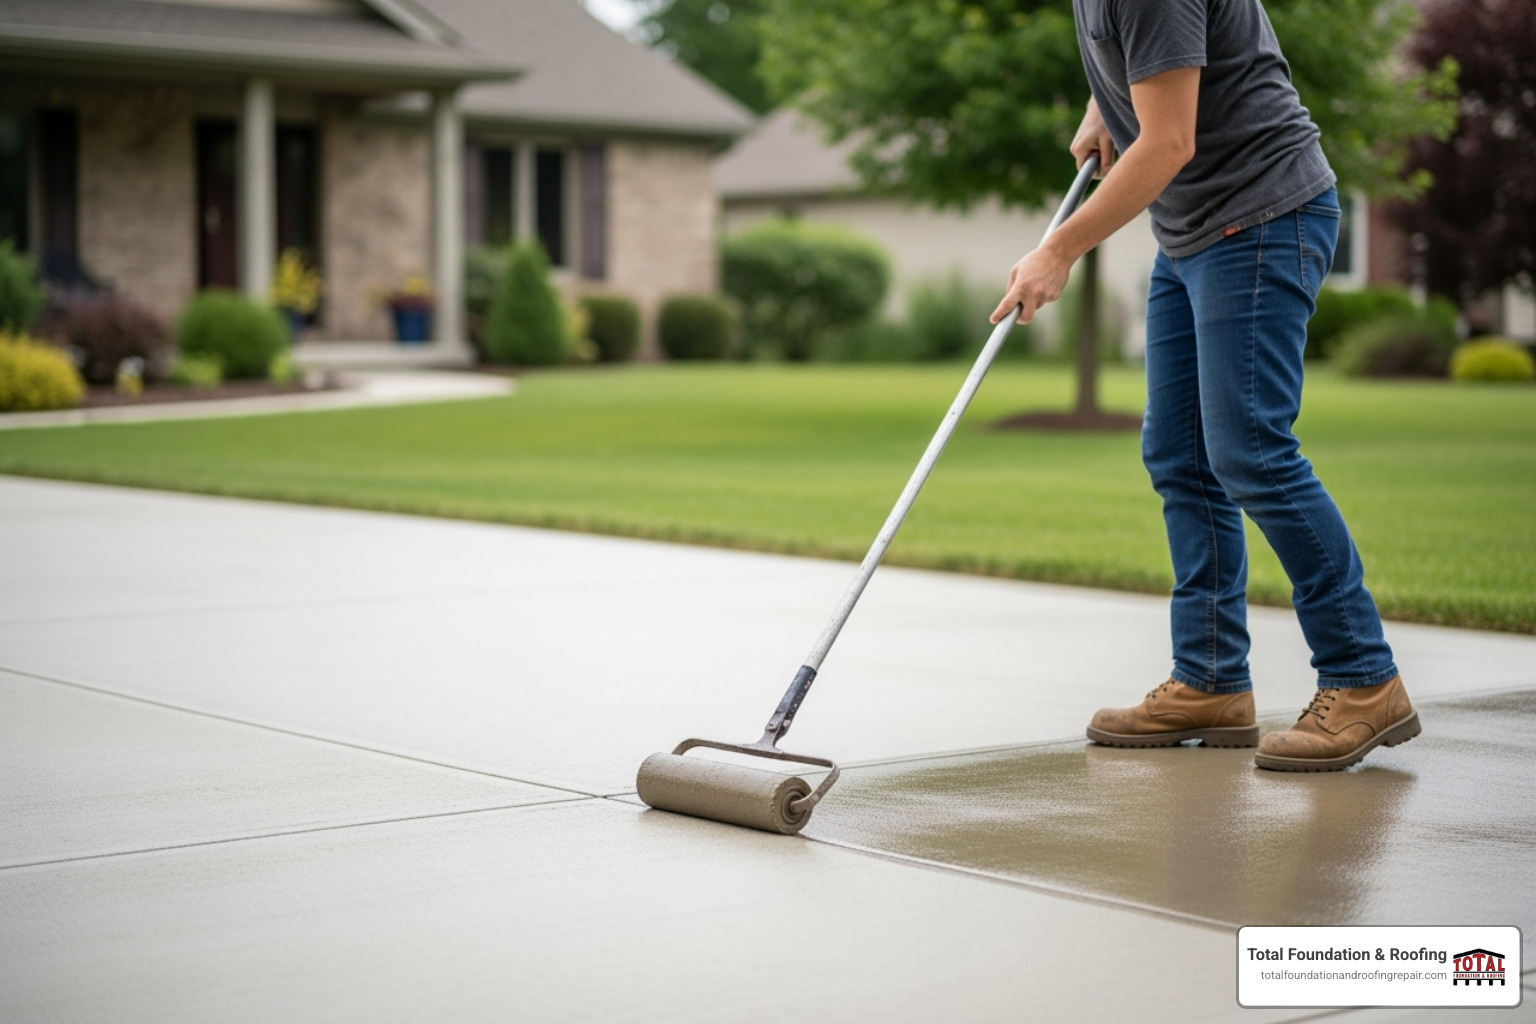
A new driveway surface is an investment in your home’s value and curb appeal. With proper care, your resurfaced driveway can last for decades. This involves routine maintenance and knowing when to call in professionals for a job done right. For expert advice customized to the Texas Hill Country climate, explore our Concrete Services page.
Maintaining Your Newly Resurfaced Driveway
A resurfaced driveway can last from 8 to 25 years, but its lifespan depends heavily on proactive maintenance. Here’s how to keep it in top condition:
- Regular Cleaning: Sweep or use a leaf blower to remove abrasive dirt and debris. Periodically hose down the surface or wash with a pH-neutral cleaner to keep it looking fresh.
- Prompt Stain Removal: Clean up oil, grease, or other chemical spills immediately with an appropriate cleaner to prevent them from penetrating the sealer and staining the concrete.
- Seal and Reseal: A quality sealer is your driveway’s best defense. It protects against moisture intrusion, UV rays, stains, and wear. We recommend reapplying a high-quality sealer every 1-3 years, depending on traffic and weather exposure. For selection tips, see Concrete Network’s guide to concrete sealers.
- Avoid Heavy Loads: While durable, avoid parking extremely heavy vehicles like loaded dump trucks or RVs on the driveway for extended periods, as this can cause stress.
- Use the Right Deicers: In winter, avoid using deicing salts containing ammonium nitrates or ammonium sulfates. According to the Portland Cement Association, chloride-based deicers can also contribute to surface scaling and should be used sparingly. Sand is a safer alternative for traction.
DIY vs. Hiring a Professional: Making the Right Choice
While DIY resurfacing kits are available at big-box stores, concrete work is a technical trade where professional expertise makes a significant difference in both appearance and longevity.
DIY Approach:
- Pros: Lower initial material cost if you already own the necessary tools.
- Cons: This is a high-risk project for novices. Common errors include improper surface preparation, incorrect mixing ratios, and poor application technique. These mistakes can lead to a blotchy appearance, delamination (peeling), cracking, and a drastically shorter lifespan, forcing you to pay for a professional fix later. The work is also physically demanding and requires renting expensive equipment like a commercial pressure washer and a concrete grinder.
Professional Application:
- Pros: Professionals bring experience, efficiency, and guaranteed quality. We use superior, polymer-modified, commercial-grade materials that are far more durable than DIY kits. Our team knows how to properly diagnose the underlying cause of damage and perform the critical surface preparation needed for a permanent bond. We have the right equipment and technique to ensure a uniform, beautiful, and long-lasting finish, often backed by a warranty. This expertise is especially valuable for handling the unique challenges of the Texas Hill Country climate.
- Cons: The upfront cost is higher than a DIY kit. However, it often saves money in the long run by avoiding premature failure, costly repairs, or a complete replacement down the line.
The cost of professional resurfacing is typically 50-70% less than a full replacement, making it a smart investment in your property. For a detailed breakdown, see our Concrete Repair Cost Complete Guide.
For a flawless, long-lasting finish, trust the experts. Our team serves communities throughout the Texas Hill Country, including Kerrville. Contact our expert concrete contractors today for a free estimate!
