Why Bother Patching Your Driveway?
Patching concrete driveway cracks is about more than just looks—it’s about protecting your investment. For homeowners seeking expert concrete services in the Texas Hill Country, understanding the basics is the first step. Left untreated, small cracks allow water to seep in, freeze, and cause major damage. Here’s a quick guide:
- Small cracks (under 1/4″): Use flexible concrete caulk
- Wide cracks (over 1/4″): Use backer rod + patching compound
- Best weather: Dry conditions, 50°F or higher
- Tools needed: Wire brush, caulk gun, trowel, pressure washer
Nearly all driveways crack over time due to tree roots, freeze-thaw cycles, and heavy loads. Watch for signs like spreading hairline cracks, potholes, uneven slabs, or water pooling after rain. The good news is that most cracks can be repaired before they become serious problems. A well-maintained concrete driveway can last 50 years or more with proper care.
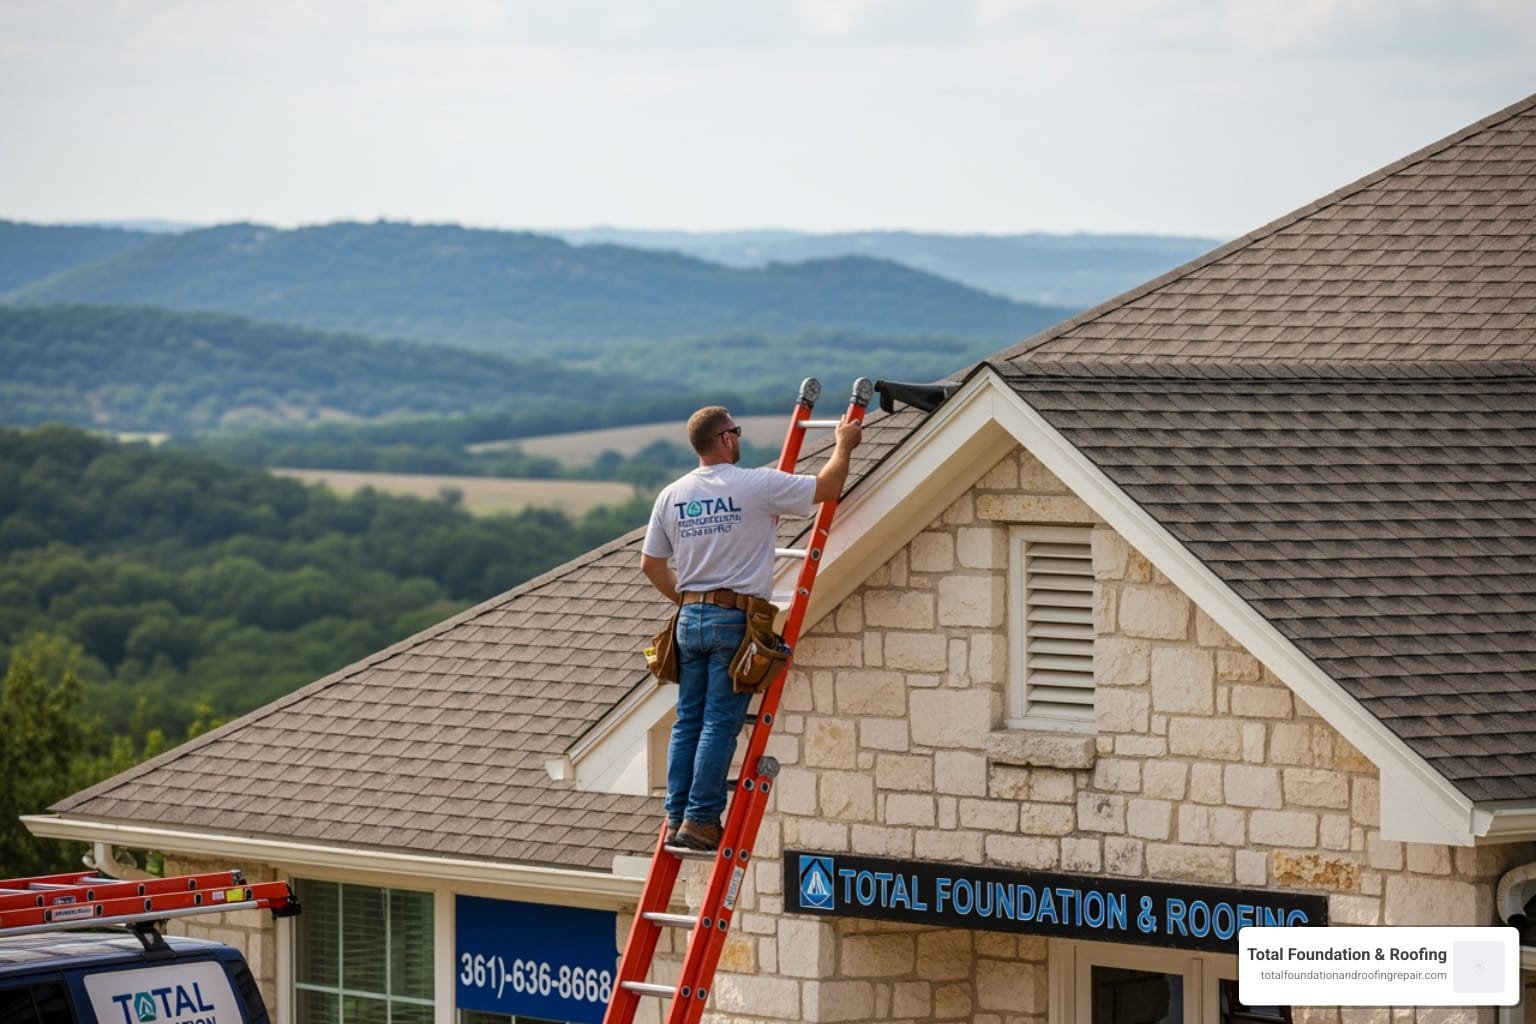
I’m Daniel Sowell, owner of Total Foundation & Roofing Repair. With over 18 years of experience in the Texas Hill Country, my team has helped hundreds of homeowners with patching concrete driveway projects, from simple crack repairs to complete resurfacing.

When a driveway shows its age, a strategic repair can often extend its life, saving you money and hassle. Understanding the cause of the cracks is crucial. Concrete is durable but vulnerable to temperature changes, shifting soil, tree roots, and heavy loads. Addressing these issues early prevents them from escalating into costly problems like slab settling or structural failure.
Your Step-by-Step Guide to Patching a Concrete Driveway
Ready to tackle those cracks? Patching concrete driveway damage doesn’t have to be overwhelming. With the right approach, you can achieve professional-looking results. Let’s walk through each step.
Step 1: Prepare the Concrete Surface for Repair
Proper preparation is the key to a lasting repair. A strong bond depends on a clean, sound surface.
Getting Your Crack Clean and Ready
Start by removing loose debris, dirt, weeds, and crumbling concrete using a stiff wire brush or a chisel for stubborn material. Sweep or vacuum the crack clean. Next, use a pressure washer to blast away grime and mold. For oil stains, scrub with a degreaser and rinse thoroughly. The surface must be completely clean.

Creating the Perfect Shape for Wide Cracks
For cracks wider than 1/4 inch, use a hammer and chisel to create an inverted V-shape (undercut) below the surface. This creates a mechanical lock that prevents the patch from popping out.
Saturated Surface Dry (SSD) Conditions
Before applying most cement-based patches, the concrete needs to be in a “saturated surface dry” (SSD) state. Lightly mist the crack with water until it’s damp but not wet. This prevents the old concrete from drawing moisture out of the new patch too quickly, which can weaken the repair. For more details, see our guide on Concrete Repair Methods.
Bonding Agents and Weather
While not always necessary, a bonding agent can provide extra insurance on older concrete. Weather is also critical: aim for a dry day with temperatures between 50°F and 80°F. Avoid extreme heat, freezing temperatures, or rain.
Step 2: Choose the Right Concrete Patching Material
The key is matching the material to your driveway’s environment. For exterior surfaces, flexibility is essential.
For Exterior Driveways: Flexibility Rules
We almost always recommend flexible concrete caulk (polyurethane-based) for exterior repairs. These products move with your concrete as it expands and contracts, are waterproof, and are easy to apply. A tube is also budget-friendly, typically costing $10-12. The main downside is that achieving a perfectly smooth finish takes practice.
For Interior Concrete: Strength and Smoothness
Interior slabs like garage floors don’t face the same temperature swings. Epoxy and polyurea crack fillers cure incredibly hard and can be sanded flush, making them ideal for surfaces that will be coated. For larger interior repairs, cementitious patch mixes work well, offering impressive strength for filling large holes.
| Material Type | Pros | Cons | Best Use |
|---|---|---|---|
| Flexible Caulk | Accommodates movement, waterproof, easy DIY, cost-effective | Can be messy, no structural strength, limited aesthetic options | Exterior: Driveways, sidewalks, patios – essential for freeze-thaw cycles |
| Epoxy/Polyurea | Very strong, durable, can be sanded flush, ideal for coatings | More expensive, rigid (no movement), requires precise mixing | Interior: Garage floors, basements where smooth, strong repairs are needed |
| Cementitious Patch | Strong for large repairs, can build significant depth | Rigid, color matching issues, requires proper curing | Interior: Large holes, spalling, or stable non-moving cracks |
Step 3: The Best Method for Patching Concrete Driveway Cracks
The technique varies depending on the crack’s width.
Tackling Narrow Cracks (Less Than 1/4-inch)
For hairline cracks, flexible concrete caulk is best. Cut the tube tip at a 45-degree angle and apply a steady bead into the crack, keeping it slightly below the surface to protect it from traffic. Smooth the caulk with a gloved finger dipped in soapy water. For a more natural look, sprinkle dry sand over the wet caulk to help it blend.
Handling Wide Cracks (Over 1/4-inch)
For cracks wider than 1/2 inch and at least an inch deep, install a foam backer rod. Push it about 1/2 inch below the surface. This saves material and allows the caulk to flex correctly. For very deep cracks, fill the bottom with sand before adding the backer rod.

Finishing Touches and Curing
For a matching texture, lightly drag a broom across your patch before it fully sets (a broom finish). Proper curing is crucial. Follow the manufacturer’s instructions religiously. Some products cure in hours, while others take days. For cement-based patches, slow the cure by covering them with plastic and misting with water. Good concrete repair can’t be rushed.
Beyond the Patch: Pro Tips, Prevention, and When to Call for Help
Patching concrete driveway cracks is just the start of proper concrete care. After helping hundreds of homeowners in the Texas Hill Country, we’ve learned that avoiding common pitfalls, practicing prevention, and knowing when to call a pro can save you headaches and money.
Common Mistakes to Avoid When Patching a Concrete Driveway
The difference between success and frustration often comes down to avoiding these classic mistakes:
- Improper preparation: This is the #1 cause of failed repairs. A dirty or unprepared surface won’t bond with the patch material. Take the time to clean it thoroughly.
- Using the wrong materials: Using a rigid mix on a driveway that needs to flex will cause the patch to fail. Remember: flexible caulk for exterior surfaces, rigid epoxy for interior floors.
- Ignoring the weather: Concrete repair materials need the right conditions to cure. Avoid patching in a cold snap, extreme heat, or right before rain.
- Rushing the curing time: Driving on a patch too soon will ruin your work. Follow the product’s curing instructions religiously, even if it means parking on the street for a few days.
- Feathered edges: Tapering your patch material creates weak spots that will chip away. Keep your patch depth consistent.
- Confusing sealer and filler: Sealer protects the surface; filler repairs damage. You can’t use sealer to fill cracks.
Preventing Future Cracks and Extending Your Driveway’s Life
The best repair is one you never have to make. While some cracking is inevitable, smart prevention can reduce future problems.
- Regular Inspection: Walk your driveway every few months to catch and fix hairline cracks early.
- Sealing Concrete: Apply a quality sealer every 2-3 years to protect against moisture, freeze-thaw damage, and stains.
- Water Management: Standing water is concrete’s enemy. It seeps underneath, causing the base to shift. If you notice pooling water, address the drainage. For sunken slabs, consider professional concrete leveling services to fix the root cause.
- De-icer Use: Many de-icers contain chemicals that damage concrete. Choose products labeled as concrete-safe or use sand for traction.
- Heavy Loads: Avoid parking heavy vehicles like RVs in the same spot repeatedly, as this can stress the slab beyond its limits.
- Tree Roots: If you suspect roots are lifting your driveway, consult an arborist to explore your options.

DIY Repair vs. Hiring a Professional Concrete Contractor
The decision to DIY or hire a pro depends on the damage, your budget, and your comfort level.
DIY repairs are great for minor issues like hairline cracks. A $10-12 tube of caulk and an afternoon can save you money. However, the time commitment for preparation, application, and curing can span several days.
Hiring a professional makes sense when aesthetics matter or the damage is significant. We have techniques to blend repairs seamlessly, which is hard to master. If you’re selling your home, professional work is a worthwhile investment.
Knowing when to call for help can save you money in the long run. Call a pro for:
- Wide, jagged, or numerous spreading cracks, which often indicate deeper structural issues.
- Uneven or sunken slabs, as these stem from base failure that a patch can’t fix.
- Repeated failures of the same patch, signaling an underlying problem.
- Older driveways (20-25+ years) that may be nearing the end of their life.
Our Concrete Repair Cost Complete Guide can help you decide. Here in the Texas Hill Country, we understand the challenges our climate presents. Our team has helped countless homeowners in areas like Kerrville with these decisions.
The bottom line: simple crack filling is a great DIY project, but don’t hesitate to call for complex issues. If you’re facing extensive damage, contact us for professional Concrete Driveway Repair that stands the test of time.