Table of Contents
ToggleWhy Proper Shingle to Metal Roof Transition Flashing Matters
Shingle to metal roof transition flashing is the critical barrier preventing water infiltration where two different roofing materials meet. For homeowners seeking reliable roofing solutions, understanding this component is essential. A proper system extends several inches under the upper shingle roof and over the lower metal surface, creating a weatherproof seal at one of your roof’s most vulnerable points.
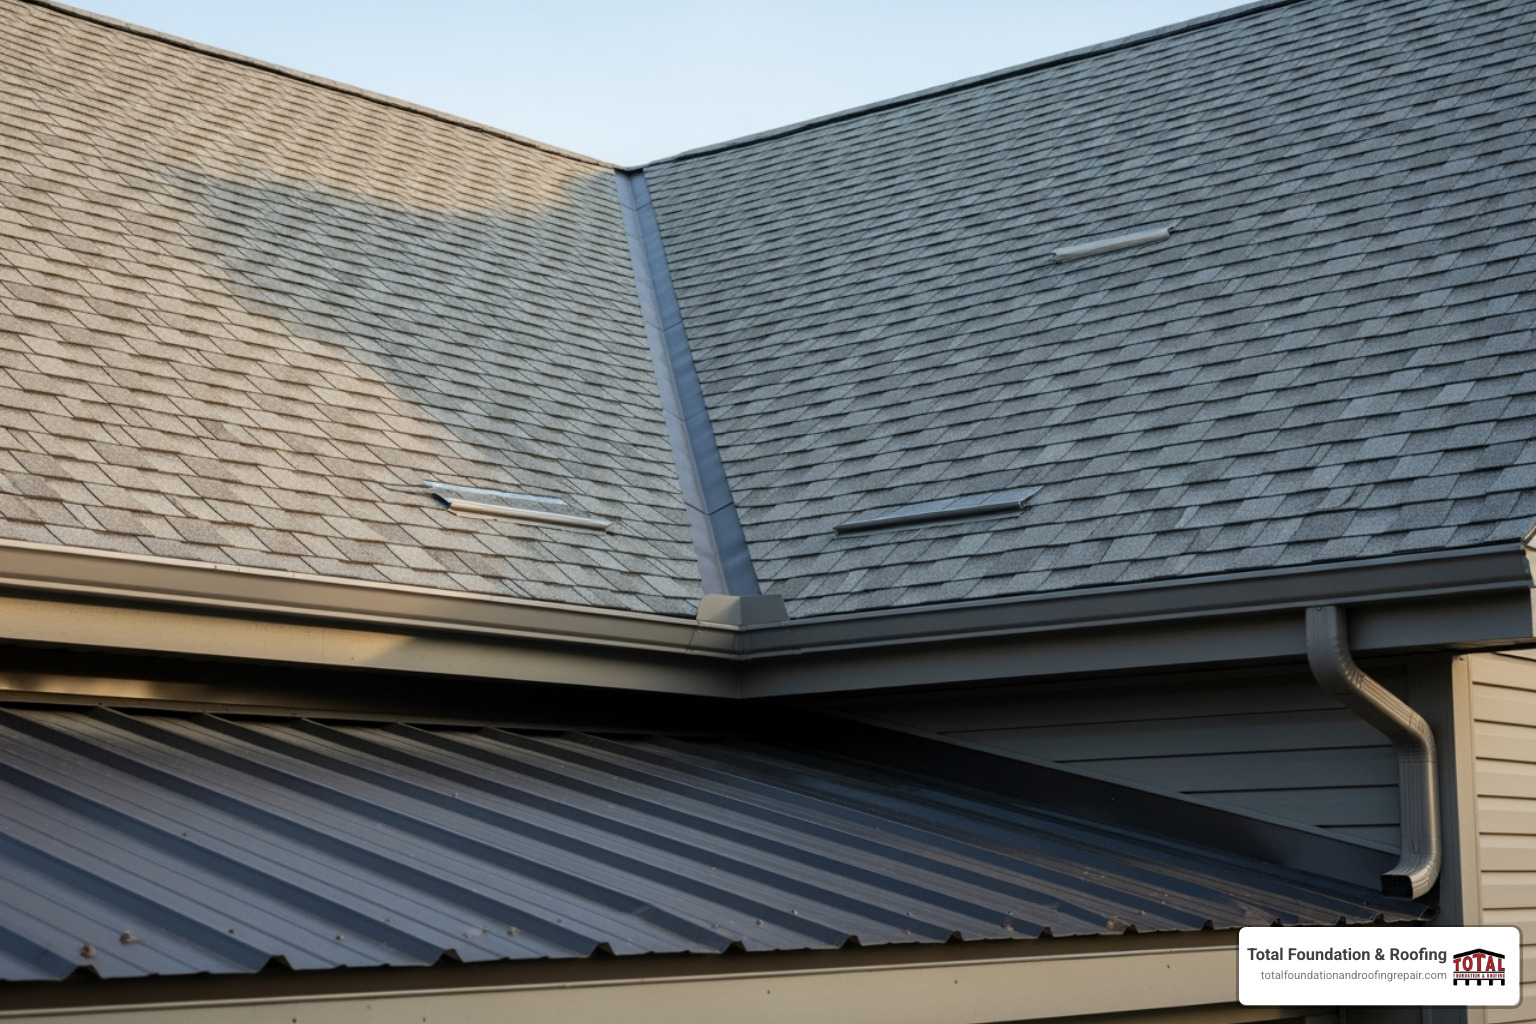
A successful transition relies on key components: the transition flashing itself, a waterproof ice and water shield membrane beneath it, closures to seal gaps against the metal panels, and quality sealants for extra protection, all installed on a proper slope to ensure positive drainage.
Many homeowners find transition problems the hard way—through ceiling stains and costly water damage. A common oversight, like a missing flashing piece, can lead to years of leaks and structural decay. Water intrusion at these junctions doesn’t just cause cosmetic issues; it can rot decking, ruin insulation, and lead to expensive interior repairs.
I’m Daniel Sowell, owner of Total Foundation & Roofing Repair in Kerrville, Texas. With over 18 years of experience in the Texas Hill Country, I’ve seen how proper flashing prevents thousands in damages, while poor work can destroy a home.
Understanding the Shingle-to-Metal Transition
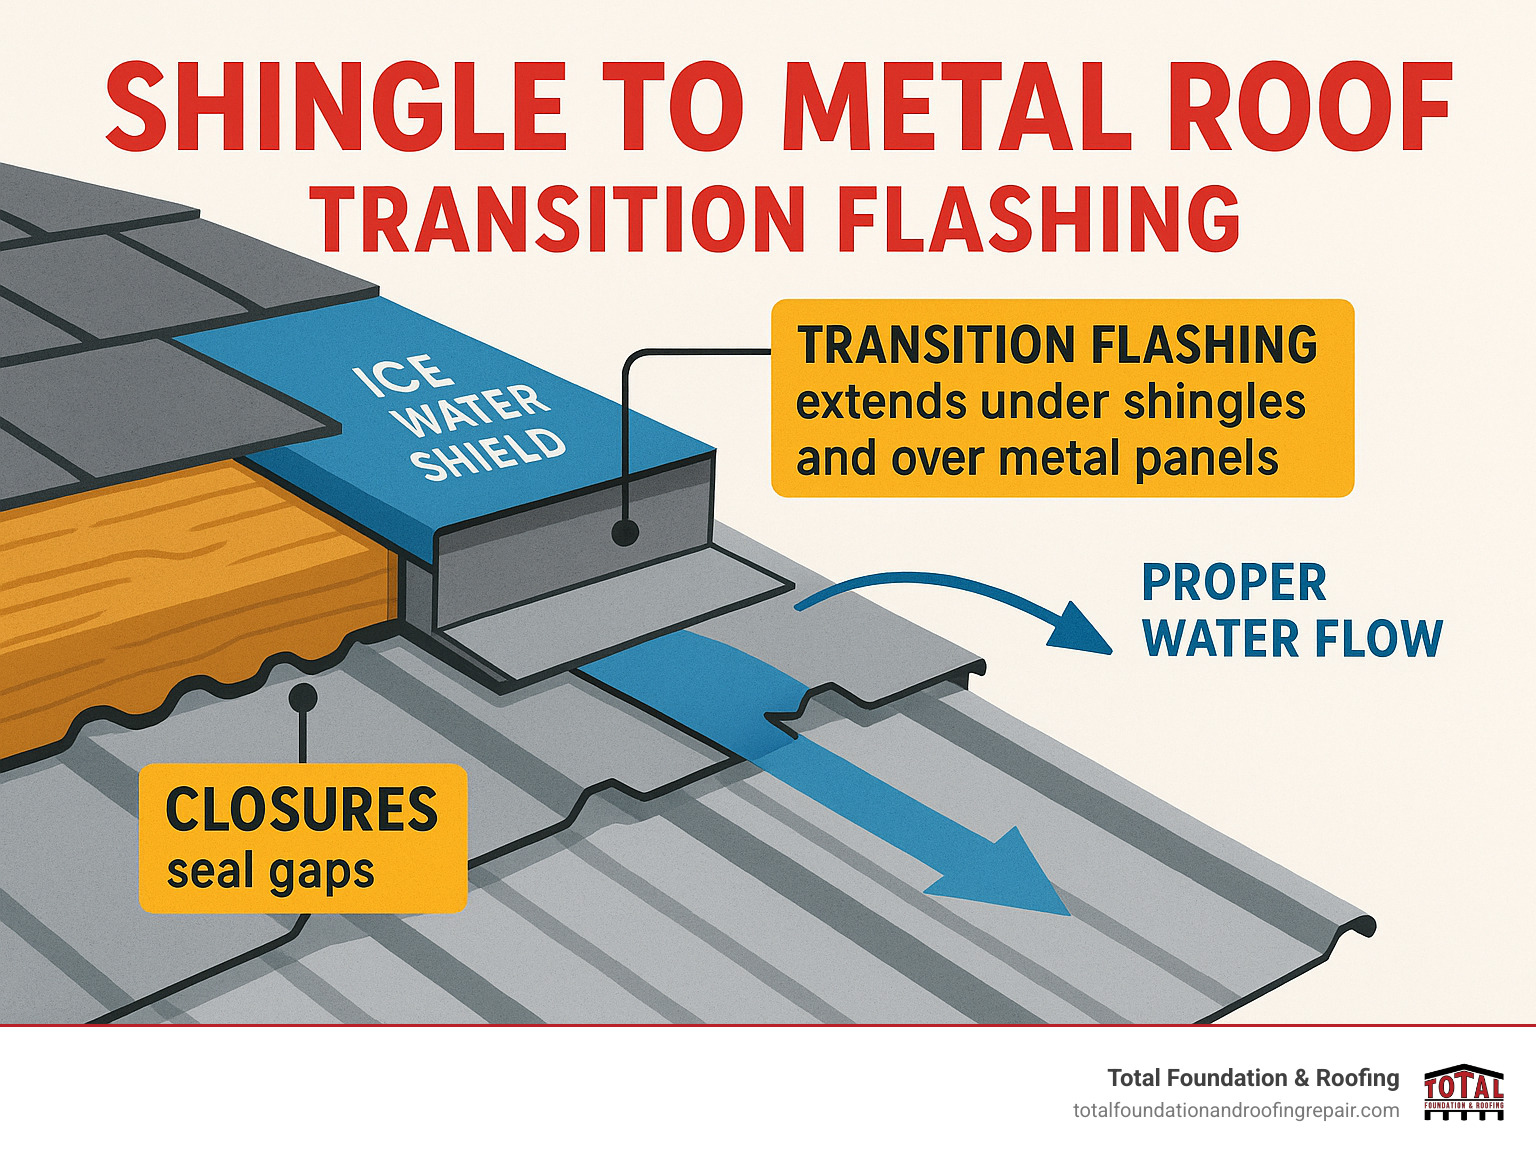
When we talk about a shingle to metal roof transition flashing, we’re addressing where a lower roof (often a porch or addition) meets a higher shingle roof. This junction is inherently vulnerable, as it’s a natural collection point for water. Our goal is to create a seamless, watertight path for water to shed harmlessly away from your home.
The primary method is precisely installed flashing that controls water flow, guiding it over protective layers, never underneath. As research notes, “The basic transition detail is a flashing which extends up under the asphalt shingles by several inches and out over the metal by several inches.” This principle is the cornerstone of effective water management at this critical point.
Transition Point Vulnerability and Water Shedding
Why is this spot so tricky? Because two materials with different textures and expansion rates meet. Shingles are granular, while metal can be ribbed or smooth, creating gaps that water can exploit without proper flashing. The fundamental principle of roofing is that water must always flow downhill. Transition flashing acts as a bridge, preventing water from backing up under shingles or seeping between the materials, ensuring it’s smoothly directed from the upper shingle roof onto the lower metal one.
Change-in-Pitch vs. Same-Plane
While the core principles remain, the specific techniques for shingle to metal roof transition flashing can vary slightly depending on the roof’s geometry.
- Change-in-Pitch: This is the most common scenario, where the lower metal roof has a different (usually shallower) pitch. The flashing, often called “transition trim,” must accommodate this angle change to ensure positive drainage.
- Same-Plane (Material Change): Less common, but even when the pitch is consistent, a robust transition flashing is vital to seal the seam where shingles change to metal.
Regardless of the specific roof geometry, the objective remains the same: to create an impenetrable, durable, and long-lasting barrier against moisture intrusion using precise shingle to metal roof transition flashing.
A Step-by-Step Guide to Installing Shingle to Metal Roof Transition Flashing
Installing shingle to metal roof transition flashing correctly is a systematic process. Underlayment, flashing, closures, and sealants must work together perfectly. Skipping a step is a gamble with your home’s integrity. I’ve seen shortcuts lead to expensive water damage repairs, but when done right, this system provides decades of protection.
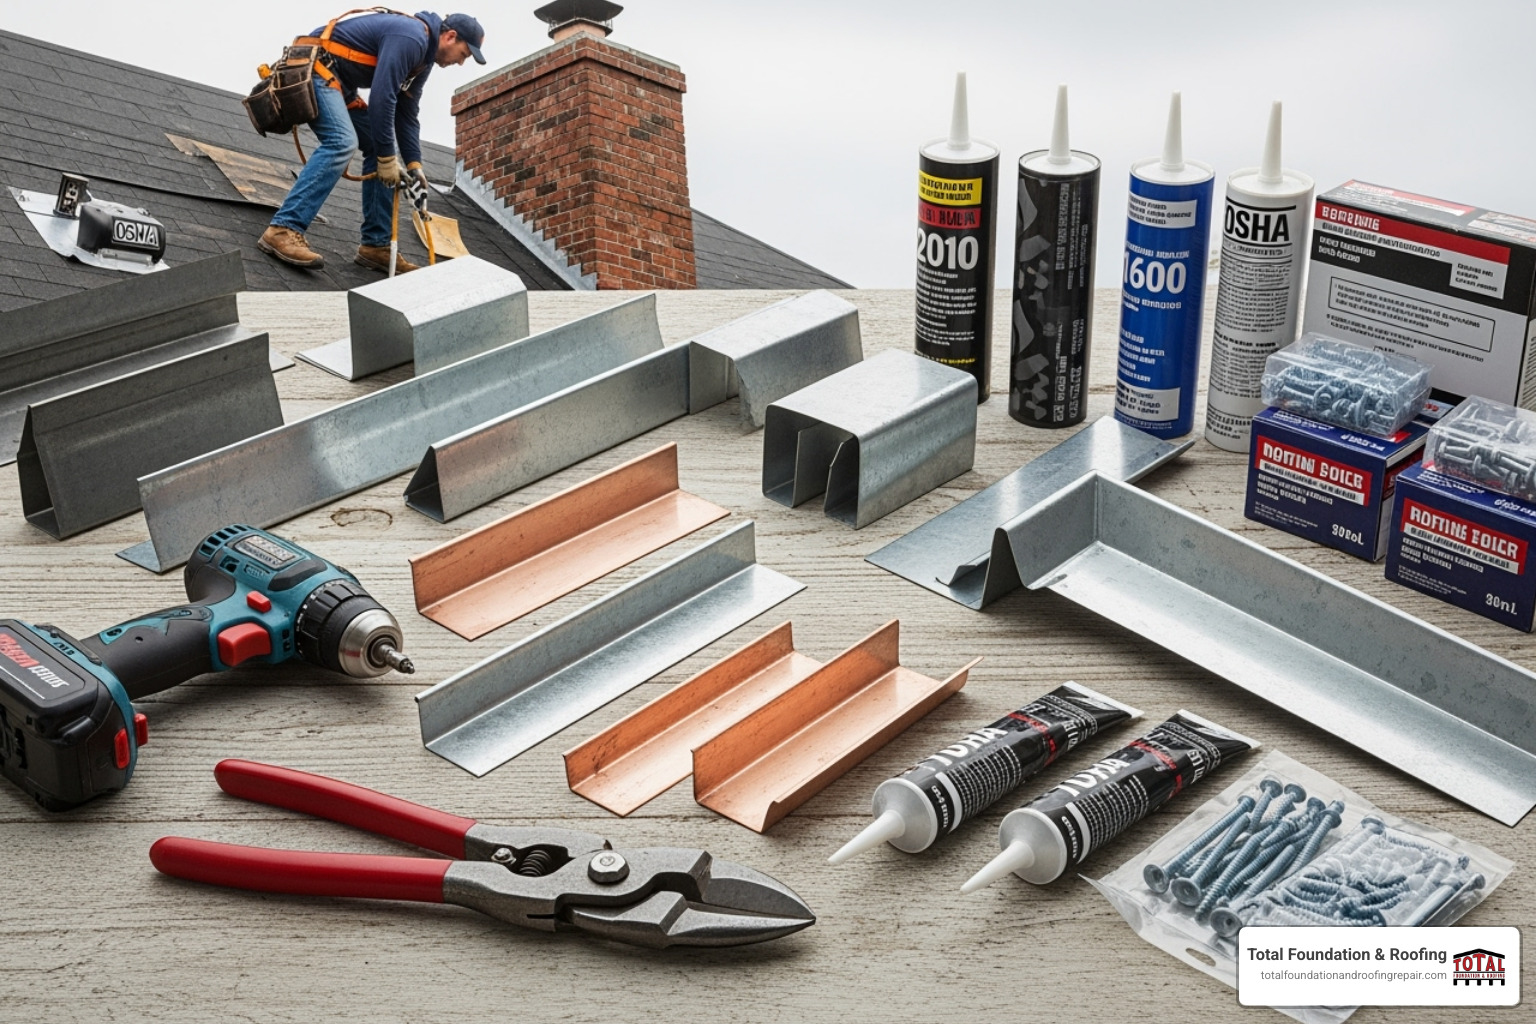
Essential Tools and Materials
Having the right materials is crucial for success.
- Flashing Materials: Galvanized steel is a strong, durable workhorse. Aluminum is a lighter, rust-proof, and flexible option. Copper is a premium choice, offering best longevity and beauty.
- Underlayment: A self-adhering ice and water shield is our primary defense, creating a watertight, self-healing membrane under the flashing.
- Sealants: Butyl tape creates excellent compression seals, while urethane sealant fills gaps and bonds materials. They support, but do not replace, proper flashing.
- Closures: These foam or metal strips are critical for filling the gaps in ribbed metal panels to block wind-driven rain and pests.
The Installation Process for shingle to metal roof transition flashing
Now comes the part where precision matters most. I always tell my crew that this is where we earn our reputation—one careful step at a time.
- Deck Preparation: We start by cleaning the roof deck, inspecting for damage, and replacing any rotted sheathing. A solid, clean surface is non-negotiable.
- Underlayment Installation: We apply ice and water shield generously, extending it several feet up the upper roof and down onto the lower deck to create a robust safety net.
- Lower Metal Panel Placement: Metal panels are installed up to the transition line, ensuring they are square and properly fastened.
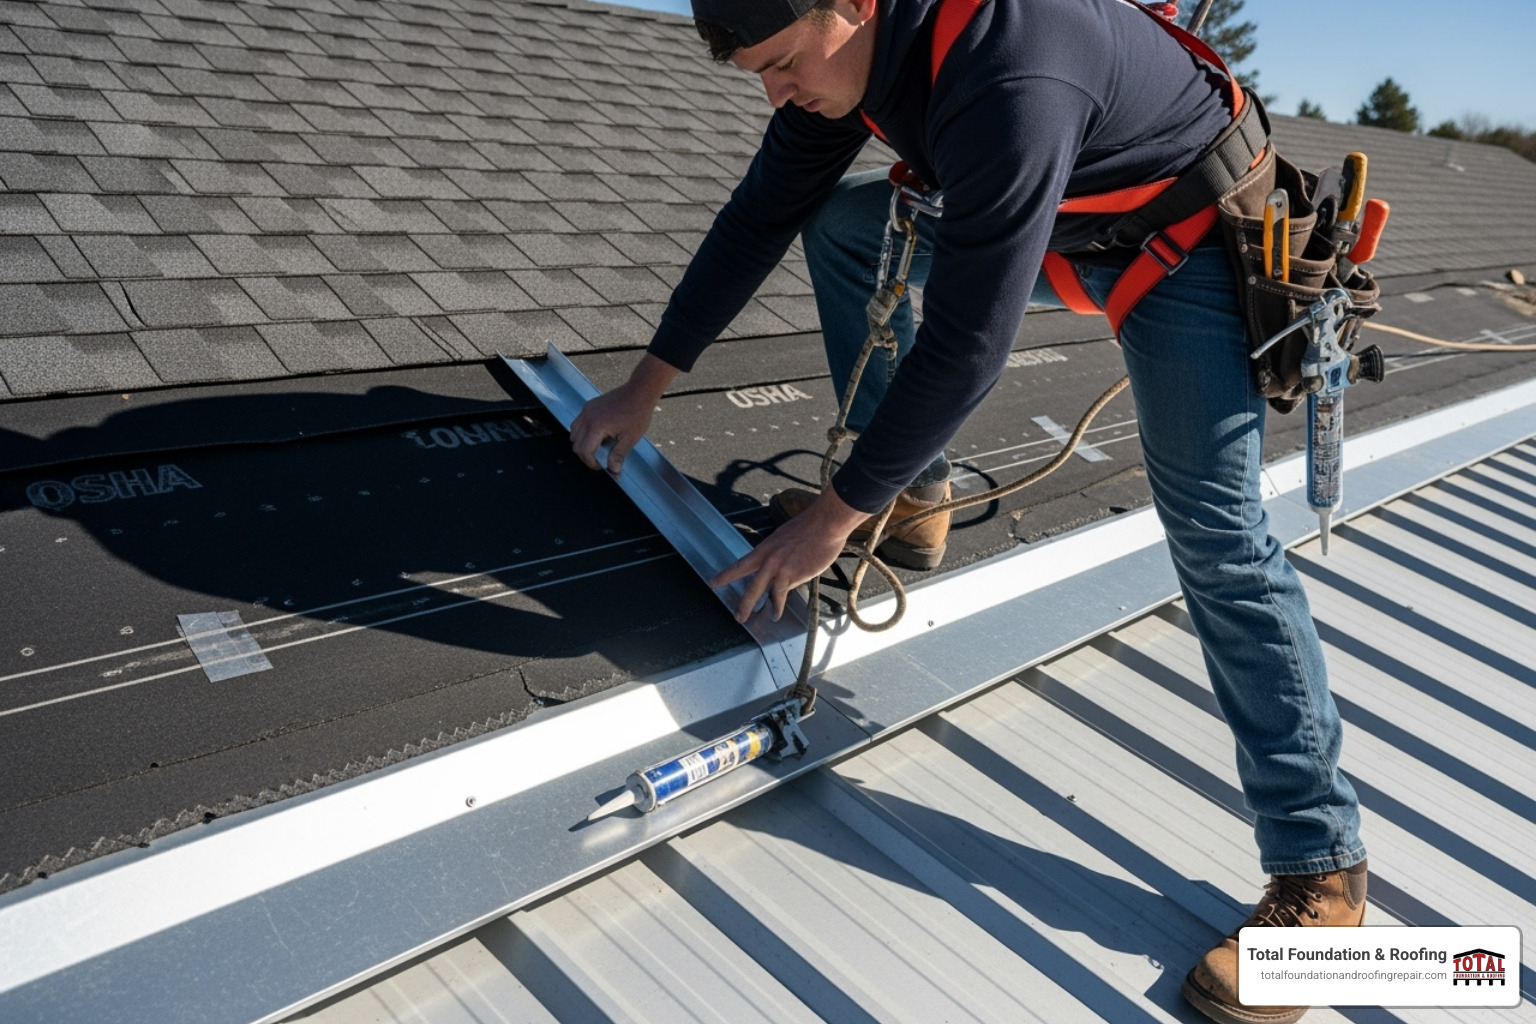
- Flashing Placement: This is the heart of the operation. We custom-bend flashing to extend 5-6 inches under the shingles and over the metal panels. It’s slid under the upper roof’s underlayment and over the lower panels, creating a bridge for water. The bends must accommodate any pitch change and maintain positive drainage. For a visual, see this detailed diagram of transition flashing.
- Sealing with Closures: We install foam or metal closures that fit the metal panel ribs perfectly, sealing the upper and lower edges of the flashing to block wind-driven rain.
- Upper Shingle Installation: Any removed shingles are reinstalled, ensuring proper overlap with the new flashing system.
Adapting to Roof Pitch and Profile
Every roof is different, and the flashing must adapt.
- Roof Pitch: Steep roofs shed water fast, while low-slope roofs require extra attention to ensure positive drainage and prevent pooling. On low-slope roofs, we use more aggressive ice and water shield coverage.
- Metal Roof Profiles: Standing seam panels require flashing formed to work with the raised seams. Corrugated panels rely heavily on closures to seal the wavy profile.
The choice between flexible foam closures and durable metal closures depends on the specific roof and local conditions, like the high winds we can experience in the Texas Hill Country.
Common Mistakes and When to Call a Pro
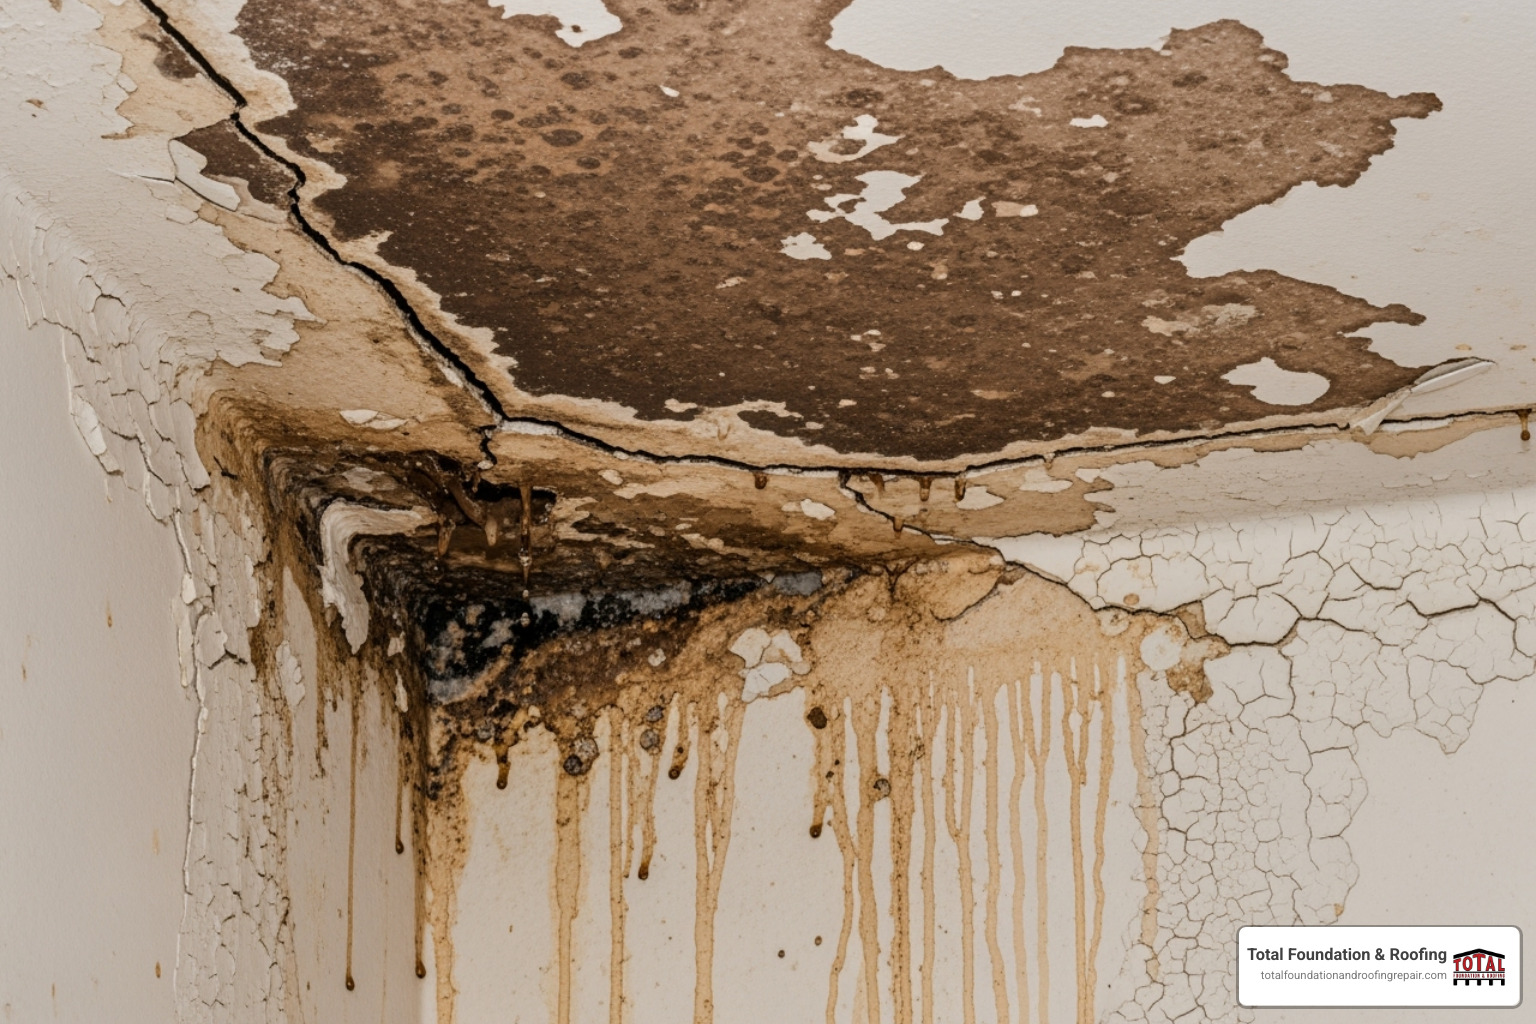
While a DIY approach is tempting, a small mistake at a roof transition can cause thousands in water damage. Here in the Texas Hill Country, I’ve seen many well-intentioned projects turn into nightmares of warped drywall and mold. The reality is that knowing the common pitfalls and when to call a professional is crucial for protecting your investment. A dollar saved on flashing can easily cost ten in repairs. The stakes are too high to gamble with your shingle to metal roof transition flashing.
Mistakes to Avoid When Installing shingle to metal roof transition flashing
I’ve seen these common errors lead to major problems:
- Insufficient Overlap: Flashing must extend 5-6 inches under shingles and over metal panels. Anything less invites wind-driven rain underneath.
- Relying on Caulk or Tar: Sealants are support, not the primary defense. Caulk and tar crack and fail in the Texas sun, creating channels for water.
- Skipping Closures: Without the foam or metal strips that fill panel ribs, your flashing becomes a highway for water, pests, and debris.
- Improper Underlayment Integration: The Ice & Water Shield must be layered correctly with the flashing to create a true secondary water barrier.
- Material Incompatibility: Using dissimilar metals without a proper barrier can cause galvanic corrosion, where one metal eats away at the other.
Why Professional Installation is Often the Best Choice
Look, I appreciate the DIY spirit—there’s something satisfying about tackling a project yourself. But installing shingle to metal roof transition flashing is one of those jobs that really benefits from professional expertise, and here’s why.
- Complexity and Customization: This is an intricate system requiring precise measurements and custom-bent flashing that isn’t available off-the-shelf. Professionals have the tools and experience to fabricate pieces that fit your roof’s unique angles perfectly.
- Guaranteed Watertight Seal: We guarantee a watertight seal because our experience has taught us how to prevent problems before they start.
- Preventing Costly Damage: Professional installation costs a fraction of what you’ll spend on water damage remediation. I’ve seen homeowners spend $15,000 fixing damage that started with a minor flashing mistake.
- Local Expertise: Our Total Foundation & Roofing team has over 18 years of experience in the Texas Hill Country. We understand how our climate—from sudden downpours in Kerrville to high winds—affects roofing systems. This local knowledge means your shingle to metal roof transition flashing is installed right the first time.
When it comes to protecting your home, professional installation is essential. Don’t let a small oversight become a major headache.
Ready to ensure your roof transition is perfectly sealed and built to last? Request a professional estimate for your metal roofing project from Total Foundation & Roofing today. We’re here to help protect what matters most to you.


