Table of Contents
ToggleWhy Concrete Slab Problems Demand Immediate Attention
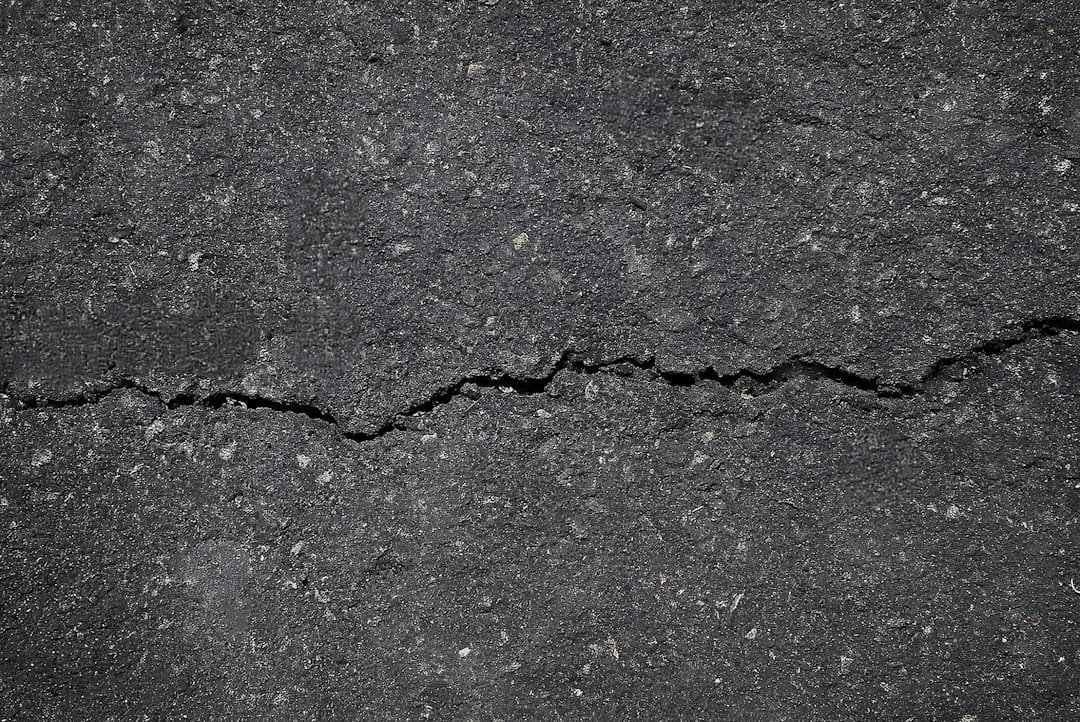
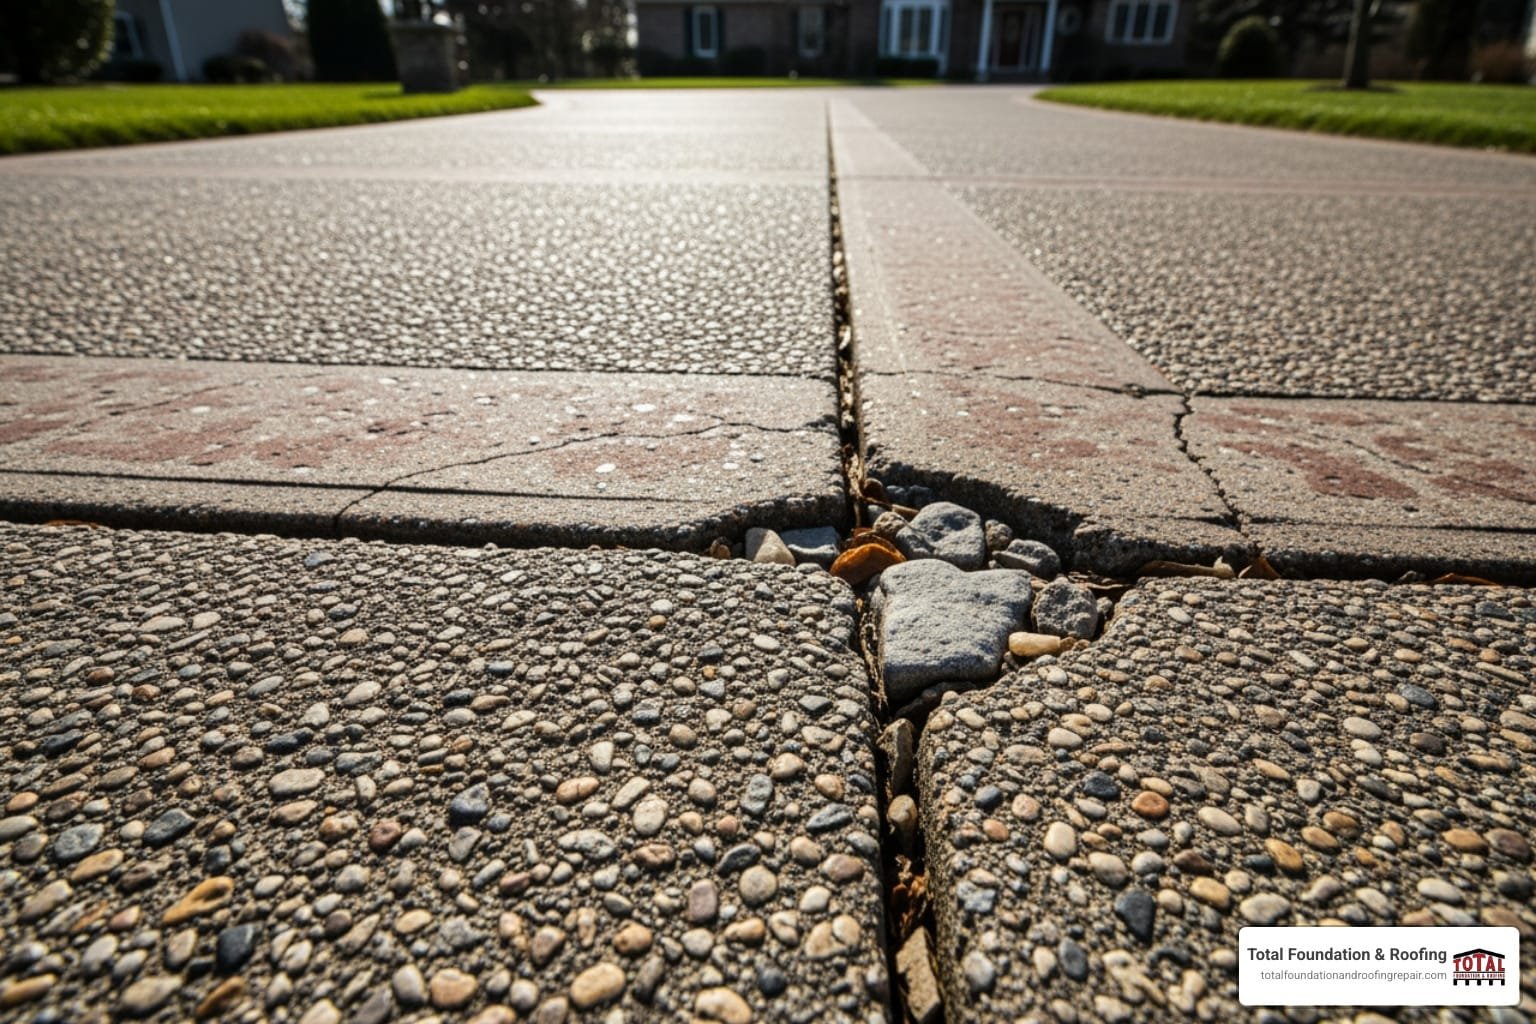
Spotting cracks, uneven surfaces, or water pooling on your concrete driveway, patio, or walkways means it’s time for concrete slab repair. Ignoring these issues can be costly; a hairline crack can widen significantly during a single freeze-thaw cycle, turning a simple DIY fix into an expensive professional job. Understanding your options for concrete and foundation services is the first step toward protecting your property. Cracked concrete isn’t just an eyesore—it’s a cascade of potential problems that can compromise your home’s safety, integrity, and value.
Neglected slab damage poses significant safety hazards beyond the obvious trip-and-fall risk. Uneven surfaces can make patio furniture unstable or create a dangerous angle for a barbecue grill. More critically, these issues are often symptoms of deeper problems. Water intrusion is a primary concern. Water seeps into cracks, eroding the soil base beneath the slab. This can lead to further sinking and, if adjacent to your home, can saturate the soil around your foundation, increasing hydrostatic pressure and risking costly water damage to your basement or crawlspace. Furthermore, this persistent moisture creates a prime environment for mold and mildew growth. The freeze-thaw cycle is particularly destructive; when water inside a crack freezes, it expands by about 9%, exerting immense force that breaks the concrete apart from within. A small crack can become a large, structural problem after just one winter. Finally, damaged concrete significantly detracts from your home’s curb appeal and will be a major red flag for any potential buyer or home inspector, potentially lowering your property value or complicating a sale.
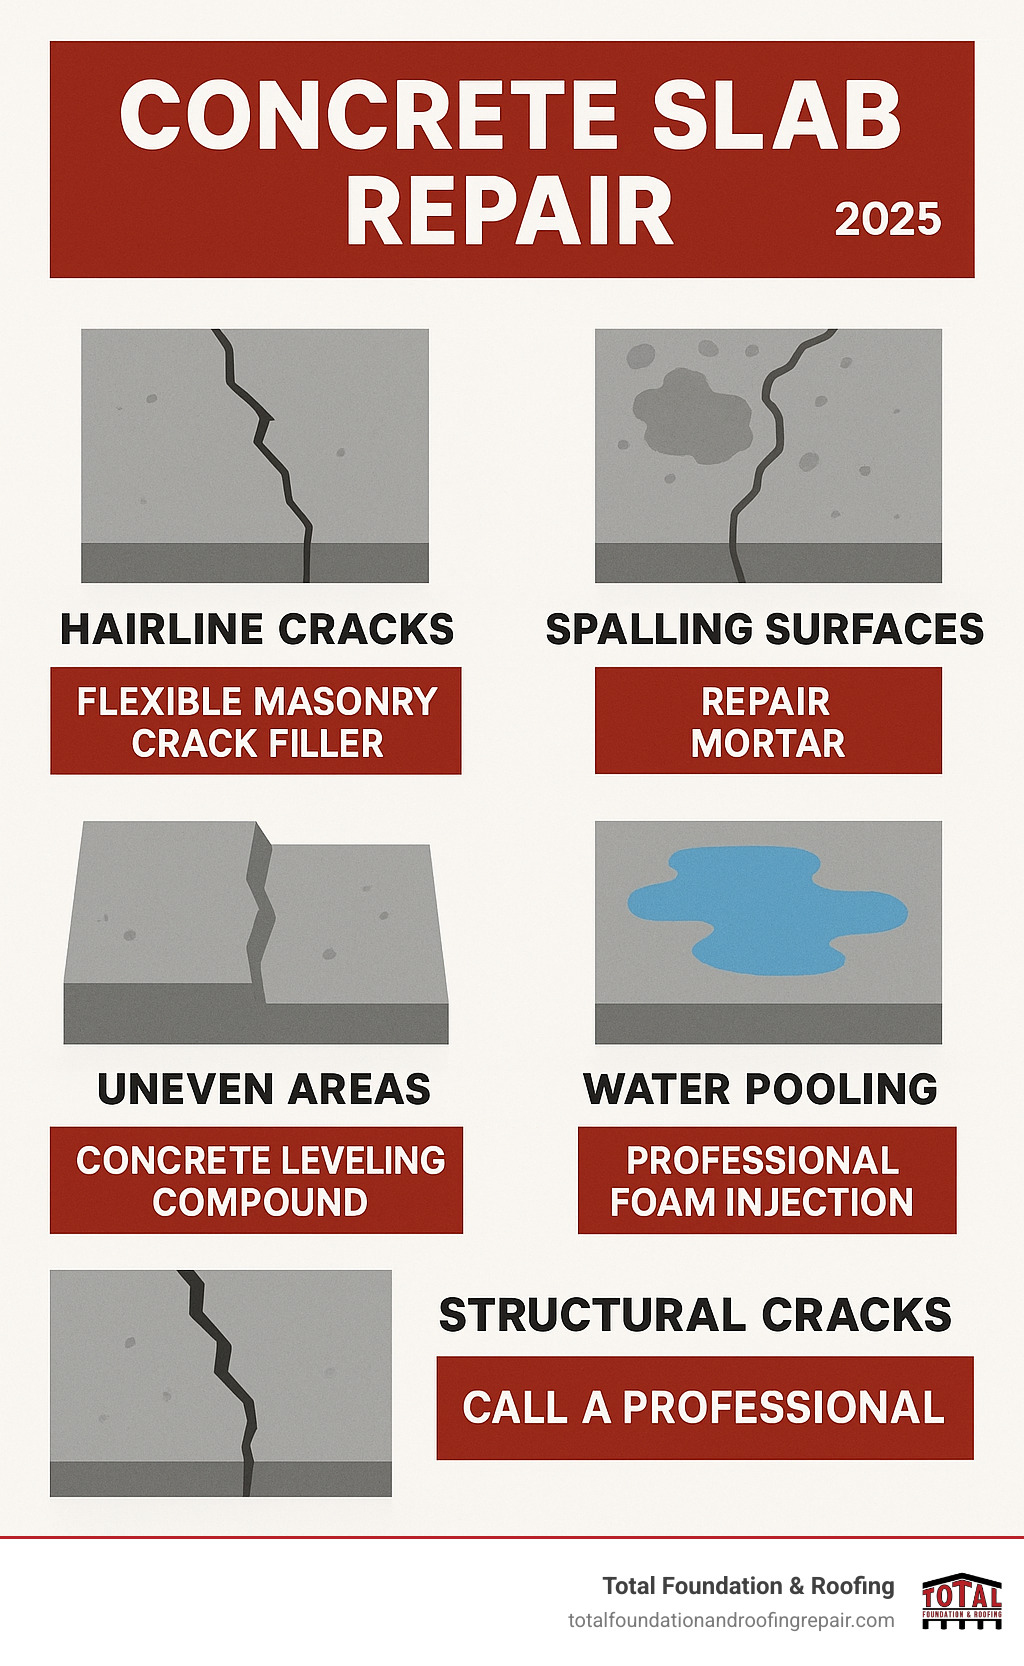
Common repair methods include:
- Small cracks (< 1/4″): Flexible masonry crack filler.
- Large cracks (> 1/4″): Concrete patching compound with backer rods.
- Spalling/flaking: Resurfacing with repair mortar.
- Uneven slabs: Leveling compound or professional foam injection.
Call a professional for cracks wider than an inch, significant sinking, or structural damage. Most issues are fixable with the right approach. I’m Daniel Sowell, owner of Total Foundation & Roofing Repair. With over 18 years in construction, I’ve guided many Texas Hill Country homeowners through everything from minor crack filling to major foundation stabilization.
Understanding and Preparing for Concrete Slab Repair
Successful concrete slab repair begins with proper diagnosis and preparation. Rushing this phase is a common mistake that leads to failed repairs. A patch is only as good as the surface it’s bonded to, and understanding the root cause of the damage is critical for choosing a solution that lasts. Taking the time to properly diagnose the problem and carefully prepare the surface is what ensures your fix will last for years, not just a single season.
Identifying the Problem: Signs and Causes of Damage
Before you begin, you need to identify the type and cause of the damage. Different issues require different solutions. Is the crack dormant, or is it actively growing? You can monitor a crack by marking its ends with a pencil and dating it; check back in a few months to see if it has extended.
- Hairline cracks (under 1/4″): Often cosmetic, caused by minor settling or shrinkage during curing. They should be sealed to prevent water intrusion.
- Wide cracks (over 1/4″): Indicate more significant slab movement. These may be structural and require a more robust patching compound and technique.
- Spalling and scaling: Flaking or peeling on the surface, usually caused by water freezing inside the concrete or a poor finishing job during installation.
- Uneven surfaces: Sinking or heaving that creates trip hazards, often pointing to deeper soil settlement issues.
In the Texas Hill Country, the primary cause is soil settlement. Our expansive clay soils shrink and swell dramatically with moisture changes, creating an unstable base. Other common causes include water intrusion from poor drainage, tree roots pushing up from below, poor initial installation (e.g., an improperly compacted sub-base), and stress from heavy loads.
Gearing Up: Essential Tools and Surface Preparation
Gathering the right tools and materials makes the job manageable and safer. Always prioritize safety with goggles, gloves, and a dust mask to protect against concrete dust and chemical agents.
Essential Tools & Materials:
- Tools: Wire brush, chisel, hammer, trowel (pointing and margin trowels are useful), shop vacuum, pressure washer, mixing paddle for a drill.
- Materials: Concrete patching compound (choose a polymer-modified mix for better adhesion and flexibility), flexible masonry crack filler, bonding agent, foam backer rods (for deep cracks), and concrete sealant.
Proper surface preparation is non-negotiable for a durable repair. A failed patch can almost always be traced back to a shortcut taken here.
- Clean: Use a wire brush and chisel to remove all loose concrete, dirt, and debris from the damaged area. A shop vacuum is excellent for sucking all the dust out of cracks. For large surfaces, a pressure washer is highly effective. The goal is a clean, sound surface for the patch to adhere to. Let the area dry completely.
- Undercut: For cracks wider than 1/4 inch, use a hammer and chisel to create an inverted V-shape (wider at the bottom than the top). This creates a mechanical lock, ensuring the patch material cannot be pushed out by traffic or movement.
- Dampen: Achieve a Saturated Surface-Dry (SSD) condition. Mist the concrete with water until it’s uniformly damp but has no standing water. This critical step prevents the dry, porous concrete from wicking moisture out of the new patch material too quickly. A rapid loss of water will halt the chemical curing process, resulting in a weak, crumbly repair.
Your Step-by-Step Guide to Fixing Concrete Slabs
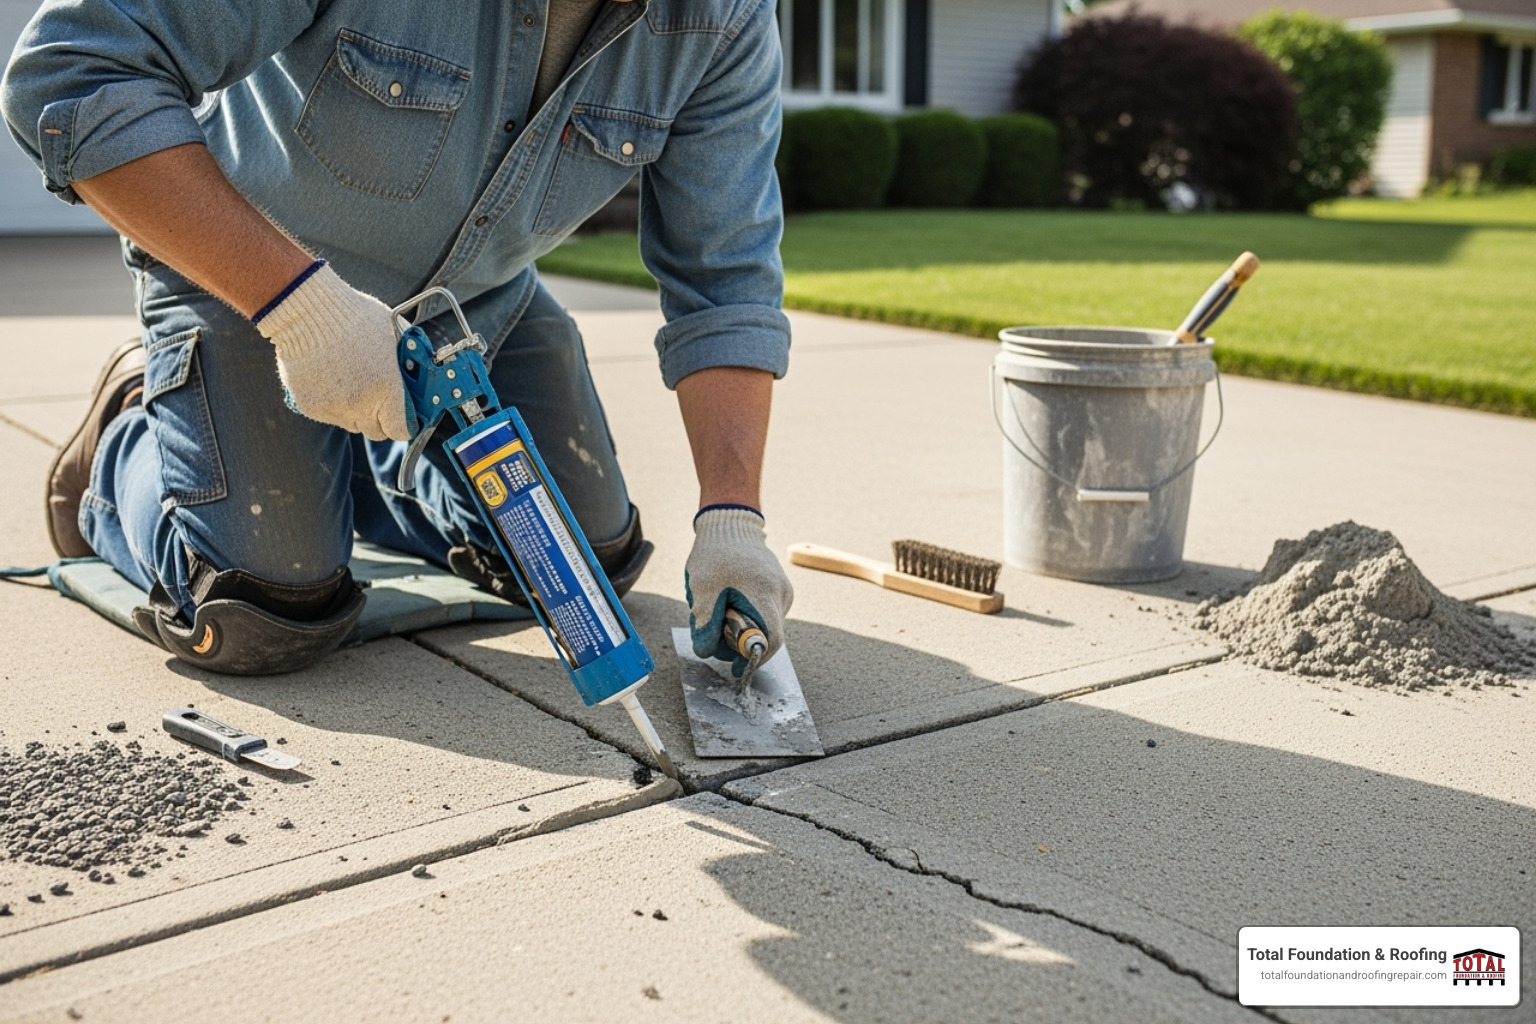
With your surface prepped, you’re ready to begin the concrete slab repair. Matching the right technique to the type of damage is key to a successful, long-lasting fix. Always read and follow the manufacturer’s instructions for any repair product you use, as mixing ratios and application methods can vary.
How to Fix Cracks, Spalling, and Minor Damage
Most common concrete issues are manageable with the right materials and a little patience. Work methodically and focus on creating a seamless, durable repair.
Narrow Cracks (up to 1/4-inch): After cleaning the crack, apply a flexible masonry crack filler. This product is designed to accommodate the natural expansion and contraction of concrete, preventing the crack from re-opening. Squeeze a continuous bead of filler into the crack, slightly overfilling it. Then, use a putty knife or small trowel to smooth it flush with the surface, feathering the edges for a seamless blend into the existing concrete.
Wide Cracks (over 1/4-inch): These require a more robust approach. After undercutting the crack, insert a foam backer rod into deep sections, pushing it down to about 1/2 inch below the surface. This saves material and allows the patch to flex. Apply a bonding agent to the crack’s interior to ensure the new patch adheres tightly to the old concrete. Mix your patching compound to a smooth, peanut-butter-like consistency. Let it slake (rest) for 5-10 minutes, then remix. Firmly press the compound into the crack, eliminating air pockets. Slightly overfill the patch, then smooth it level with a trowel.
Spalling and Scaling: This surface flaking is best fixed by resurfacing. First, pressure wash the area to remove all loose material and contaminants. Mix a concrete resurfacer to a pourable, lump-free consistency. Spread it evenly over the damp slab with a long-handled squeegee. Work in small sections and avoid overworking the material. For a non-slip, textured finish that matches many driveways, you can lightly pull a clean push broom across the surface after it has set slightly.
For deep, recurring cracks that suggest structural movement, consider mechanical reinforcement. Products like carbon fiber staples can be embedded in epoxy across the crack to permanently stitch the concrete together, preventing further separation.
Finishing Touches: Curing, Sealing, and Protection
Your work isn’t done once the patch is in place. Proper finishing is what transforms a temporary fix into a permanent repair.
Curing: Curing is a chemical process, not a drying process. The repair needs to retain moisture to achieve its full design strength. If it dries too fast, it will be weak and prone to cracking. The best method is moist curing: cover the repair with plastic sheeting or damp burlap for 3-5 days, misting it with water periodically to keep it consistently moist. Alternatively, apply a liquid membrane-forming curing compound, which creates a film to lock in moisture.
Sealing: Once the patch is fully cured (check product directions, but typically 7-28 days), apply a high-quality concrete sealer to the entire slab, not just the patch. This acts as a protective shield, preventing water intrusion, blocking UV damage, resisting stains, and making the surface easier to clean. There are two main types: penetrating sealers (silane/siloxane) which soak in and protect from within, and film-forming sealers (acrylic) which create a durable topcoat. Penetrating sealers are excellent for driveways, while film-formers can add a desirable gloss to patios. Apply the sealer with a roller or sprayer and reapply every few years as part of your maintenance routine. This final step is crucial for protecting your investment.
Beyond DIY: Professional Solutions and Prevention
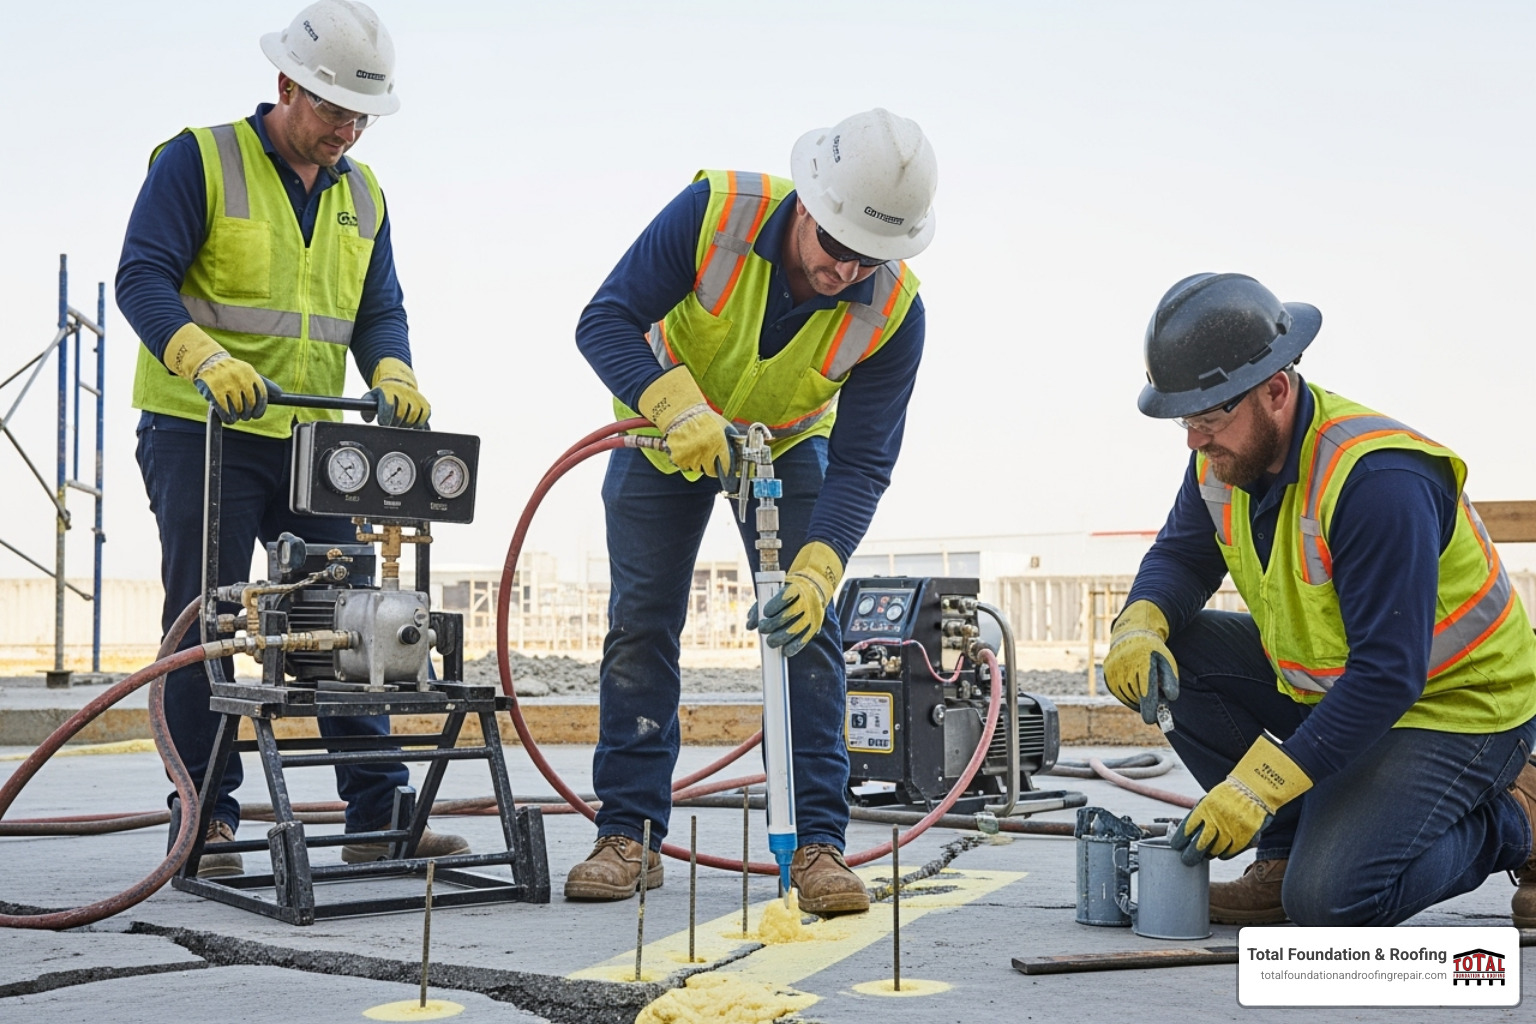
While many repairs are suitable for DIY, some problems require a professional touch to ensure safety and a long-term solution. Overlooking a serious issue or applying the wrong fix can lead to more extensive and expensive damage down the road. Knowing when to call for help is key.
DIY vs. Professional Concrete Slab Repair: Making the Right Call
DIY repairs are ideal for minor surface issues like hairline cracks, small chips, or limited patches of spalling, typically costing under $100 in materials. However, you should call a professional for:
- Structural damage: Cracks wider than 1/2-inch, cracks that run the full depth of the slab, or cracks that are actively moving or widening.
- Significant sinking or heaving: Any vertical displacement between slab sections greater than 1/4-inch poses a serious trip hazard and indicates deep-seated soil problems that a surface patch cannot fix.
- Widespread issues: If more than 25% of your slab shows damage like spalling or a network of cracks (known as crazing), professional resurfacing or replacement may be more effective and economical.
- Recurring problems: If you’ve patched a crack and it has reopened, it’s a sign of ongoing movement that requires a professional diagnosis.
Professional repairs address the root cause. For sunken slabs, we use advanced techniques like polyurethane foam injection (also known as poly-jacking). This minimally invasive method involves drilling small holes and injecting a structural foam that expands to lift the concrete back into place, simultaneously filling voids and stabilizing the soil below. Learn more about our Concrete Slab Lifting and Leveling Services. For severe structural cracks, we can install carbon fiber staples to provide permanent reinforcement.
Protecting Your Investment: Costs and Prevention
Understanding costs and taking preventive measures can save you significant money over time.
Cost Factors: The price of concrete slab repair depends on the severity of the damage, repair method, and materials used. A simple DIY crack fill is inexpensive, but professional structural repairs can range from $500 to over $5,000. For a detailed breakdown, see our Concrete Lifting Cost Guide.
Prevention is the Best Strategy: The most effective way to avoid costly repairs is through proactive maintenance.
- Ensure Proper Drainage: This is the number one defense. Ensure downspouts extend at least 5-10 feet from your home and that the ground slopes away from all concrete slabs. Poor drainage leads to soil erosion and settlement.
- Seal Regularly: Apply a quality concrete sealer every 2-4 years. This is like sunscreen for your concrete, protecting it from moisture, UV rays, and chemical attack.
- Manage Soil Moisture: In areas with expansive clay soil like Kerrville, maintaining consistent moisture levels is key. During dry spells, a foundation watering program using soaker hoses can prevent the soil from shrinking away from the slab.
- Conduct Regular Inspections: Walk your property each spring and fall. Look for new cracks, water pooling, or any signs of movement. Tapping the surface with a hammer can reveal hollow spots that indicate underlying voids.
- Avoid De-icing Salts: Chemical de-icers, especially those containing ammonium nitrates or sulfates, can chemically attack concrete. Use sand or a concrete-safe alternative in winter.


