Your First Line of Defense Against a Leaky Roof
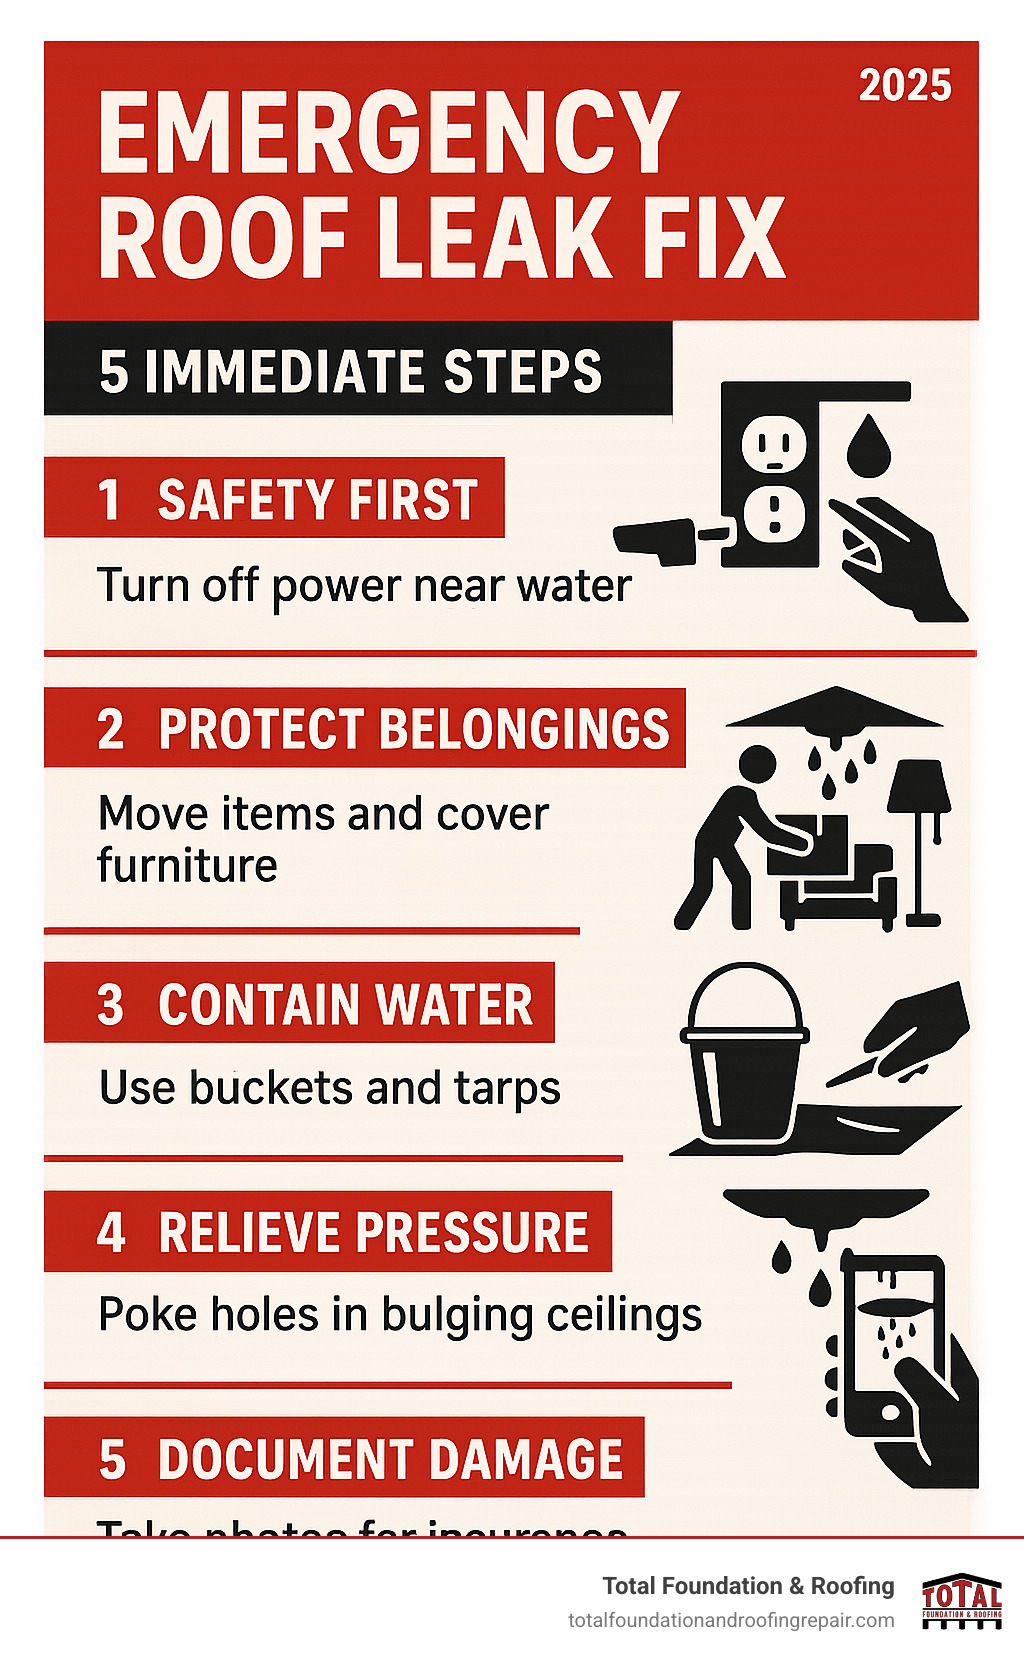
When you find an emergency roof leak fix is needed, every minute counts. Follow these steps right away:
Immediate Actions:
- Move valuables out of the drip zone
- Place buckets or tubs to catch water
- Shut off electricity in affected rooms
- Poke a small hole in any bulging ceiling to relieve pressure
- Snap photos for your insurance file
Texas Hill Country storms 60% of local roof emergencies deliver high winds and hail that can turn a pinhole leak into a gusher. Acting fast prevents:
- Wood rot and structural weakening
- Electrical shorts or fires
- Costly mold remediation
- Ceiling collapse from water weight
Research shows early repairs save homeowners 3050% versus “wait and see.” If you live in or around Kerrville, quick action is even more critical because severe weather can roll in again within hours.
I’m Daniel Sowell, owner of Total Foundation & Roofing Repair. After 18 years of midnight callouts across the Hill Country, I’ve seen how the right temporary steps can save thousands while you arrange permanent repairs.
Emergency roof leak fix resources:
First Response: What to Do Immediately to Minimize Interior Damage
Water pouring through a ceiling feels overwhelming, but there is a clear checklist that keeps damage and stress to a minimum.
1. Prioritize safety. If water is anywhere near outlets or light fixtures, kill power at the breaker before doing anything else.
2. Protect belongings. Slide furniture away from drips and cover anything too heavy to move with plastic or old sheets.
3. Contain the leak. Buckets, pots, even large roasting pans work. Drop a towel in the bottom to stop splashing, and empty frequently.
4. Relieve ceiling pressure. A screwdriver-sized drain hole in a bulge prevents a full collapse and limits drywall replacement to a small patch.
5. Document everything. Photos, short videos, and receipts for anything you buy later will streamline insurance.
Essential Emergency Kit
- Buckets or large containers
- Plastic sheeting/tarps
- Towels and rags
- Flashlight with extra batteries
- Screwdriver or awl
- Smartphone or camera
- Rubber gloves
Common Causes of Sudden Leaks
- Storm damage: high winds & hail (about 60% of our emergency calls)
- Fallen limbs or wind-blown debris
- Aging shingles or cracked flashing
- Clogged gutters forcing water under shingles
- Animal intrusion (squirrels, raccoons, birds)
Why You Cant Wait
The Federal Alliance for Safe Homes reports that prompt roof repairs cut costs by up to 50%. Delay allows water to:
- Soak framing and start wood rot
- Reach wiring and create fire risk
- Grow mold in as little as 2448 hours
- Destroy insulation, driving up energy bills
Stop the leak fast, then move on to a temporary (or professional) fix before Hill Country weather strikes again.
Finding the Source & Applying a Temporary Emergency Roof Leak Fix

Water travels along rafters and sheathing before dripping inside, so the wet spot on your ceiling usually isnt the actual entry point. Heres the safest way to play detective.
How to Track Down the Leak
- Start in the attic with a bright flashlight. Look for dark stains, damp insulation, or active drips.
- Trace upward. Follow the damp trail toward the roof deck; the entry is almost always higher than the ceiling stain.
- Check usual suspects. Chimneys, vent pipes, skylights, valleys, and roof edges fail first in Texas storms.
- Hose test (only in dry weather). One person sprays sections of the roof while another watches inside for drips.
Temporary DIY Fixes
Once youve found the breach and conditions are safe:
- Roofing cement seals small cracks for a few months.
- Silicone caulk stops pinhole gaps around flashing/vents.
- Roofing tape works on flat or low-slope membranes.
- Rubberized patch covers medium holes (clean, cement, apply, seal edges).
- Emergency tarp is best for large areas extend at least 4 ft past damage and secure with 2 × 4s nailed over edges.
For a step-by-step guide, see our blog post on emergency roof tarp.
| Method | Best For | Approx. Lifespan | Cost | DIY Difficulty |
|---|---|---|---|---|
| Tarp | Wide, severe damage | 16 months | $2575 | Moderate |
| Sealant | Hairline cracks | 36 months | $103 | Easy |
| Patch | Smallmedium holes | 24 months | $1550 | EasyMod |
When to Call the Pros: Your Guide to Professional Emergency Repairs
Some situations are flat-out too risky or complex for DIY.
Call a certified roofer immediately if you notice:
- Sagging or partially collapsed roof sections
- Multiple leaks in different rooms
- Damage near wiring or your service panel
- Steep or slippery roof surfaces you cant access safely
- Extensive storm damage that will become an insurance claim
What the Pros Will Do
- Safety inspection & on-the-spot tarping to halt further water entry.
- Full roof & attic assessment to find hidden issues.
- Written repair plan and estimate often delivered the same day.
- Permanent repairs once weather and materials allow.
- Final inspection & cleanup, with workmanship and material warranties.
Quick inspections take about an hour; larger repair plans may require a return visit. After dozens of Hill Country storms, experienced crews spot problems most homeowners miss and carry equipment designed for fast, code-compliant fixes.
Questions Before You Hire
- Are you licensed and insured in Texas?
- How long have you specialized in emergency repairs?
- What warranties do you provide on labor and materials?
- Can you assist with my insurance paperwork?
- What extra fees apply for after-hours calls?
Get the answers in writing, check reviews, and choose a contractor who values safety as much as speed.
The Aftermath: Navigating Insurance and the Cost of Waiting

Once you’ve tackled the immediate crisis of an emergency roof leak fix, your next crucial step is to think about the aftermath: documentation and insurance. Most homeowner insurance policies are designed to cover sudden, unexpected events like a nasty storm. However, coverage can vary a lot, so understanding your specific policy is key.
Generally, your policy will likely cover damage from things like storm damage (think strong winds, hail, or falling trees), sudden mechanical failures, or even damage from a fire or lightning strike. But here’s the kicker: insurance usually won’t cover problems that pop up from gradual wear and tear, issues tied to poor maintenance, or damage that’s clearly a result of neglect. The main goal for you is to show that your leak happened because of a covered event, not just because your roof got old or wasn’t looked after properly.
How to Document Damage for Your Insurance Claim
Getting your documentation right can make all the difference between a smooth insurance claim and a headache. Think of yourself as a detective building a case for your home!
First, take lots of photos and videos from every angle imaginable. Get wide shots that show the whole damaged area, and then zoom in for close-ups of specific problems. Don’t forget to photograph both the outside roof damage and any water damage inside your home. It’s also super helpful to note the date and time for each picture. If the damage changes over time, snap more photos to show that progression.
Next, write down everything you see. Describe the size of the damaged spots, what materials are affected (like drywall or insulation), and any temporary repairs you’ve put in place. Keep these notes detailed and organized. And please, hang onto all your receipts! Whether it’s for emergency supplies, those temporary patches, or professional services, these costs might be covered by your policy.
Finally, act fast! File your claim promptly, ideally within 24 to 48 hours of finding the damage. Many policies have strict deadlines, and missing them could mean missing out on coverage. Once you have everything, organize all your documentation – photos, notes, receipts, and any emails with your insurance provider – in one clear, easy-to-access folder. This careful approach will make filing an insurance claim much less stressful.
The Financial Impact of Procrastination
Let’s talk money, because the numbers are pretty clear: putting off roof repairs is almost always more expensive in the long run. It’s like ignoring a small cavity until you need a root canal!
The cost of an emergency roof leak fix can vary a lot. For a typical emergency repair, you might expect to pay anywhere from $500 to $2,000+ in urban areas, or $300 to $1,500 in rural regions. But if your roof has suffered extensive storm damage, those comprehensive repairs could easily jump to $2,500 to $5,000. And here’s a painful truth: material costs can sometimes double during disasters because everyone needs them at once, driving up demand and prices.
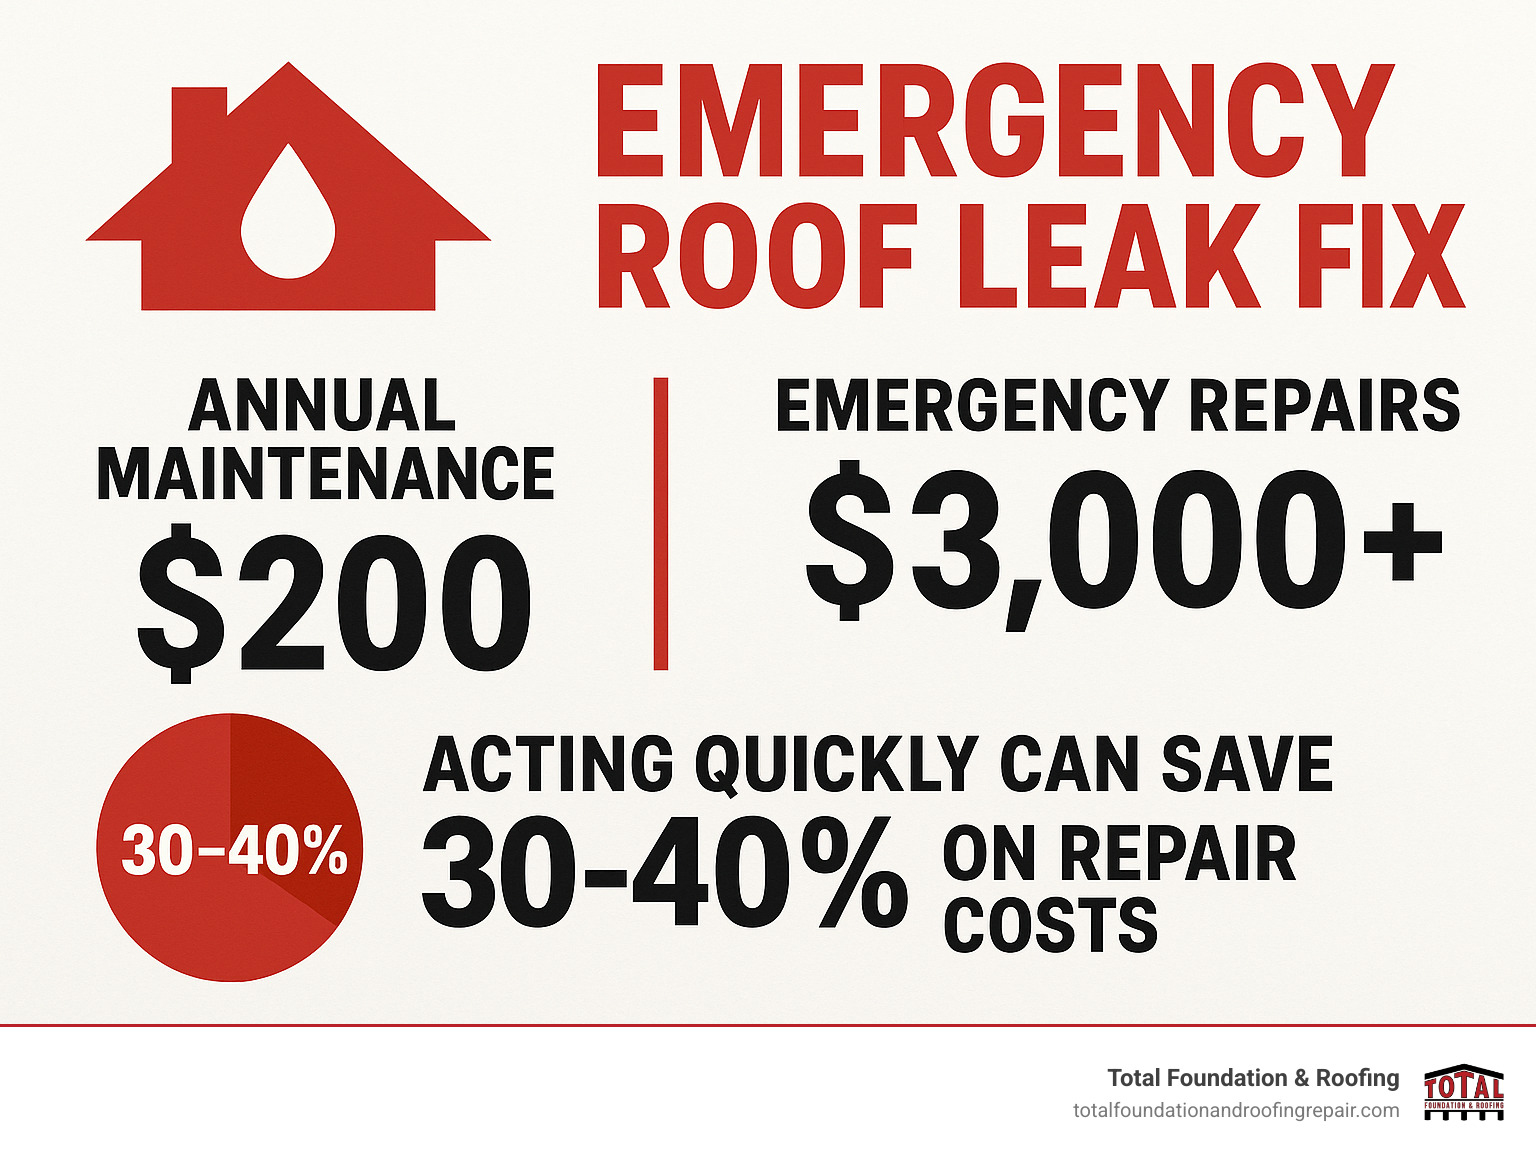
The good news? Acting on early signs of damage can cut your repair costs by 30-40% compared to waiting for a full-blown emergency. Imagine a tiny leak that could be sealed for $200 on a sunny day. If you ignore it and it turns into a gushing problem during a storm, that same fix might now cost $800, plus all the interior damage.
Consider this stark comparison: annual roof maintenance might set you back around $200. An emergency roof repair? That’s often $3,000 or more. And if you neglect your roof completely, leading to a full replacement, you’re looking at $15,000 to $30,000. Clearly, a little prevention goes a very long way!
Beyond the immediate repair bill, prompt action has big long-term financial benefits. You prevent secondary damage like mold growth and structural issues, which are incredibly costly to fix. You maintain your home’s value, which is a huge asset. Plus, a well-maintained roof can sometimes even reduce your insurance premiums over time and will definitely extend your roof’s lifespan significantly. It pays to be proactive!
Prevention Is the Best Policy: How to Avoid Future Roof Emergencies
The smartest emergency roof leak fix is the one you never have to make. Think of it this way: would you rather spend a Saturday afternoon checking your roof twice a year, or spend thousands of dollars on emergency repairs during the next big storm?
The math is pretty compelling. Proper roof care can add 12+ years to a roof’s life according to Energy Star guidelines. That’s not just extending your roof’s lifespan – it’s protecting your biggest investment and avoiding those middle-of-the-night panic calls when water starts dripping through your ceiling.
Regular maintenance forms the foundation of roof longevity. We recommend biannual inspections – once in spring to assess winter damage, and once in fall to prepare for harsh weather ahead. These aren’t complicated procedures that require professional expertise every time. A simple visual inspection from the ground can catch many problems before they become emergencies.
Gutter cleaning might seem like a chore, but clogged gutters are responsible for countless roof leaks. When gutters can’t drain properly, water backs up and finds its way under shingles. Clean your gutters at least twice yearly, and more often if you have trees that drop leaves or debris on your roof.
Tree trimming keeps branches at least 3 feet from your roof surface. Those beautiful oak trees that provide shade in summer can become projectiles during Texas storms. Even small branches can puncture shingles or damage flashing around vents and chimneys.
Flashing inspection deserves special attention because flashing failures cause many emergency leaks. Check the metal strips around your chimney, vents, and skylights for signs of rust, separation, or damage. These areas are particularly vulnerable during storms but are easily maintained with regular attention.
Attic ventilation prevents the moisture buildup that leads to mold, wood rot, and ice dam formation. Proper ventilation also reduces your energy costs and helps your shingles last longer by preventing excessive heat buildup.
Your Seasonal Roof Maintenance Checklist
Spring maintenance focuses on assessing winter damage and preparing for storm season. Inspect shingles for cracks, missing granules, or loose pieces. Check flashing around all roof penetrations for signs of separation or damage. Clean gutters and downspouts thoroughly, removing all debris and checking for proper drainage. Trim overhanging tree branches that grew during winter months. Inspect your attic for signs of moisture damage or pest intrusion, and test your attic ventilation to ensure proper airflow.
Fall maintenance prepares your roof for winter weather. Remove leaves and debris from both your roof surface and gutters – wet leaves can trap moisture and accelerate deterioration. Check for loose or damaged shingles that might not survive winter storms. Inspect and clean chimney systems before fireplace season begins. Seal any gaps or cracks in flashing or around penetrations. Ensure proper attic insulation before cold weather arrives, and check sealants around vents and other roof penetrations.
Annual professional inspections provide comprehensive evaluation beyond what homeowners can safely accomplish. Professional roofers can identify potential problems, perform cleaning and minor repairs, maintain gutters and downspouts, and assess your attic ventilation system.
Sealant maintenance requires attention every 3-5 years. UV exposure from our intense Texas sun breaks down sealants over time, creating entry points for water during the next storm. It’s much easier to reseal a vent boot on a sunny Saturday than to deal with water pouring through your ceiling during a thunderstorm.
The bottom line is simple: preventive maintenance costs a fraction of emergency repairs and helps ensure your roof protects your home for decades to come. A little attention now prevents a lot of headaches later.
Conclusion: Protect Your Home with Prompt and Professional Care
A roof leak never waits for a convenient moment and it wont heal itself. Act immediately, stay safe, document everything, and remember that temporary fixes buy time they dont solve the problem.
Total Foundation & Roofing has helped Hill Country homeowners for 18 years, delivering certified workmanship and 24/7 response when storms strike.
Request a Free Estimate for Emergency Roof Repair Services and let our local team keep your roof and everything under it dry.
The best time to stop a leak is the moment you spot it. The second-best time is right now.